First of all, I would like to congratulate the three winners in this
competition “Most Legendary Car” especially to Ernest Kośka – First
place winner. I know that this guy has a keen eye in details. Ok Let’s start what I’ve got . . .
Reference

First, I began to collect the best possible reference and info,
images, materials, etc. about legendary car based on my life style and
story from childhood… it says, “I didn’t try any of the advanced
technology toy like remote control cars… so I decided to make my own
style of toy car made of scrap tin can, bottle cap, electrical plastic
wire, tie wire, long bolt with nut and rubber, etc.”
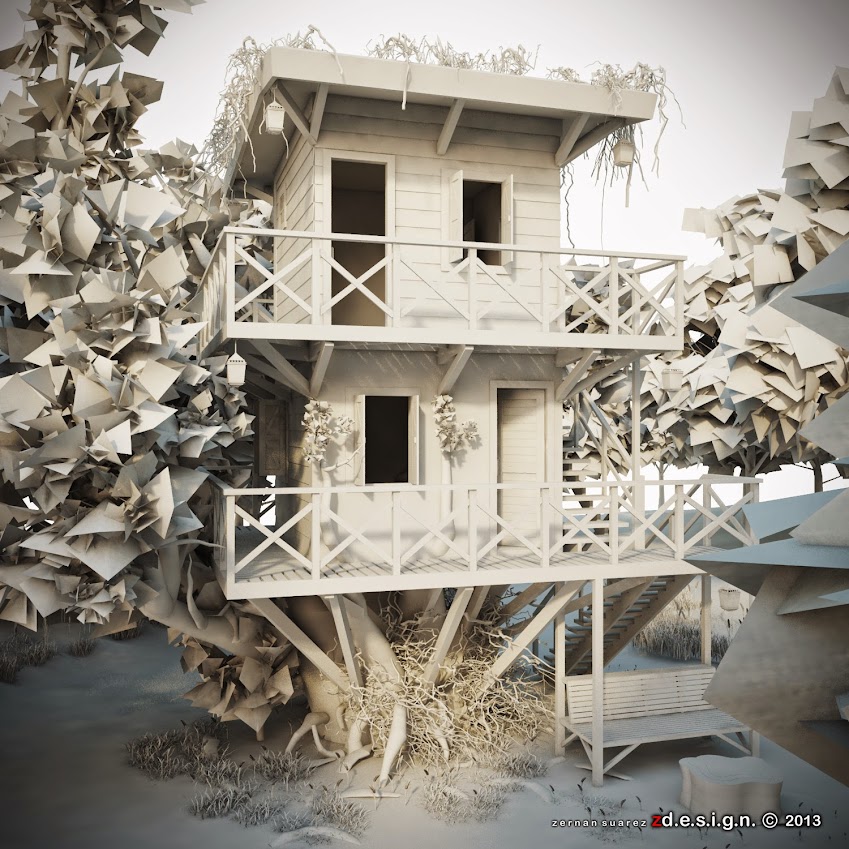
Modeling
The most exciting part of the 3d model is to show it into pieces with
detailed caption and some information. My basic tools and plugin that I
use in modeling: Follow me tools, Offset push and pull, Intersect and
trim, Round corners and bevel edges, Artisan and shape bender.
Other Entourage
Grass Vrmesh and model from 3dwarehouse gallery.
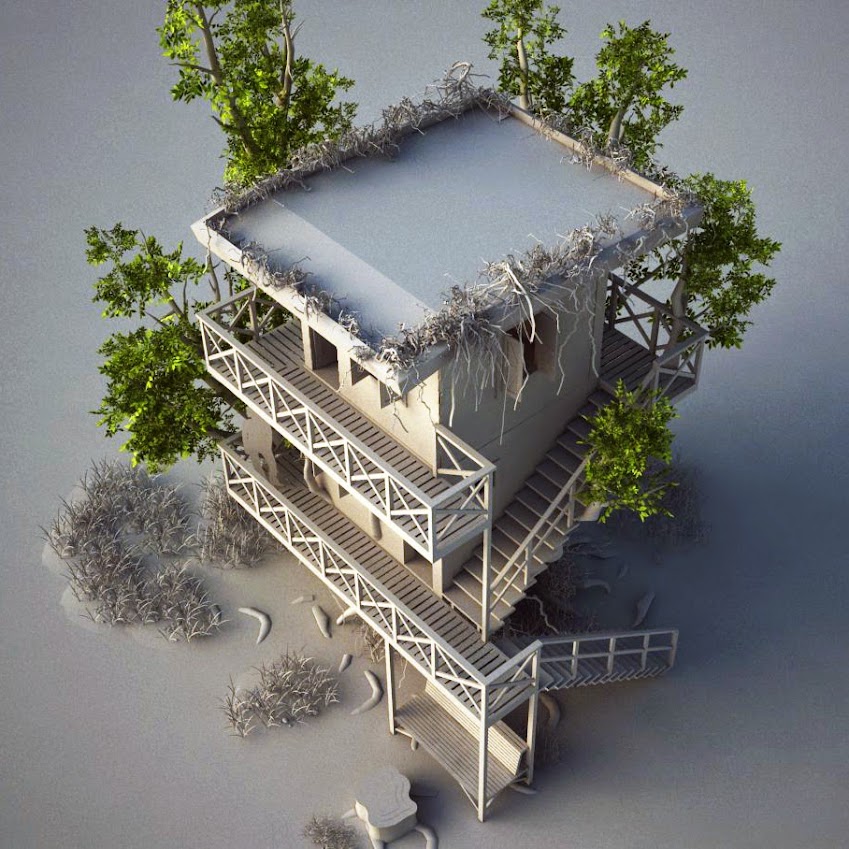
Lighting test

I use always Clay render using override material for checking of sun
lighting and drop shadow softness, and also after you can save the IR
and LC to load and use it for final renderings (save parsing time).
Texturing material

In this simple tutorial showing that the exploded material are on top
of the exploded model projected on the center part, just 1 click on the
paint dropper, then 2 and 3.
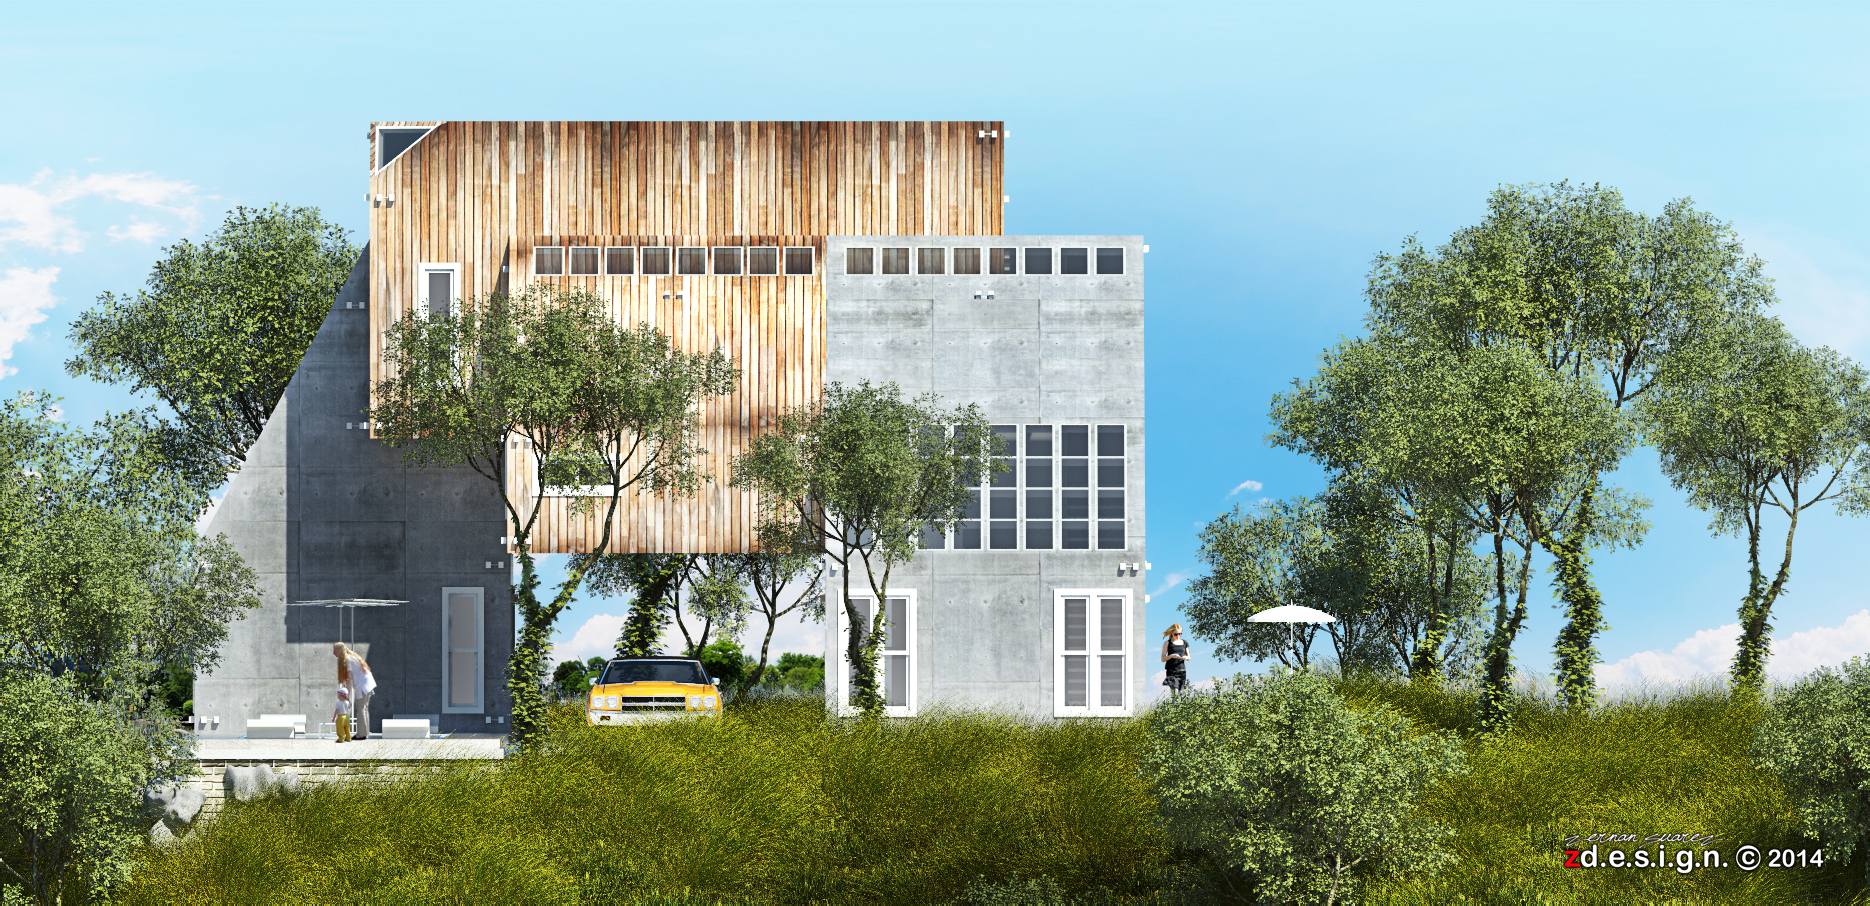
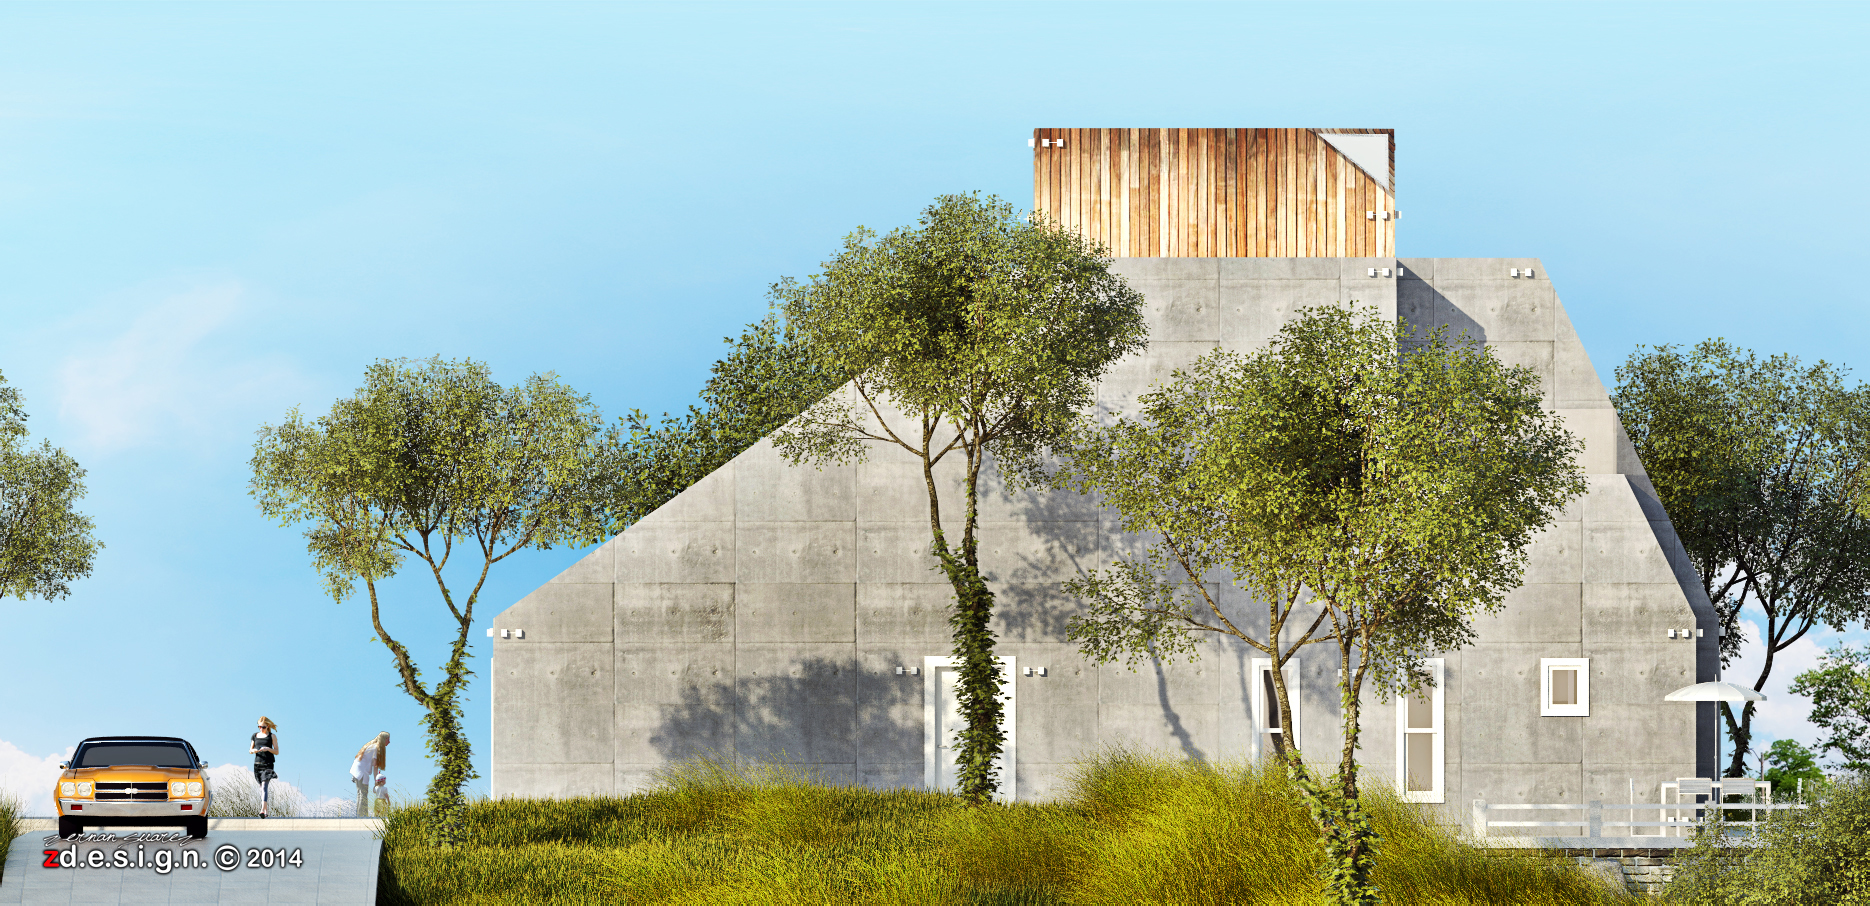
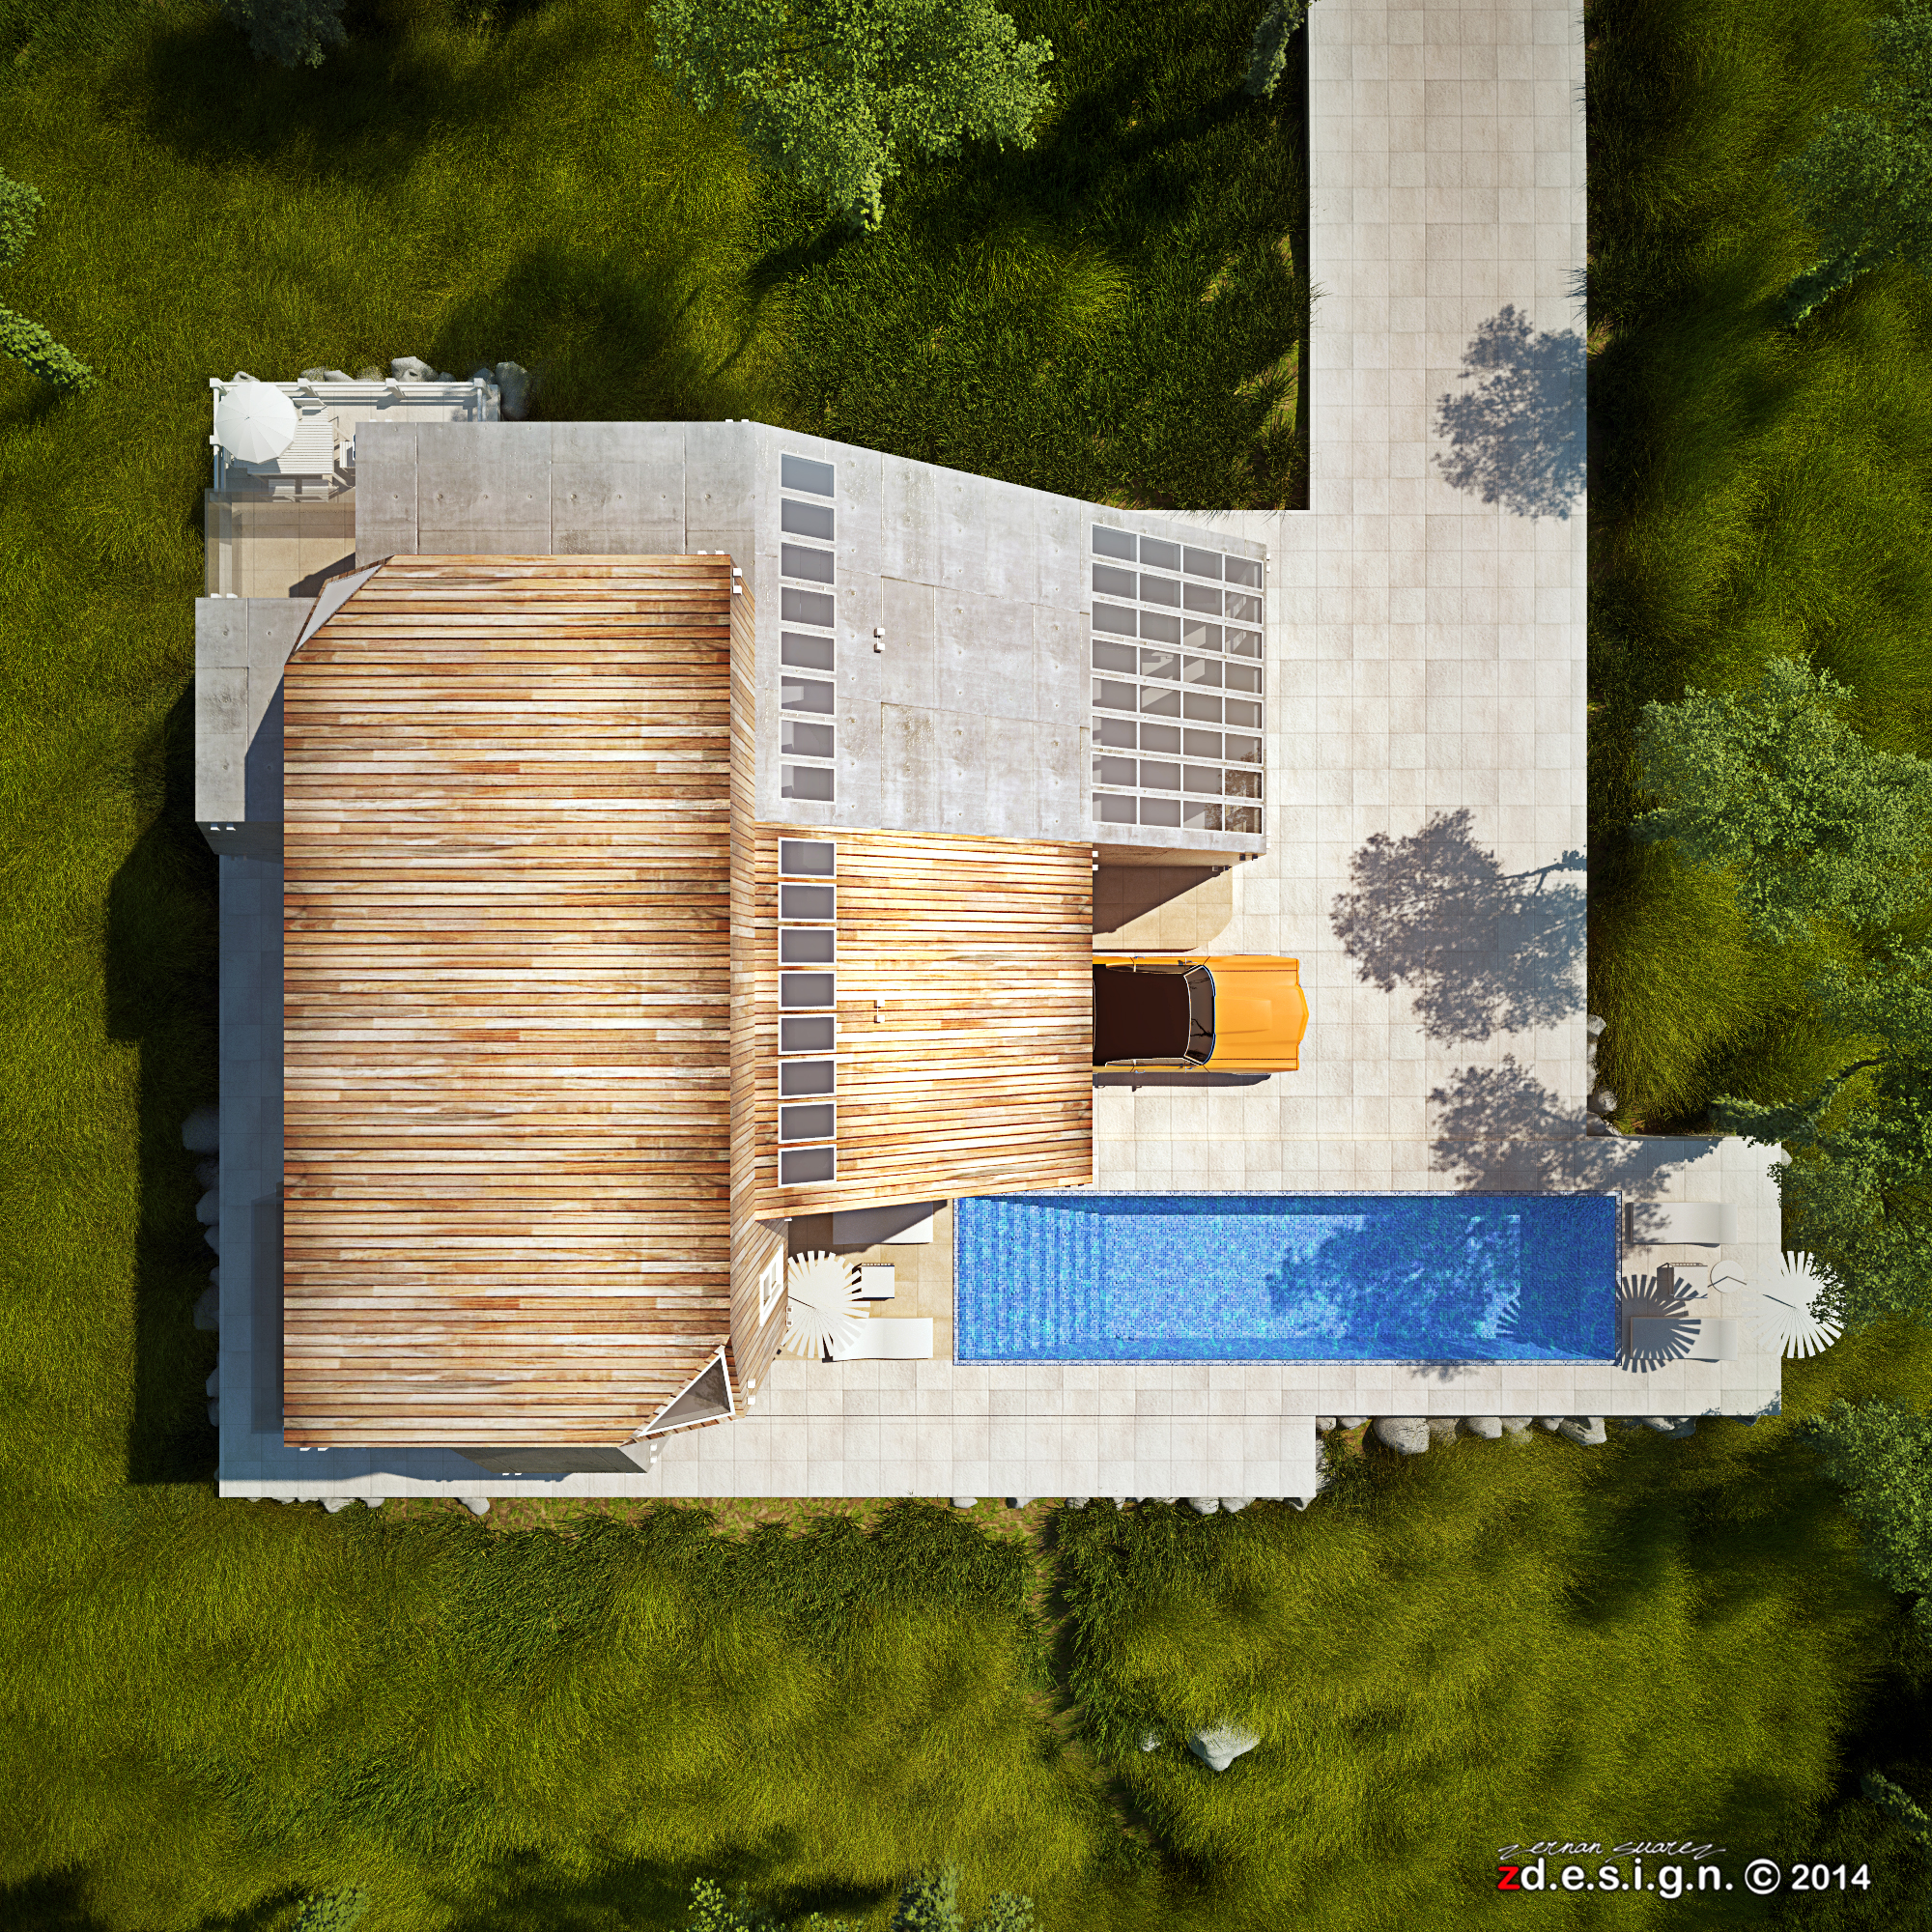
Sketchup scene layout
Entire 3d model scene layout with texture and sun shadow setting.
Texturing sample
I think this is the tricky part in all Vray material by adding
reflection, balancing parameters, add some filters in the material. In
this simple tutorial, I want to show you how to separate some parts of
non reflective material using dirt map.
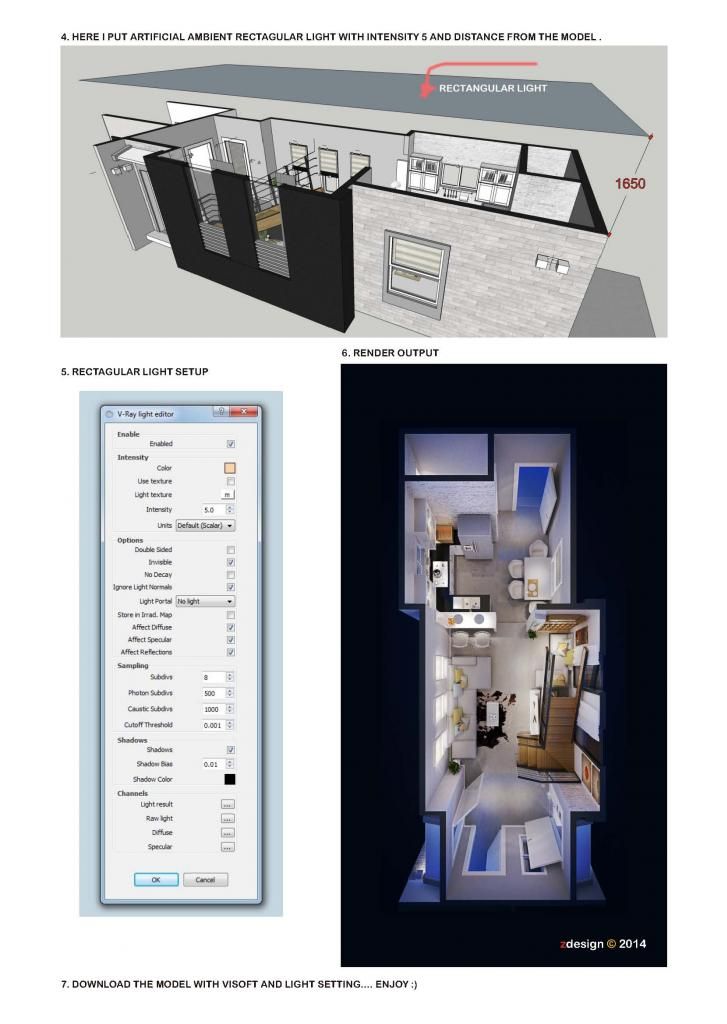
Environment sun setting
From default setting I adjust only the sun size 1 to 5 to make shadow not too much sharp.
Other parameters
From default setting I adjust only DMC sampler, Output, IRR and LC.
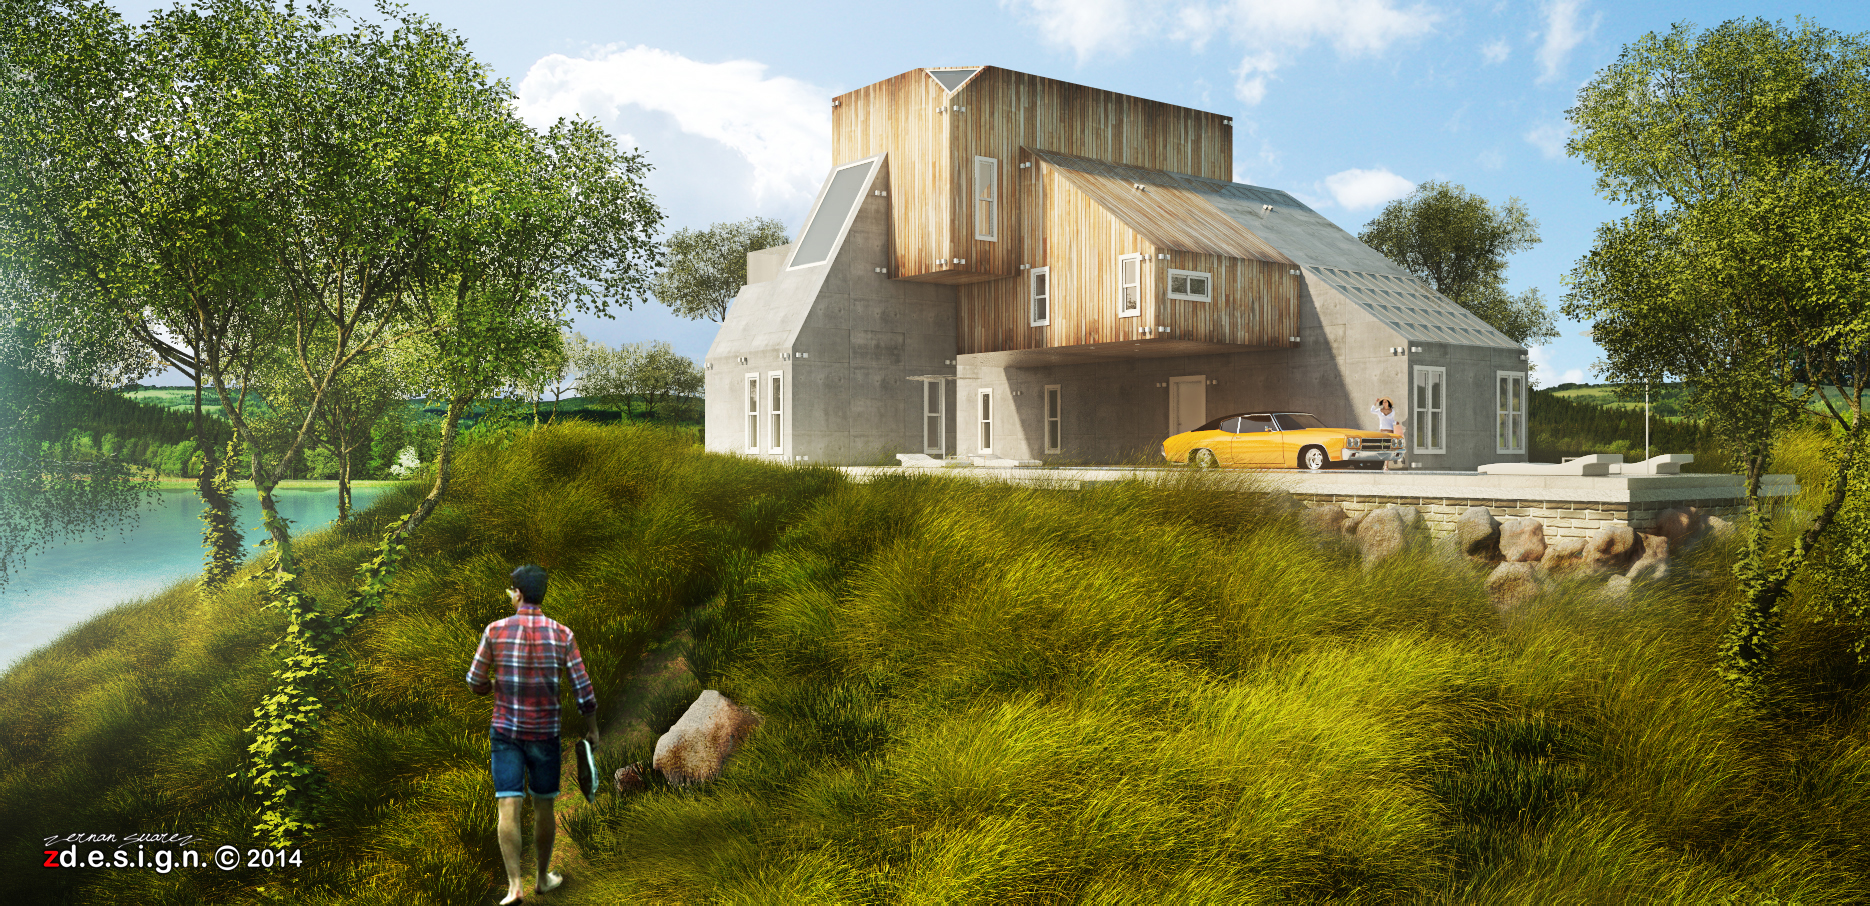
Raw render output
Final image resolution is 3000 × 1949 pixels. My computer is very slow and it took me about 9 hours to render the scenario.
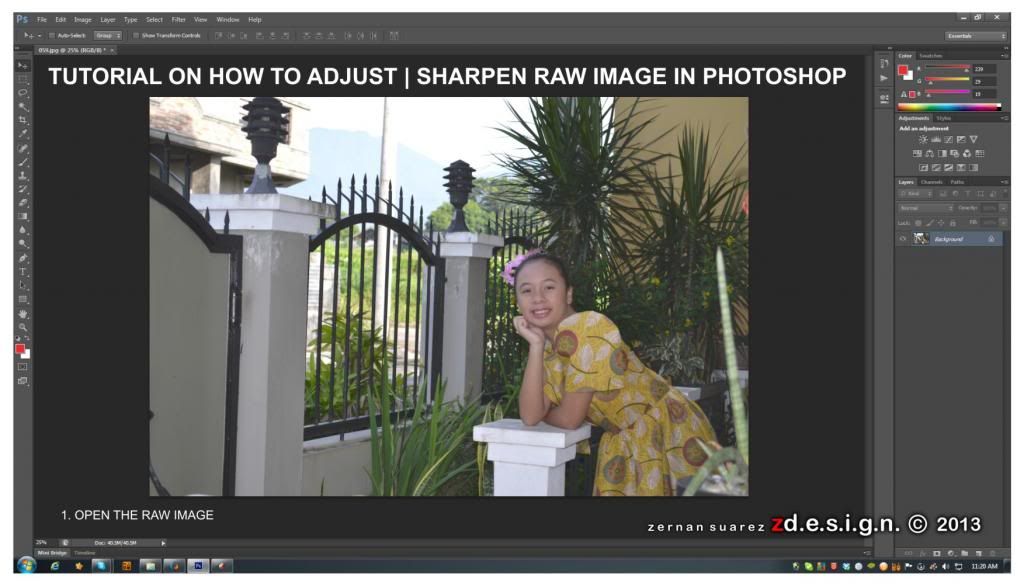
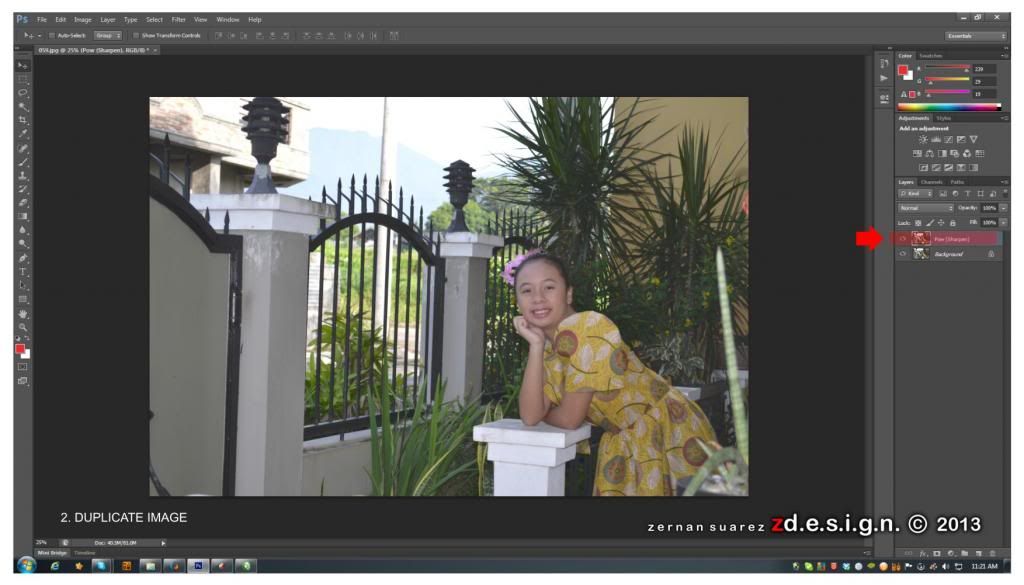
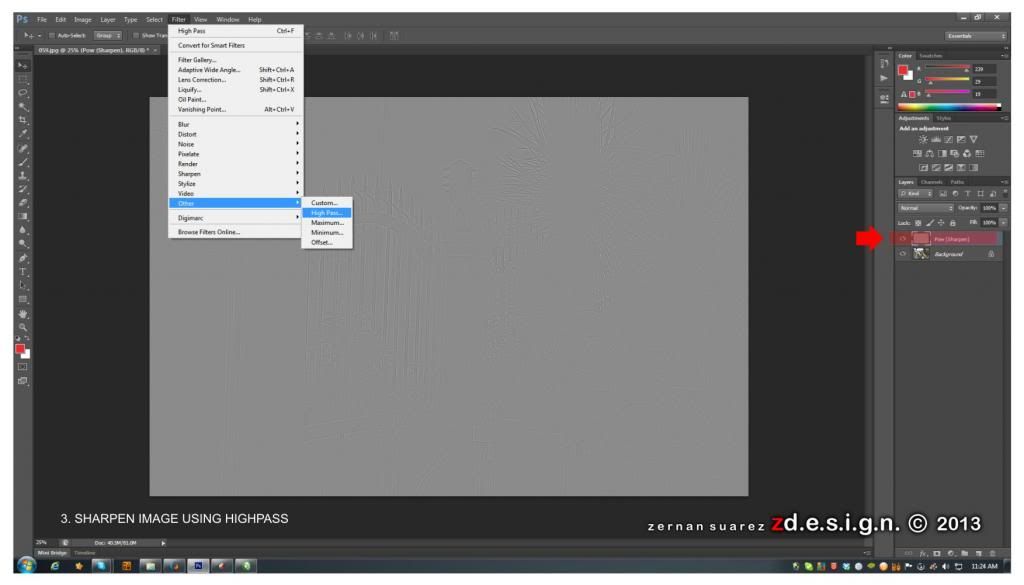
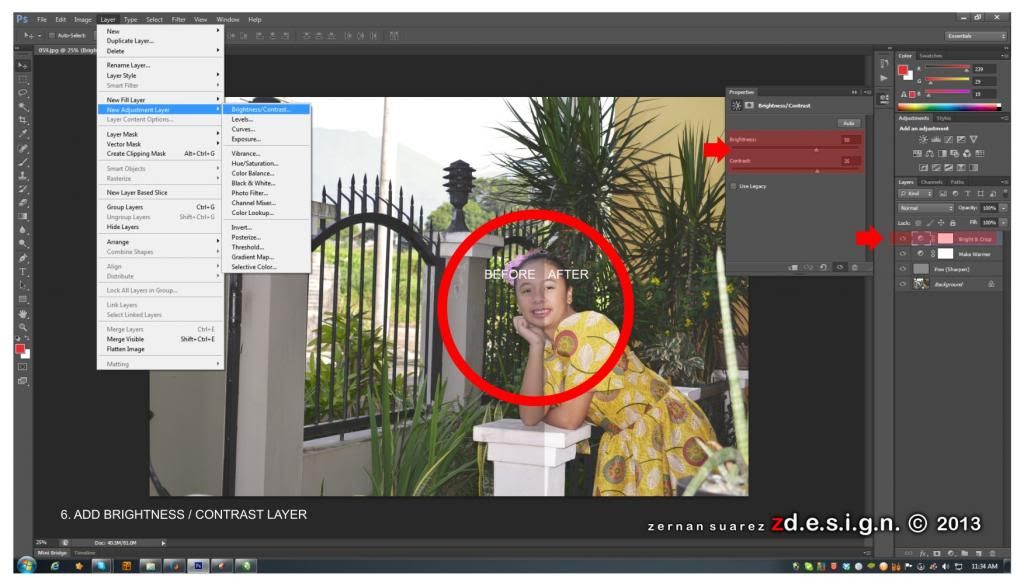
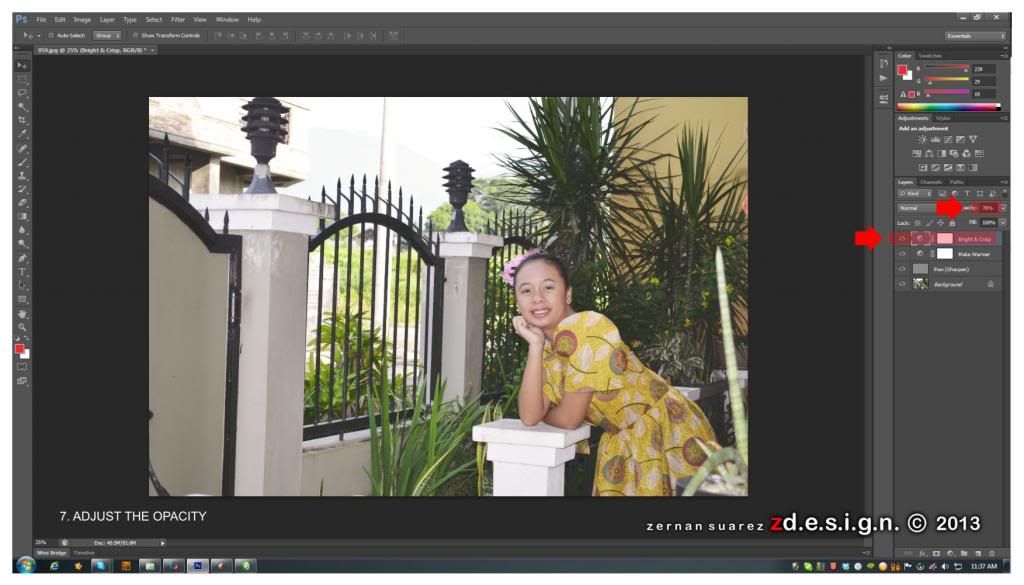
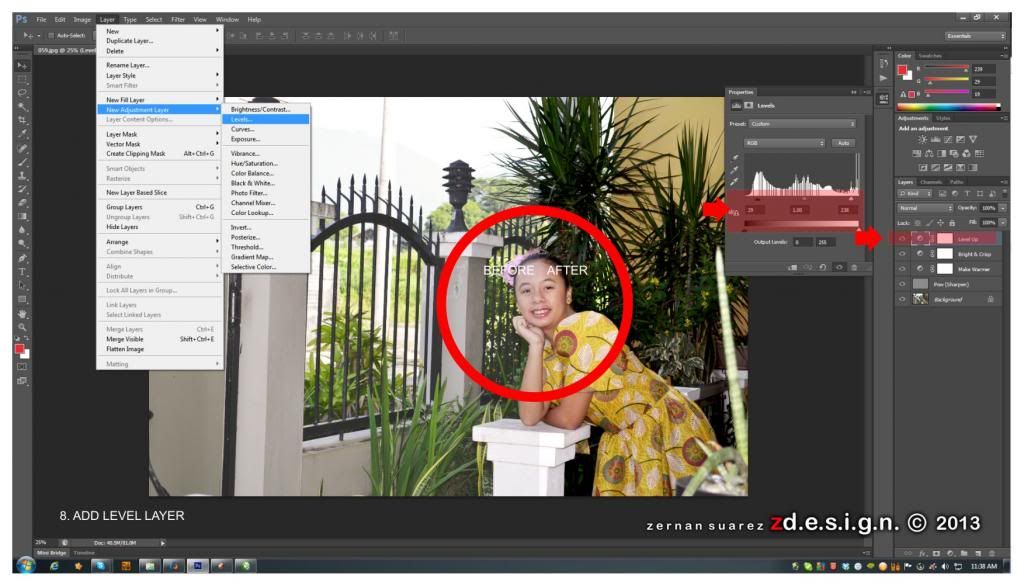
Post processing
Post processing was performed only in Photoshop with too much trial and error masking and layering.
Here’s my collection of crop image to highlights the scene and add more drama.
Here’s my individual layer and masking of different texture.

Adjusted brightness and contrast base on my preferences.
My tin scrap toy ENTRY.
Thank you very much.
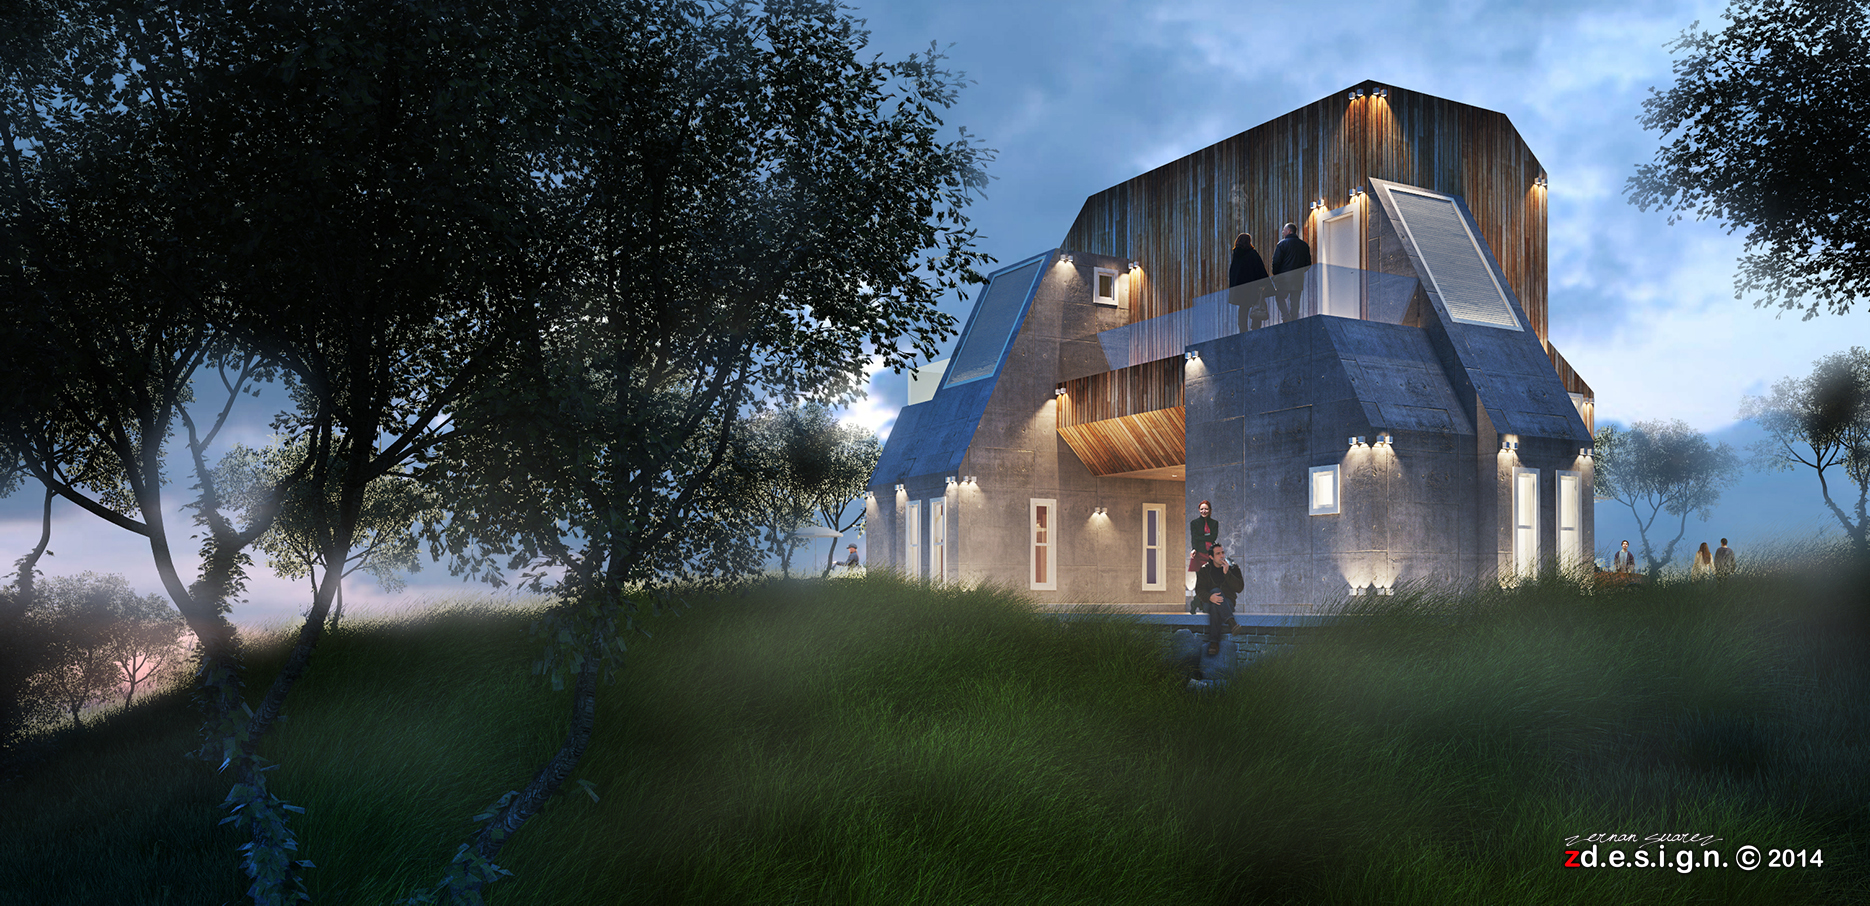
Zernan Suarez -
http://humster3d.com/2014/12/17/making-of-my-tin-scrap-toy/