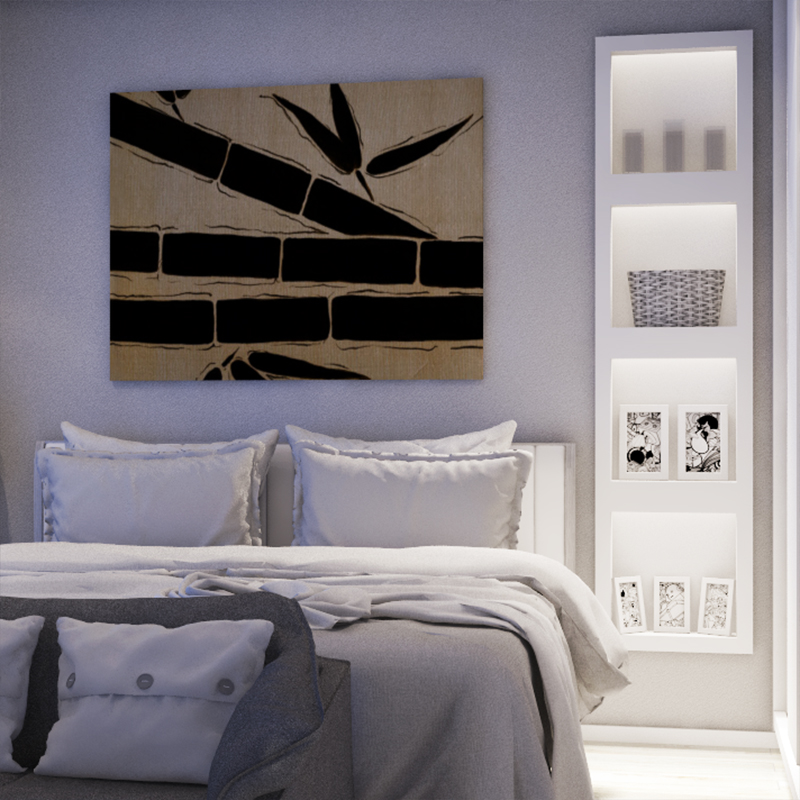
Before I will start explaining the process, First of all I am very thankful to my blog or social media page showing my personal work which is some of my friends, followers and especially the clients find and contact me here.
In general when a client contacts me, everytime they usually ask 3 things whether it is 2D or 3D visual or even animation - First - How much do I charge, Second - How long it takes to produce what they want and Third - What I need from them in order to create the presentation or visuals. It is very important to discuss personally before you start the project because you don't know exactly what they want and what they are thinking. Client needs and expectations are very important, so write down everything...collect all the information.
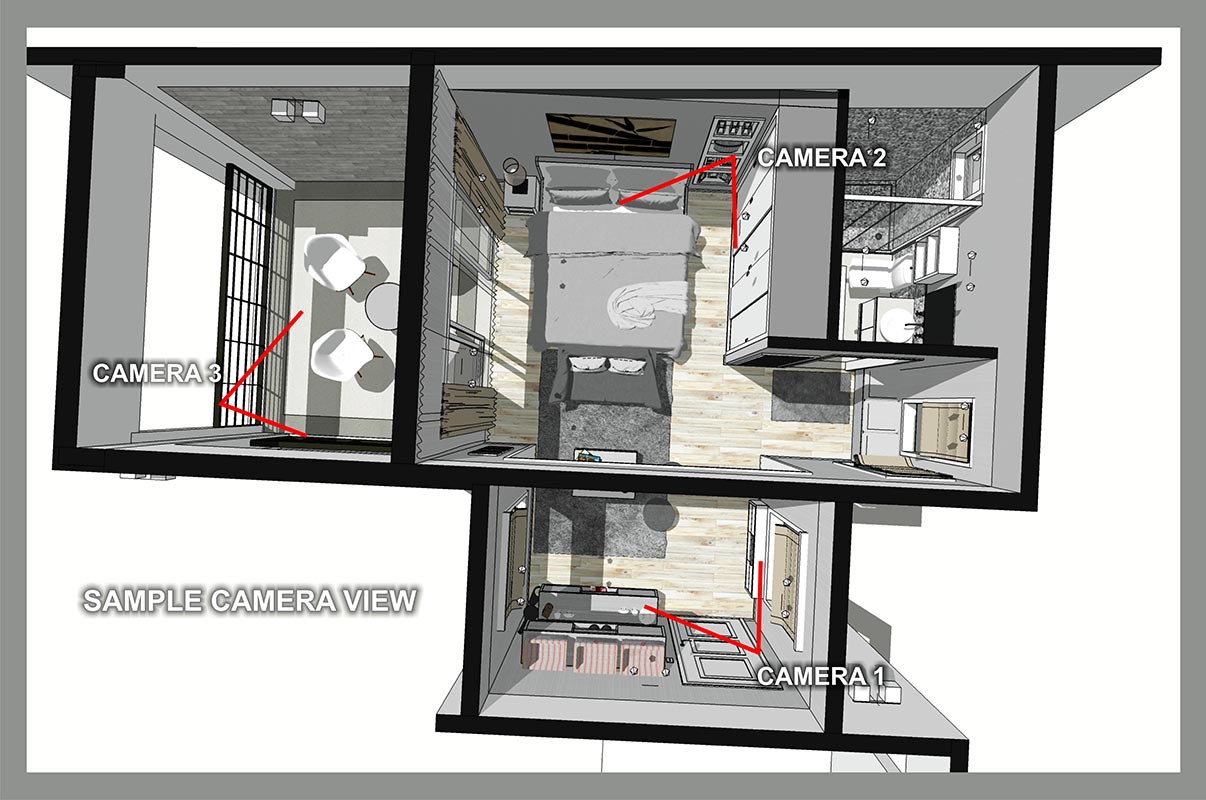
To be honest to goodness, the longer I have time the better, No one wants to do a rush job in a short period of time. Unless it’s a very simple concept design, which is rarely the case. I usually quote a time frame of 7 to 14 days (1 to 2 weeks) it depends on the large scale project. This includes producing 3D model volume, texturing, ambient lighting and test render etc etc. Once I fixed everything...I send an email to them with attached image top view with proposed camera location (not final | standard resolution) for approval of scene views perspective for final render ( 2 or 3 standard camera view per room). Also I need to know how many camera view (rendering images) they need.
P r o c e s s :
A. Floor Plan with furniture layout, Elevation and Section - DWG file format is enough.
If they don't have, just sketch in a piece of paper with proper dimensions. A plan contains more info are easy to follow during the process of constructing the models, and if the client not sure about various specs then I’ll use standard specs.
I always produce 3D model using real world dimensions and I need as much detailed information as possible. The more information I’m given in the process, the more accurate and realistic space in the final 3D visual.
B. Texture
For me this is the most crucial part of the process. If wood, concrete, paint, wallpaper and fabric etc. will be included as part of the design, then I need reference images or link website to give me an idea. If there are no available website links, I ask them to take a photo from their reference books and if is not suitable in the model I can do image editing in Photoshop or coreldraw or create the texture from scratch.
C. General lighting
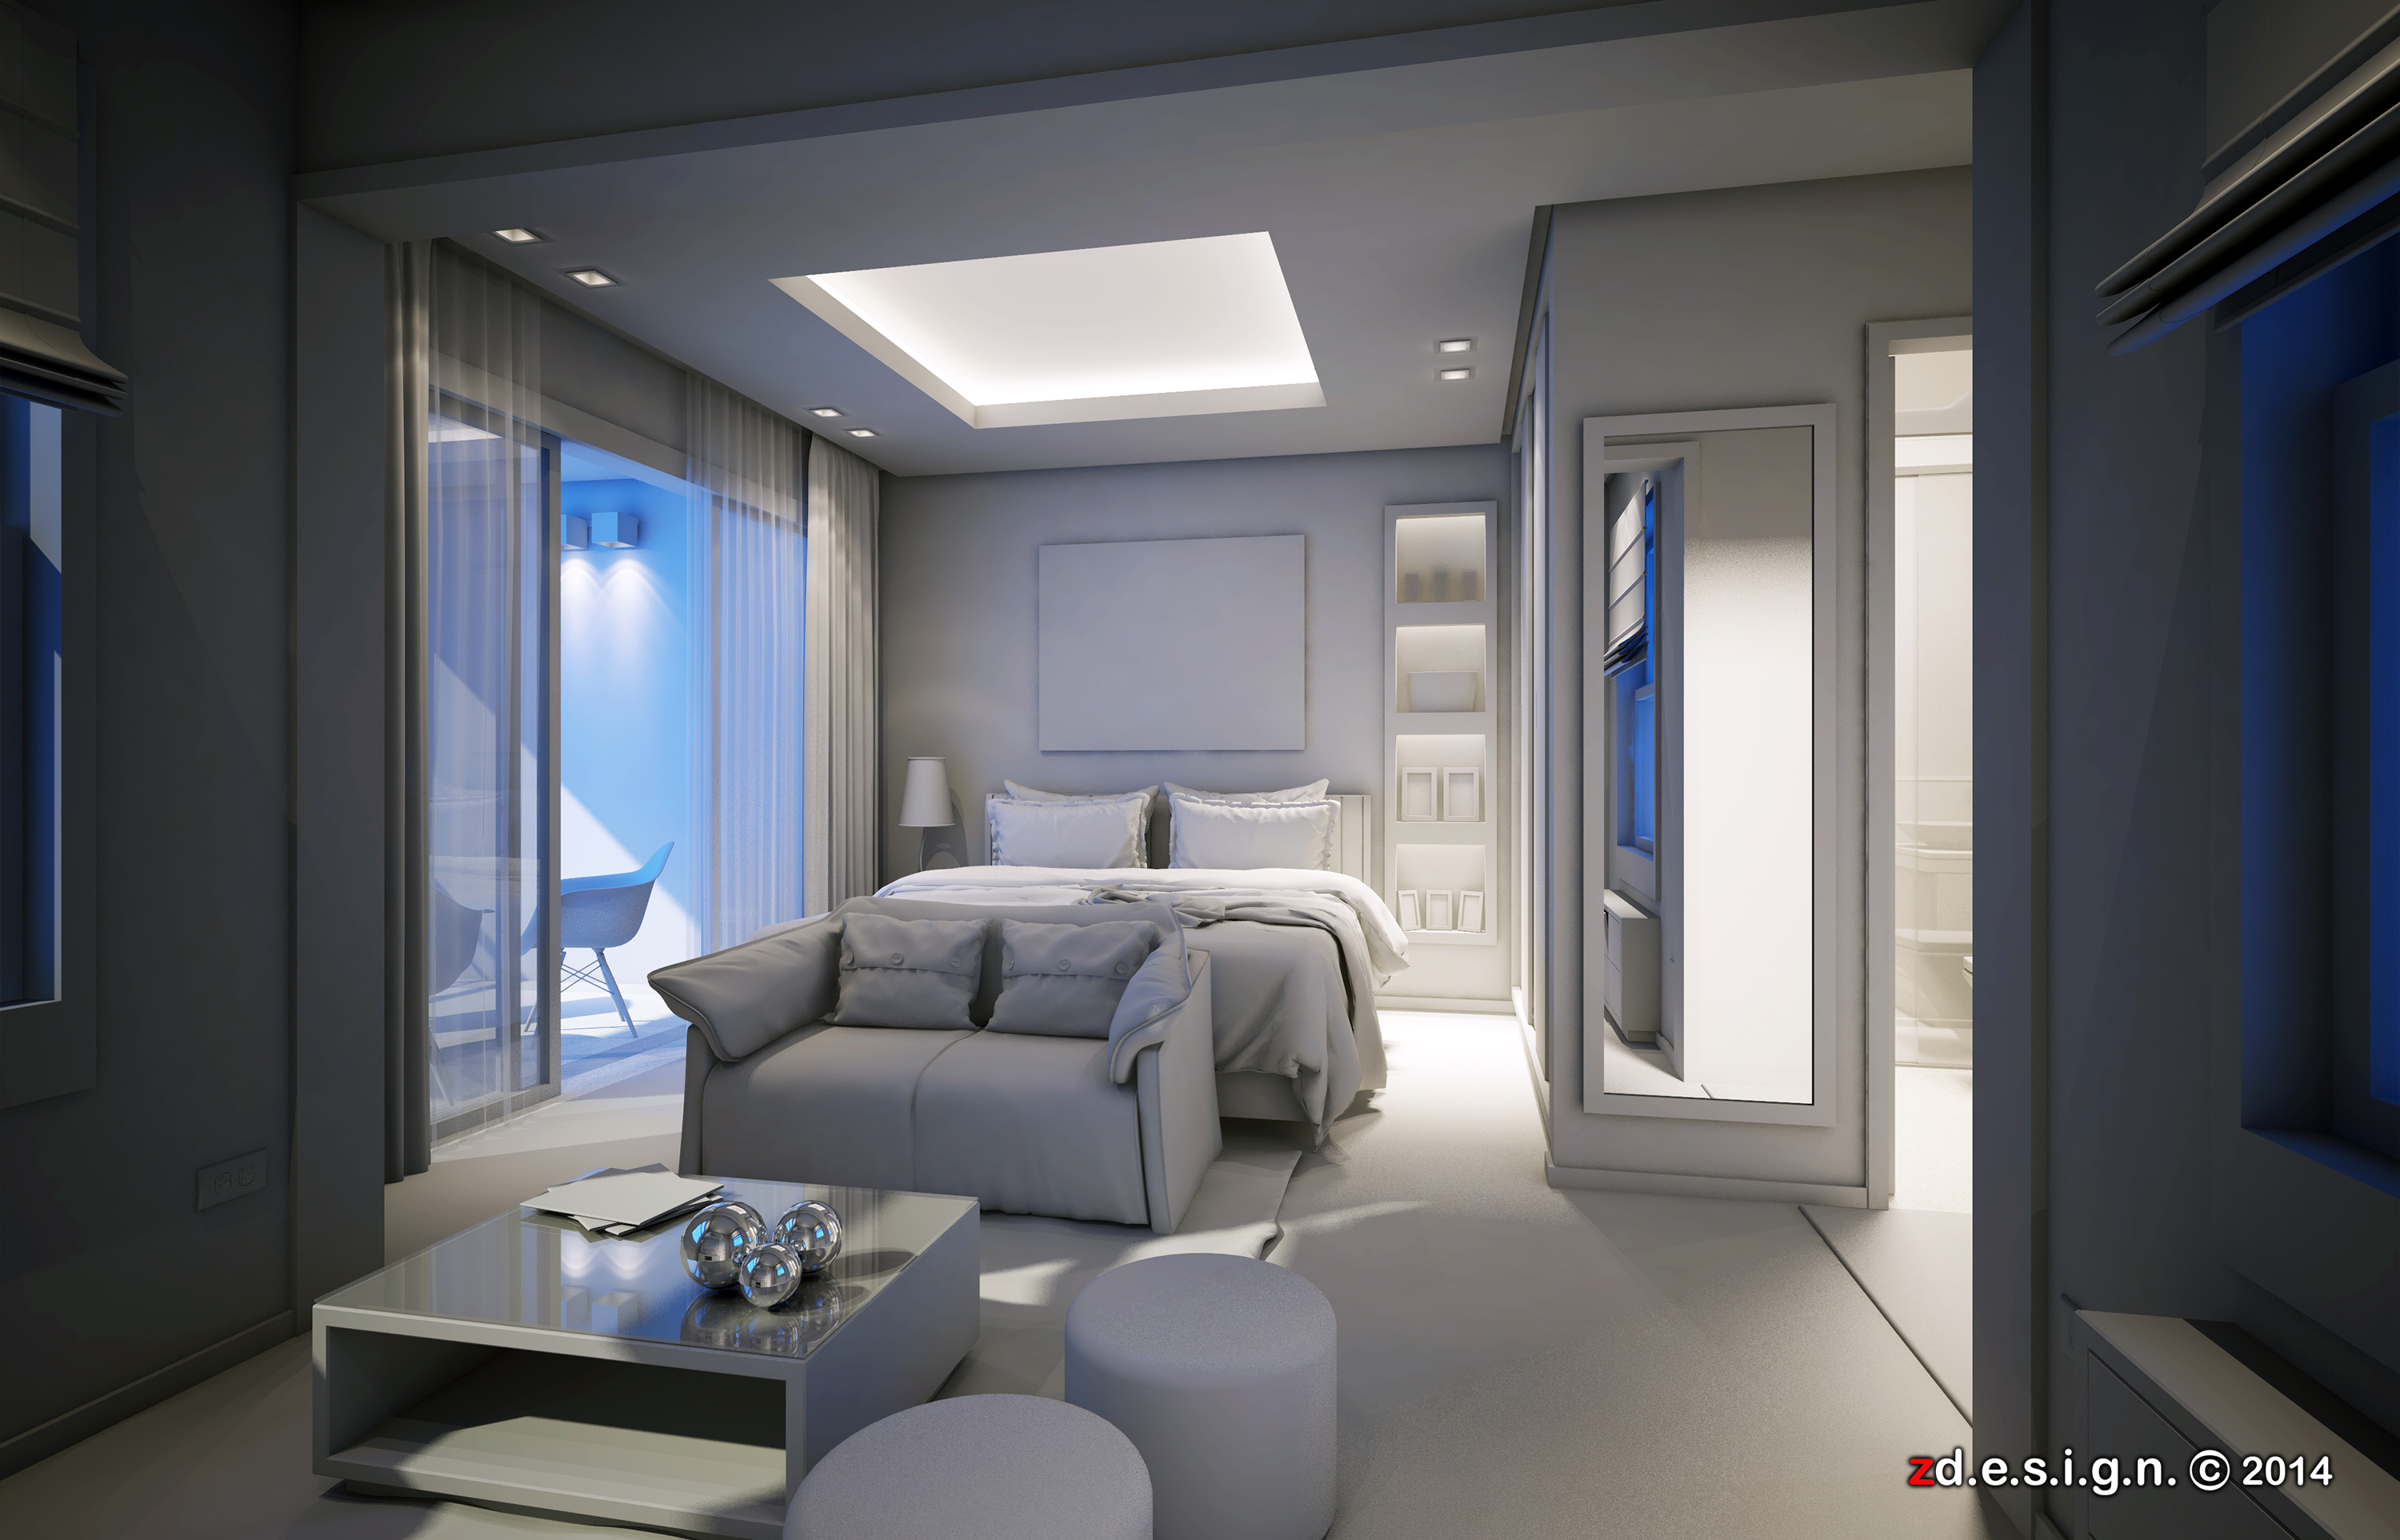
I need to know the exact location of the lights in plan view whether it is pendant, wall mounted, cove light etc. Additional light effect from my side if neccessary in the scenario.D. Test Render (my favorite part using override material)
In this process I can adjust the intensity of the individual lights versus the general environment lighting.
Ooppps Revision is part in this process, sometimes at this stage the client have a change of mind regarding a particular design element, fabric, paint color or piece of furniture. At this stage they need to communicate for any changes. ( one or two revision are enough Why? because it's not easy to change again and again blah blah blah white to black, wood to concrete etc etc. you know what i mean.) I can’t make changes in the final rendering, all changes should be made during the rough rendering step.
E. Final Render and Post Process
Once the 3D scenario have been fully rendered (raw), I open it in Photoshop for post-processing to enhance the overall image, adding effects and entourage if possible.
F. Pay me . . . (don't forget your talent fees)
Note : Try and always coordinate with client, as long as you receive all the information about the project, the entire process is actually quite painless. . . Voila!
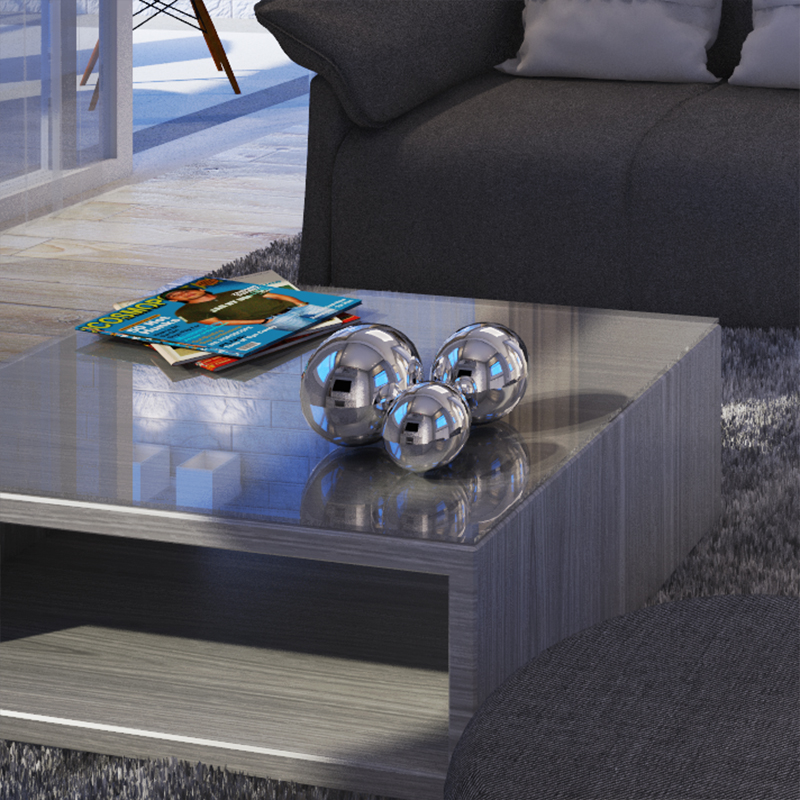
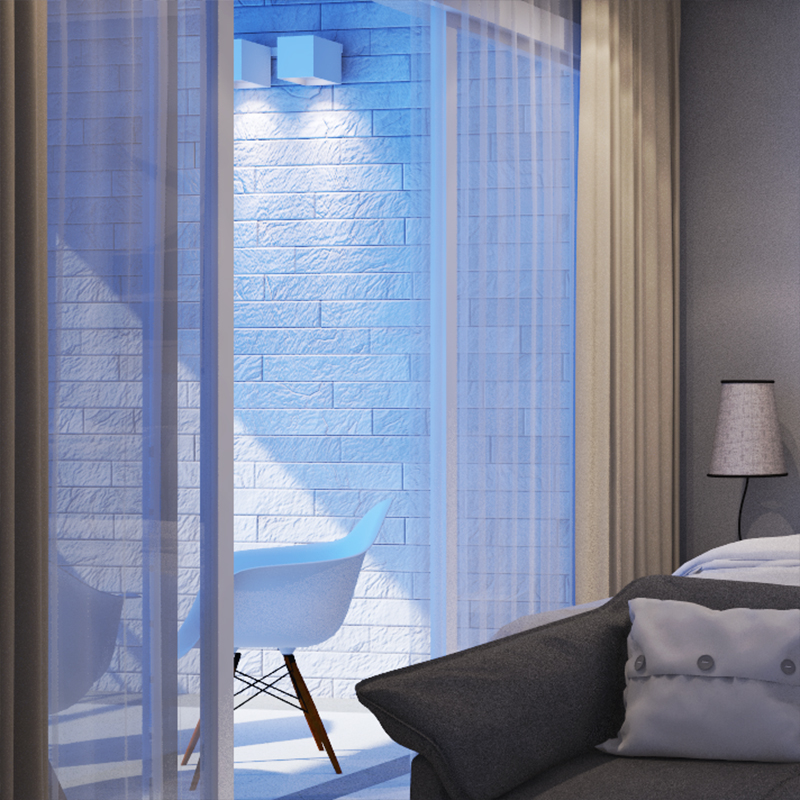
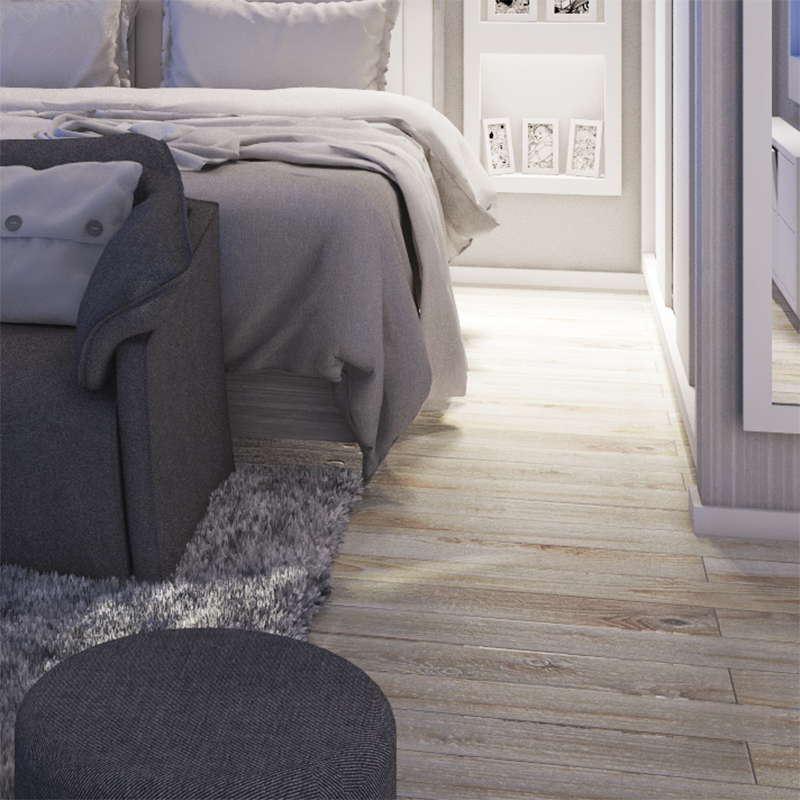
. . . sample cut views . . .
CHECK ALL MY VISUALIZATION H E R E
...