s h o r t f o l i o . . .


https://farm6.staticflickr.com/5580/14769093690_4cb4c5afa8_o.jpg
                   
That's only my listed, work in progress and practice personal work, others are not to be published due to copyright ownership.
Showing posts with label tutorials. Show all posts

Friday, December 12, 2025

Making QR CODE in Microsoft Word . . .

You can make a QR code in Microsoft Word instantly


1. Type DISPLAYBARCODE

2. then "your-link-here" QR


sample : 

DISPLAYBARCODE

https://linktr.ee/zdesignworks” QR


3. then select all then Press Ctrl + F9


4. then right-click and select Toggle Field Codes


Or Press Ctrl + F9, type DISPLAYBARCODE "your-link-here" QR and press F9


Wednesday, December 10, 2025

Tutorial...MAKING 360 ANGLE from panoramic image to 360 using photoshop XMP script...


How does it works...

1 - script - XMP SCRIPT or HERE and save in a folder.
2 - Open photoshop cs4 | cs6 then load the panoramic image.
3 - From drop down menu select FILE / FILE INFO / IPTC  then select IMPORT
4 - From import option tick “CLEAR EXISTING PROPERTIES AND REPLACE WITH TEMPLATE PROPERTIES” then OK
5 - Then locate the XMP file that you check before which is “CREATE 360 IMAGE.XMP”
6 - Select and open which is automatically load the script.
7 - Click OK ...
8 - Then save the file using normal saving... from drop down menu FILE / SAVE AS / type in filename and select JPEG and save.
9 - Upload directly in Facebook using “UPLOAD PHOTO/VIDEO”
Voila...you can now  to turn around to see different perspectives of the image.
Sample - 360  ... GOD BLESS

Monday, February 21, 2022

Spartan Head Pattern - For Cosplay and Head Gear . . .

Make your own Spartan Cosplay Head Gear out of EVA Foam with this handy template I made! Included are specific printer settings for A4 ( for 1:5 scale head model ) A3 and A2 size scaling for normal standard human head. Here’s what I did in building the pattern, I made a pattern from the small head model and enlarged it to the actual human size. The Digital file include a small version of spartan pattern 1:5 scale - FREE


ZDESIGN

Tuesday, February 15, 2022

Gladiator Head Pattern - For Cosplay and Head Gear . . .

Make your own Gladiator Cosplay Head Gear out of EVA Foam with this handy template I made! Included are specific printer settings for A4 ( for 1:5 scale head model ) A3 and A2 size scaling for normal standard human head. Here’s what I did in building the pattern, I made a pattern from the small head model and enlarged it to the actual human size. The Digital file include a small version of gladiator pattern 1:5 scale - FREE


ZDESIGN     A4    A3


Friday, January 21, 2022

Mannequin Head Pattern - For Cosplay Mask and Head Gear

Make your own Mannequin Head out of EVA Foam with this handy template I made! Included are specific printer settings for A3 and A2 size scaling. Use for Head Sculpting, Head Gear costume and Face mask for cosplay, etc.


ZDESIGN

Saturday, January 8, 2022

Cthulhu Steampunk Pattern - Cosplay Mask

Make your own Cthulhu Steampunk Cosplay mask out of EVA Foam with this handy template I made! Included are specific printer settings for A3 and A2 size scaling.


ZDESIGN

Ironman Mark 42 Pattern - Cosplay Mask

Make your own Ironman Mark 42 Version of Groot, Spawn, Punisher, Deadpool, and Panther Cosplay mask out of EVA Foam with this handy template I made! Included are specific printer settings for A3 size scaling.


ZDESIGN

Fox Masks Steampunk Pattern

 Make your own FoxMask Steampunk Cosplay mask out of EVA Foam with this handy template I made! Included are specific printer settings for A3 and A2 size scaling.


ZDESIGN

Thursday, January 14, 2021

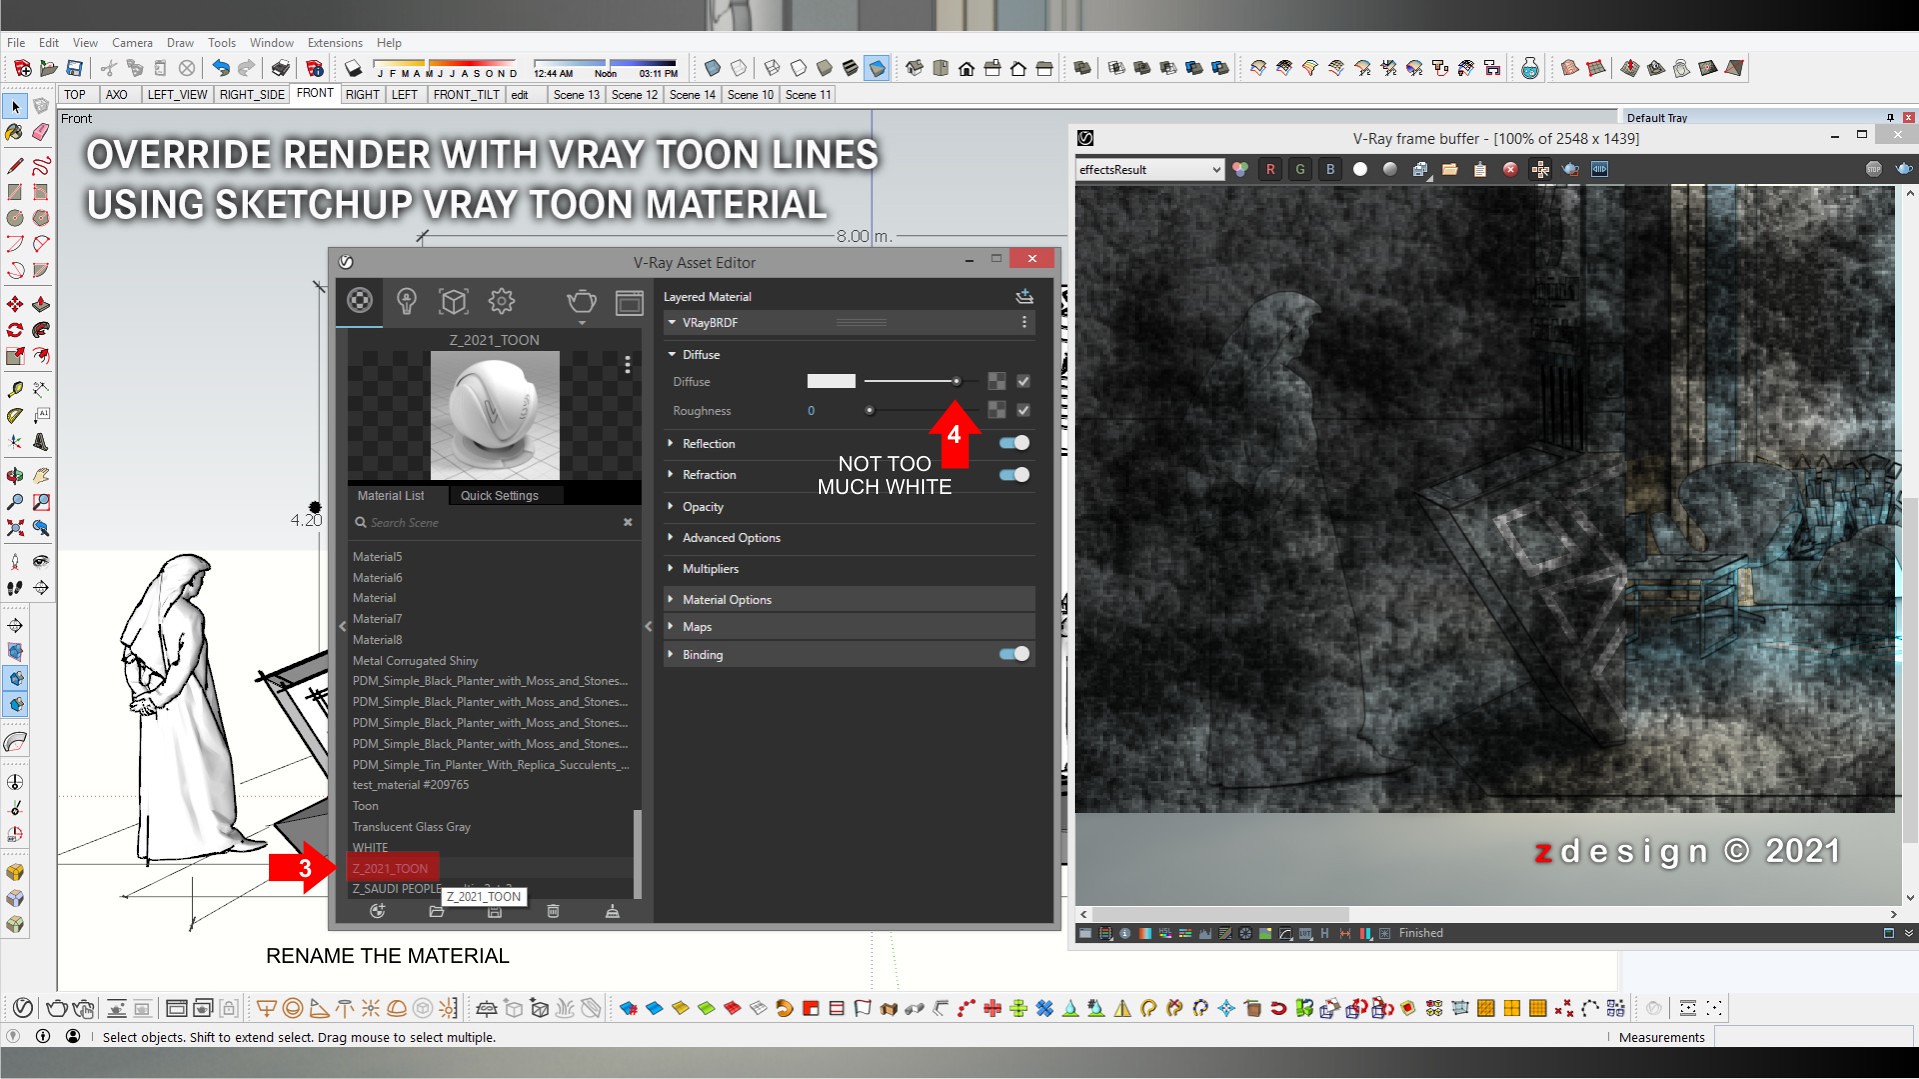
Tutorial Sketchup Vray Toon Override . . .

Vray Toon Effect Tutrial

The Toon Override material is related to the global Contour settings and some of the global options affect all Toon Override materials.

Add Generic Material
Rename Generic Material
Add Toon Material
In Toon Base Material Material
Adjust Line Width and check Conpensate EV
Now Check Override material in Setting and Locate the Toon Material
Saving Toon Material and try to Render a Scene.
Voila . . . zdesign    Publication

https://zdesigninfo.blogspot.com/google.com,%20pub-2025840612938050,%20DIRECT,%20f08c47fec0942fa0

Wednesday, September 23, 2020

UV Mapping of reflection map in Sketchup . . .

In the 'texture placement' menu, you can choose a UV channel/set (by default set to 1),


Tuesday, January 7, 2020

CONVERTING IMAGE FILE PDF TO DWG FORMAT . . .

1. Open PDF file format, then Save as EPS format.
2. Open Coreldraw then import EPS then export as DWG.
3. Open the exported DWG and rescale according actual dimension.
    Voila...

Sunday, January 5, 2020

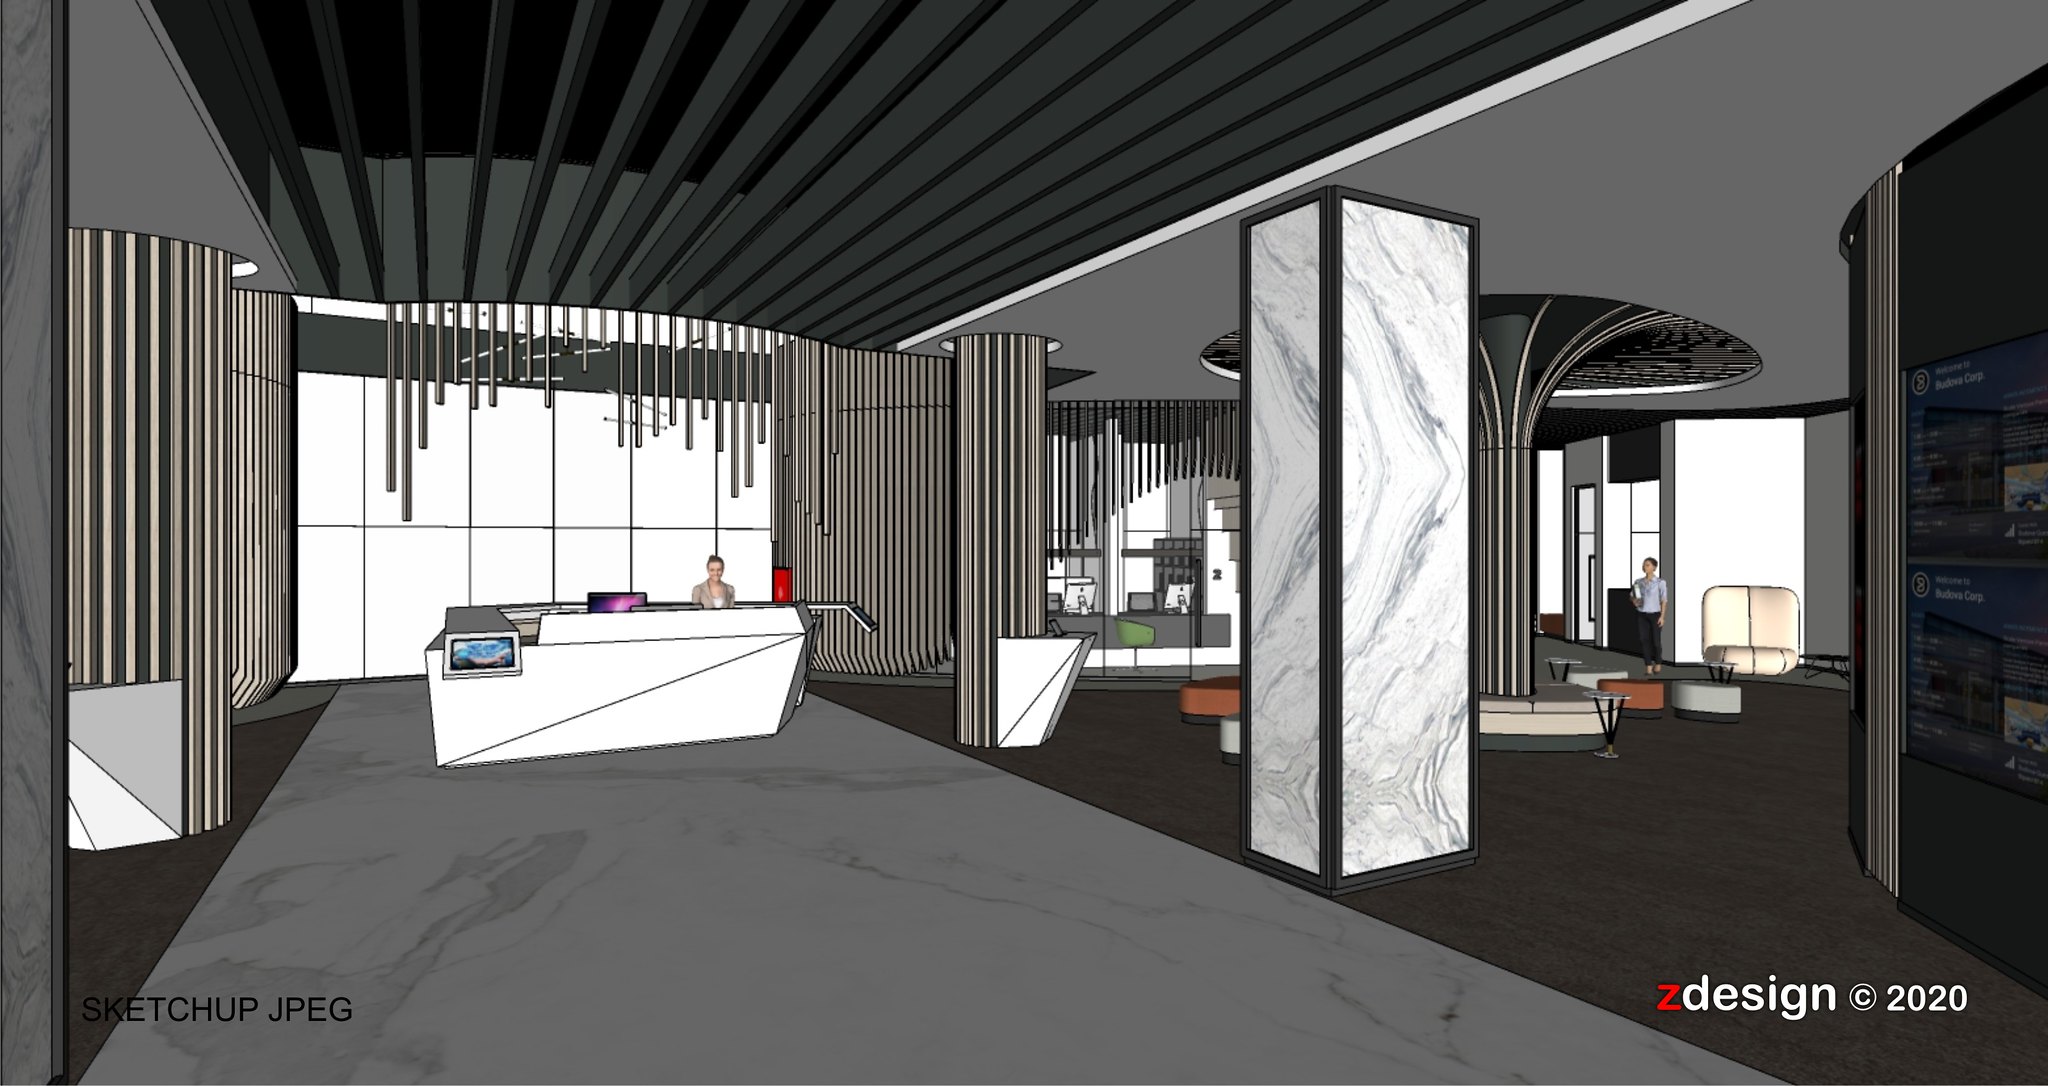
How to make Sketchy style image . . . NPR

1 - From 3d model in Sketchup, save same size jpeg file format.

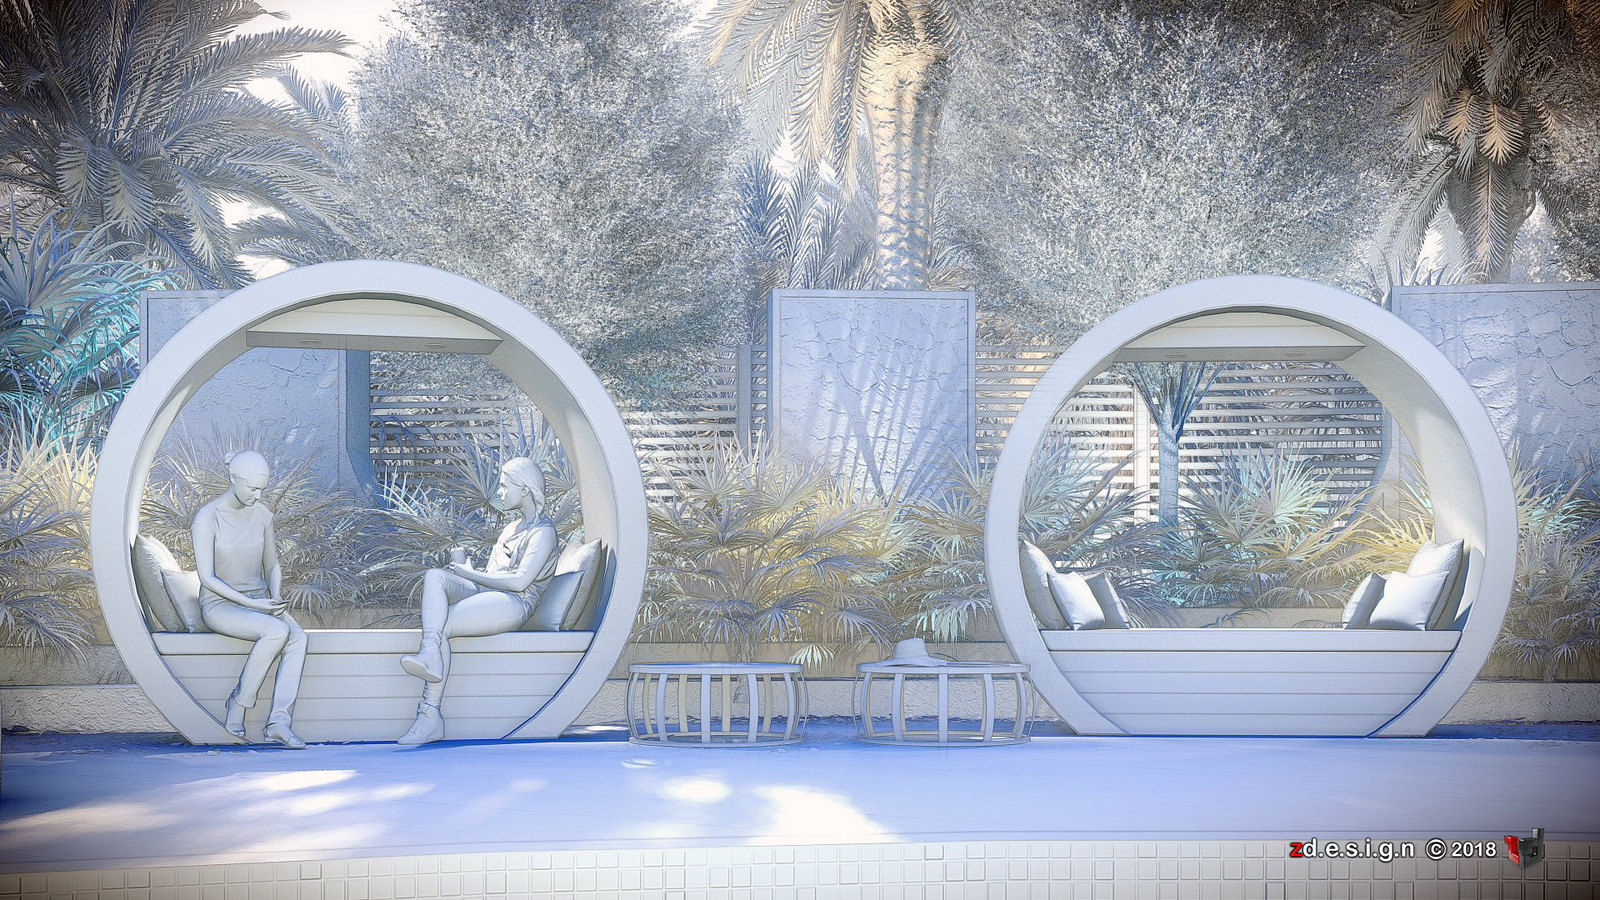
2 - From 3d model in Sketchup again, Render same position of camera angle with override material.
     (showing all the light and sun illumination)

3 - Open photoshop, then overlay the jpeg file format from sketchup to jpeg override render.

4 - Open Fotosketcher and load the output overlay images then select watercolor effect.

5 - Add frame in Filter Forge for more realistic water color effect. Voila!


Hope it helps . . . check also my first tips HERE

Wednesday, October 3, 2018

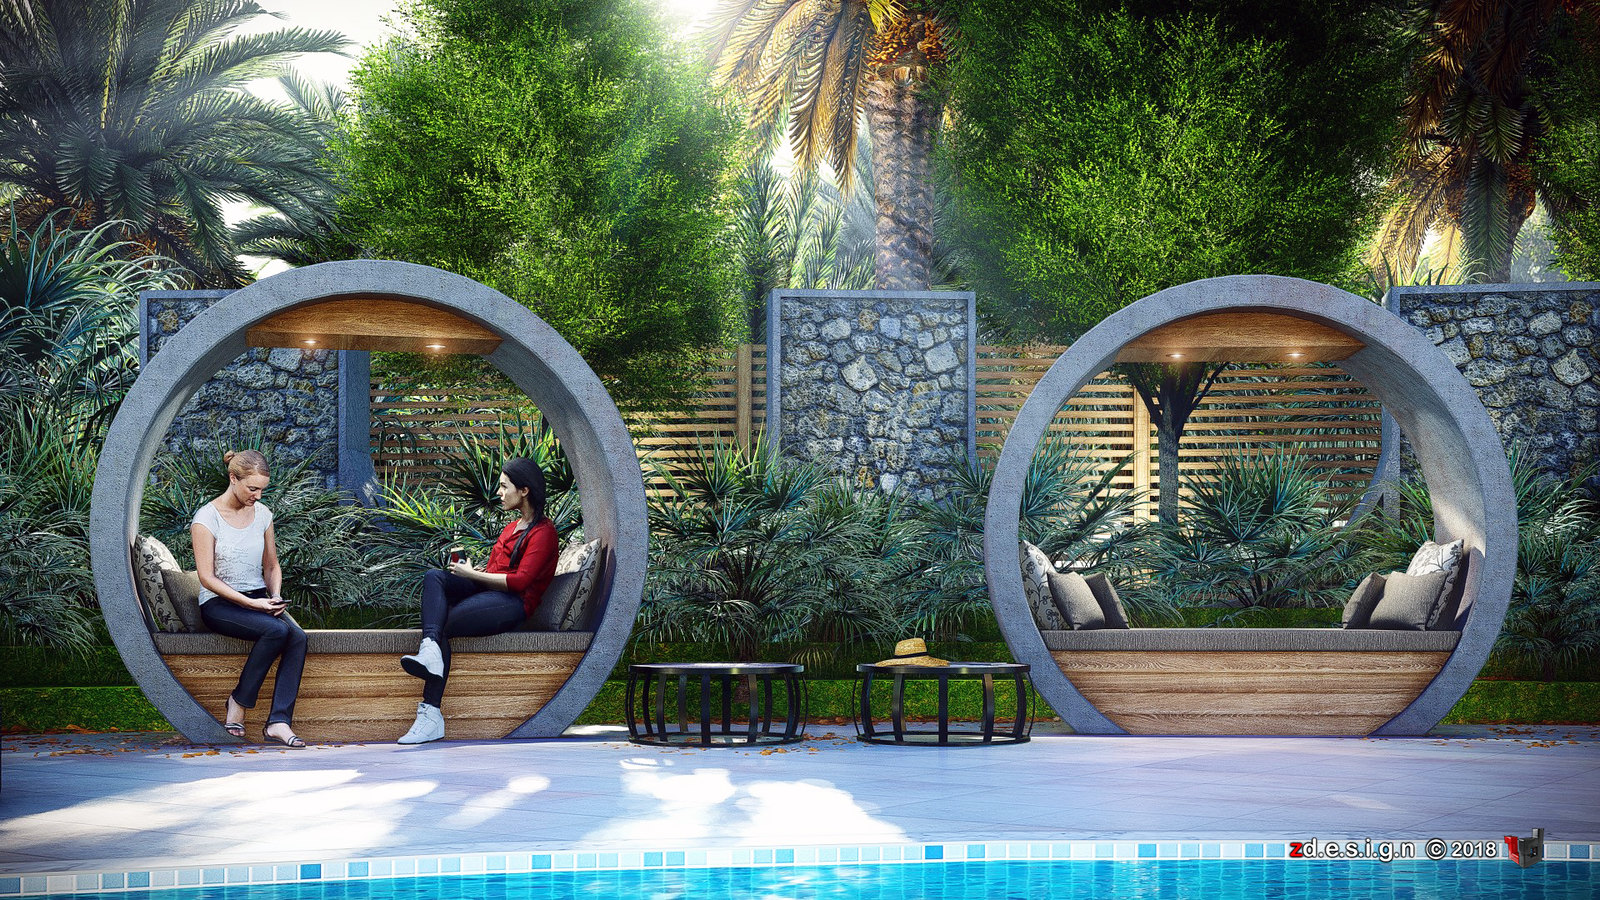
The Farm Pool ... Lumion render (update)

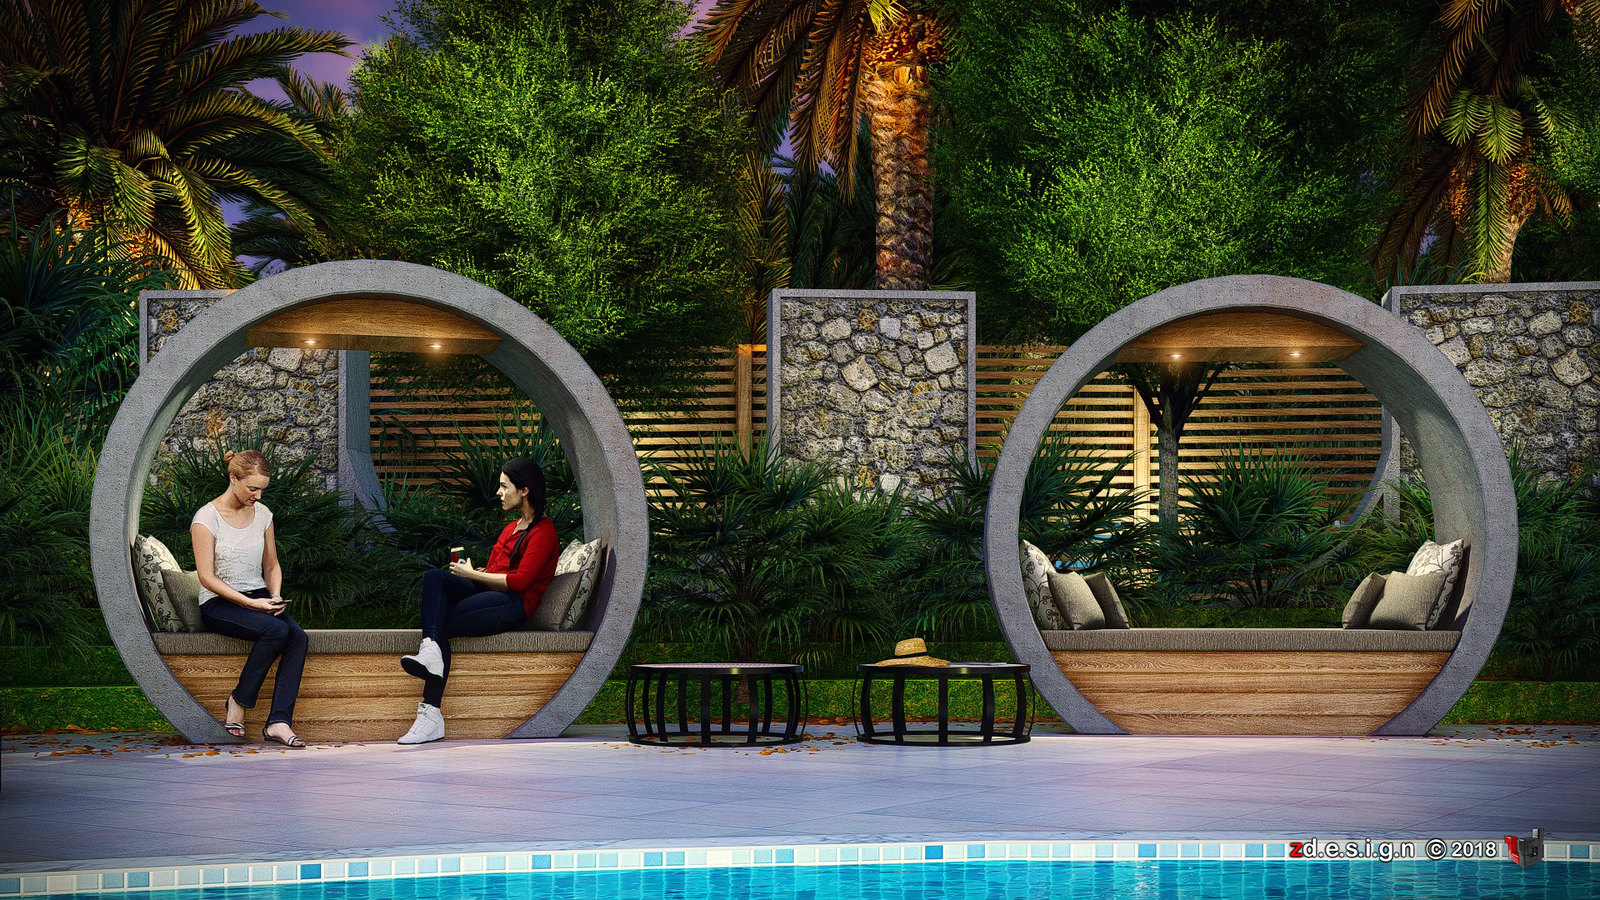
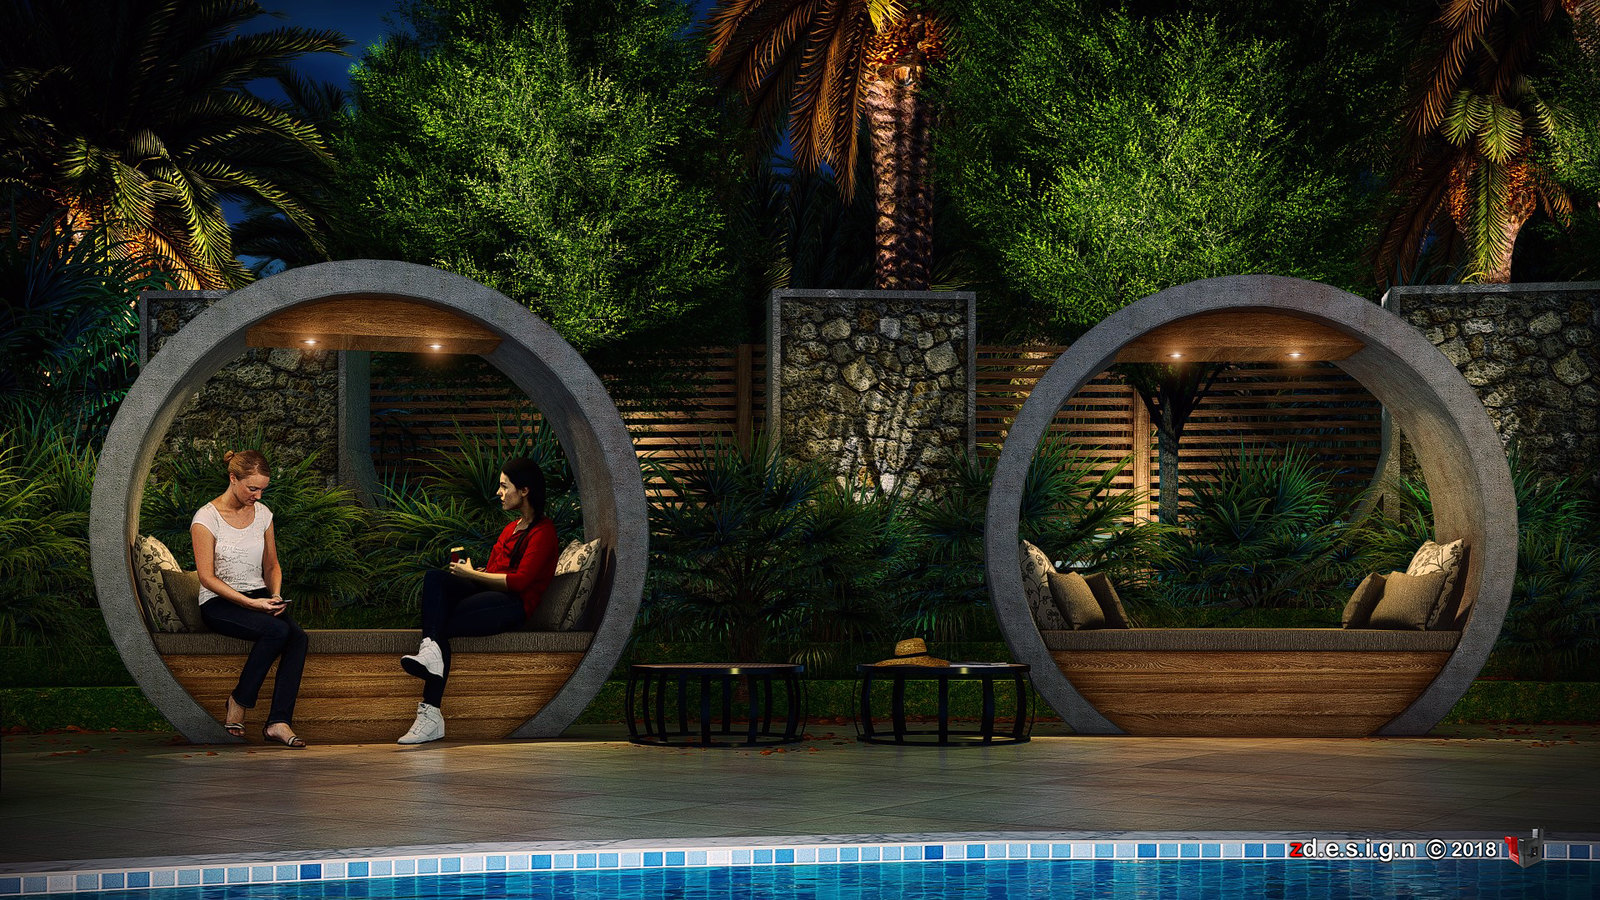
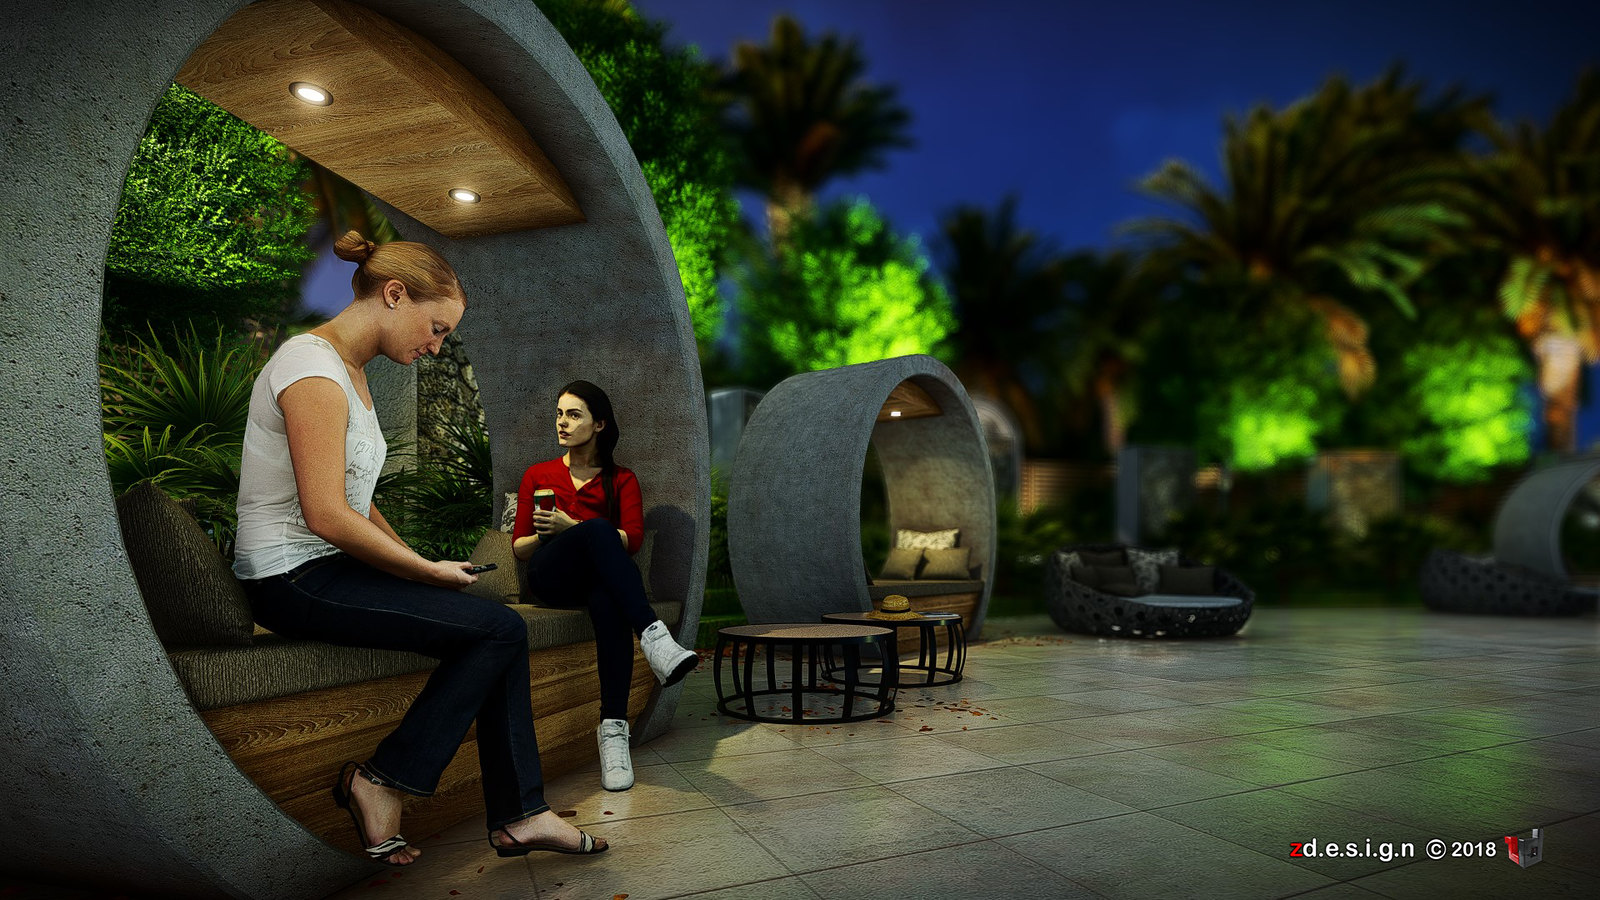
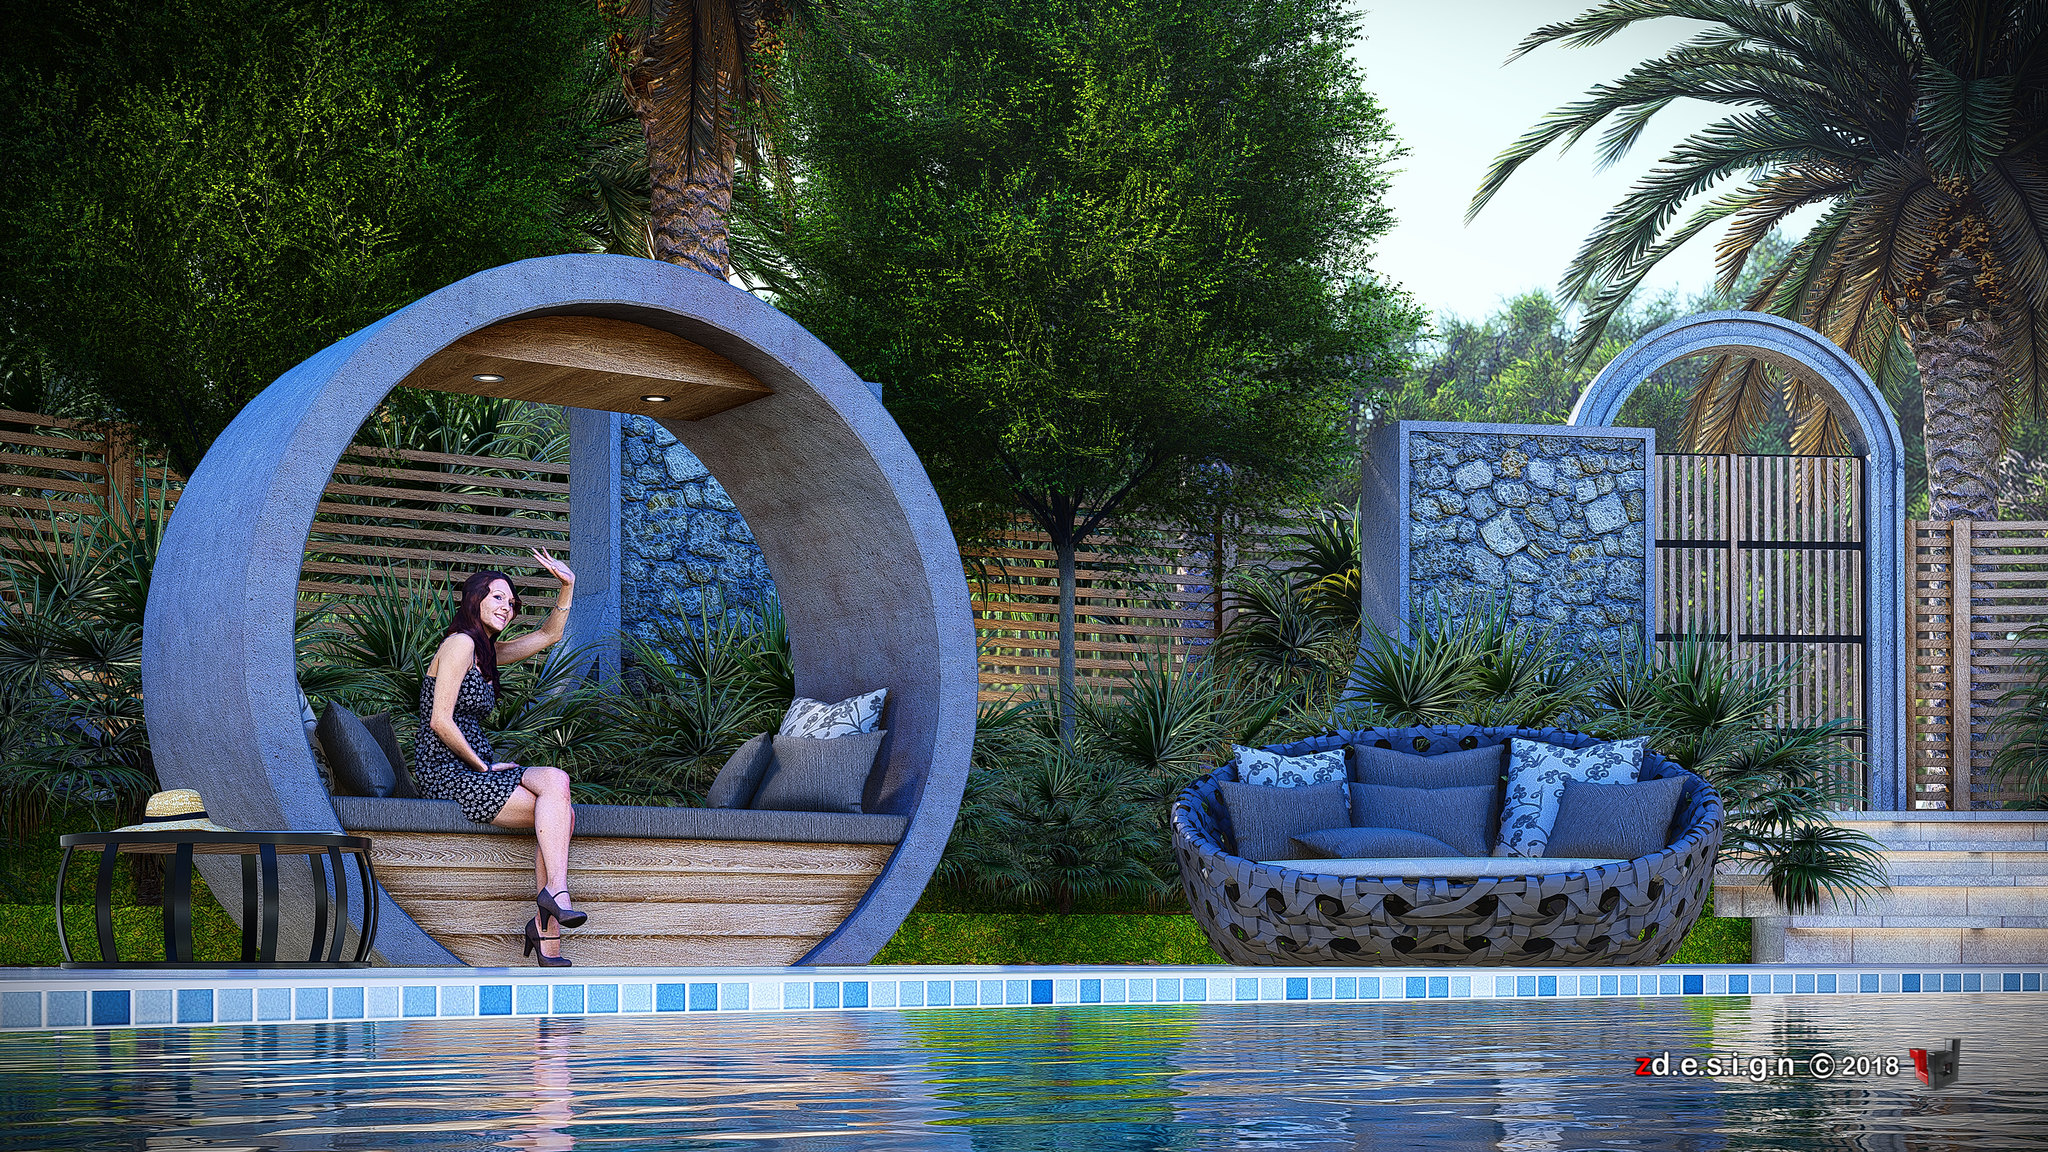
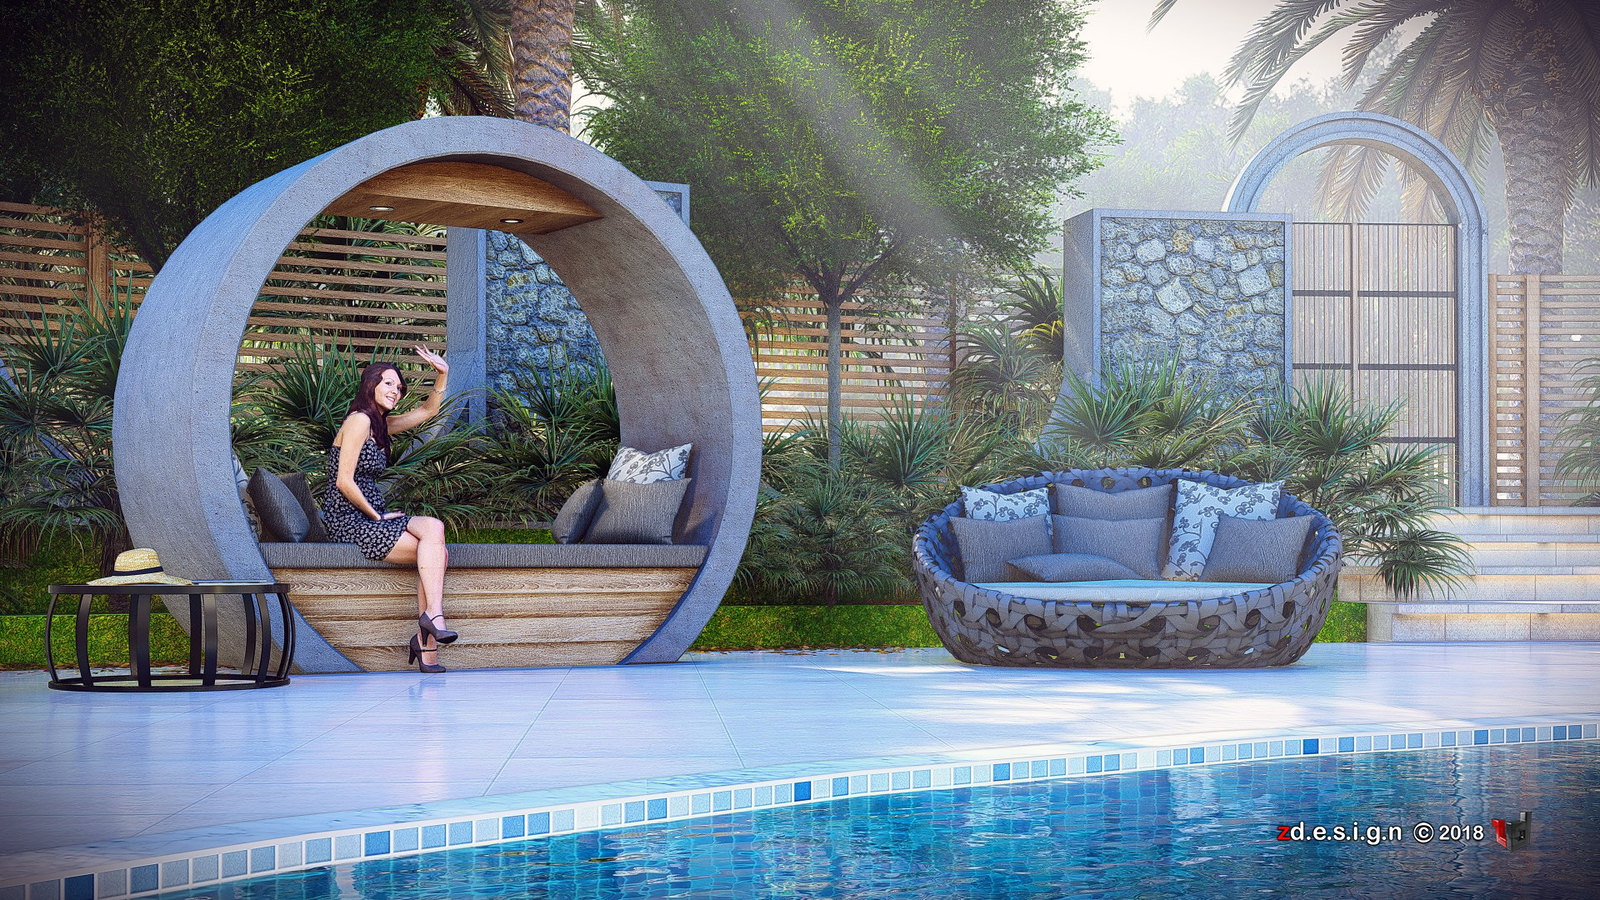
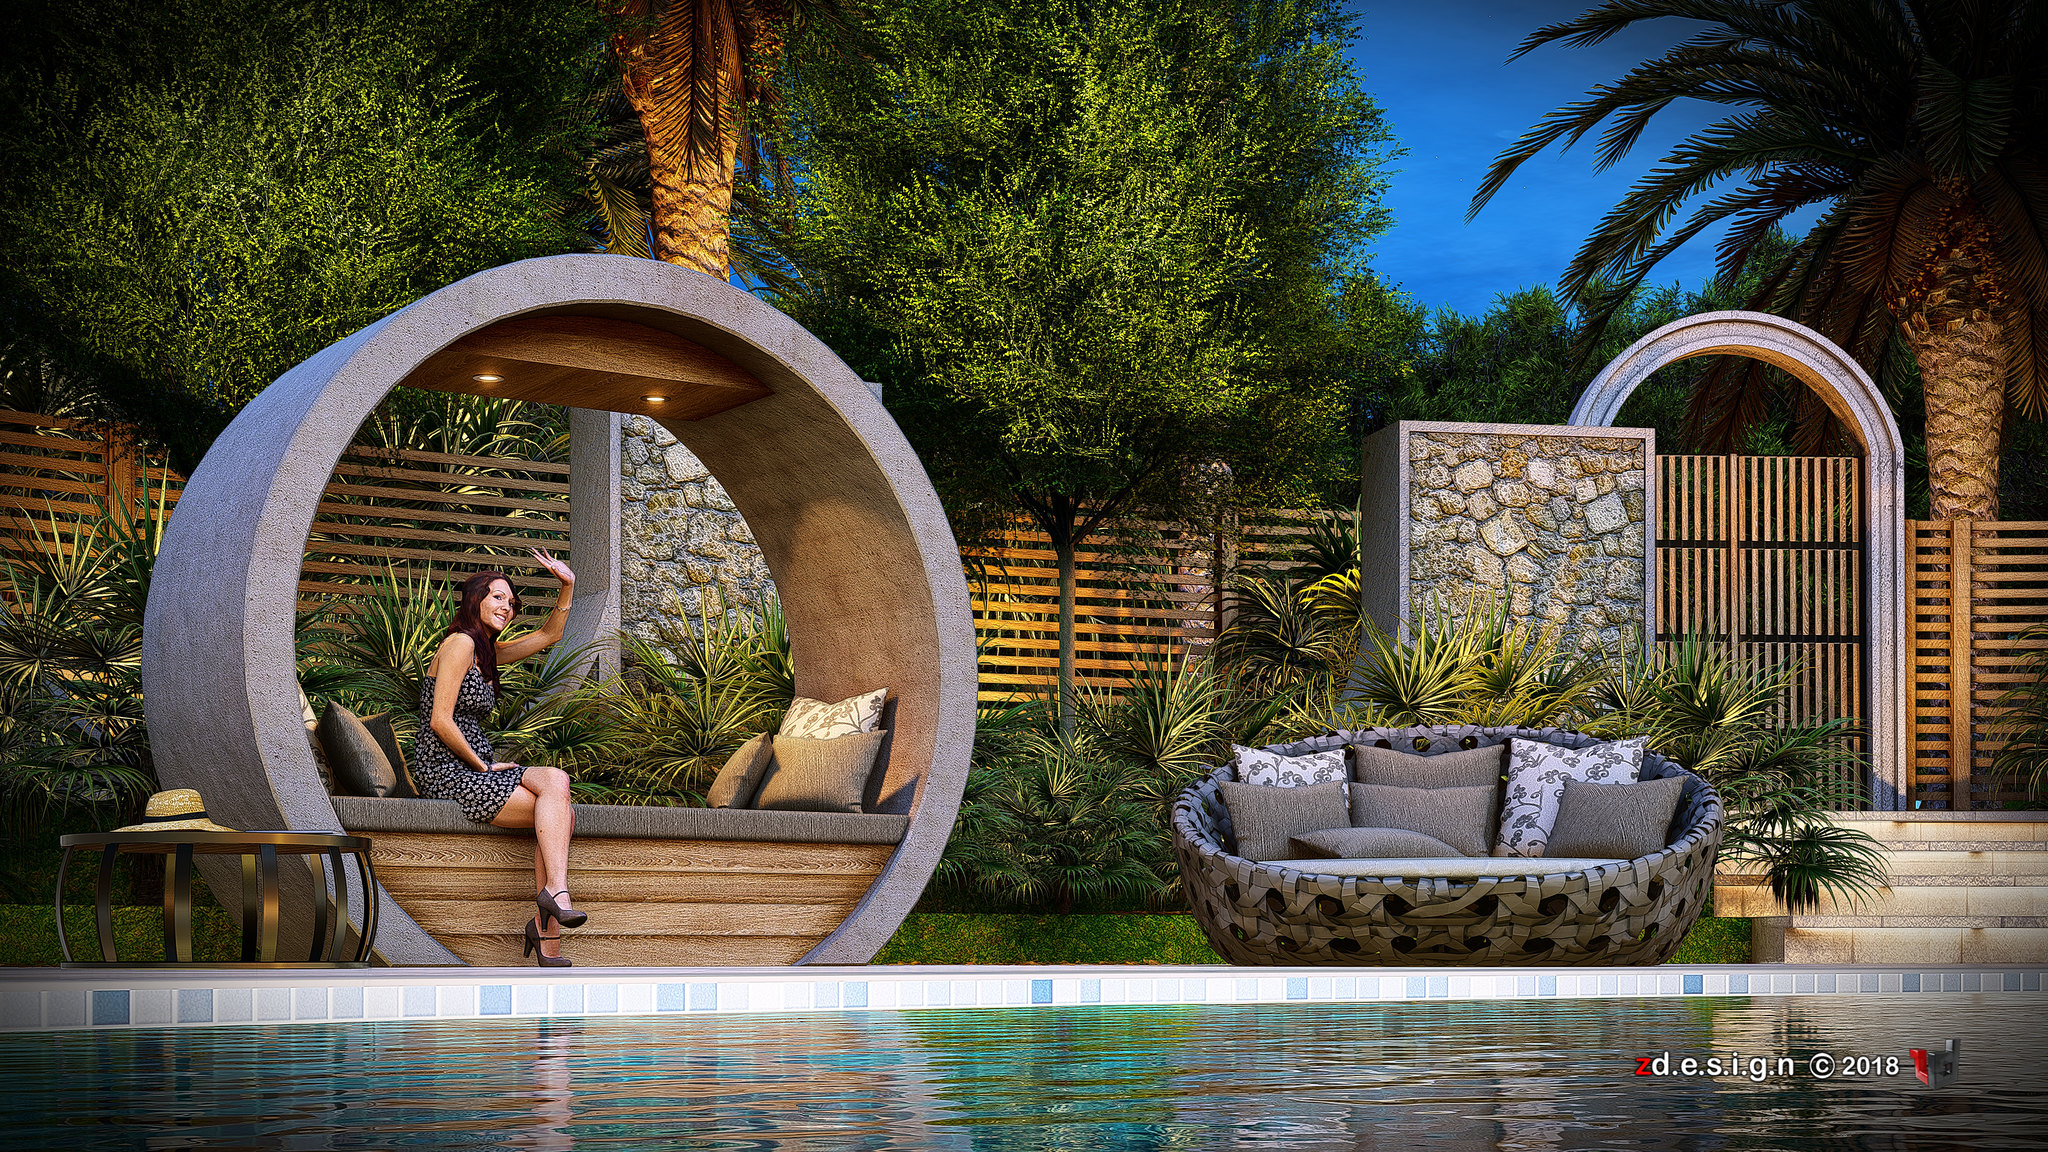
"The Farm Pool" - Relax and get away from the crowds, heat, noise and queues. Enjoy a day of nature, incredible views, friendly people, great foods and wine! workflow : sketchup + lumion8...check previous concept

Thursday, September 27, 2018

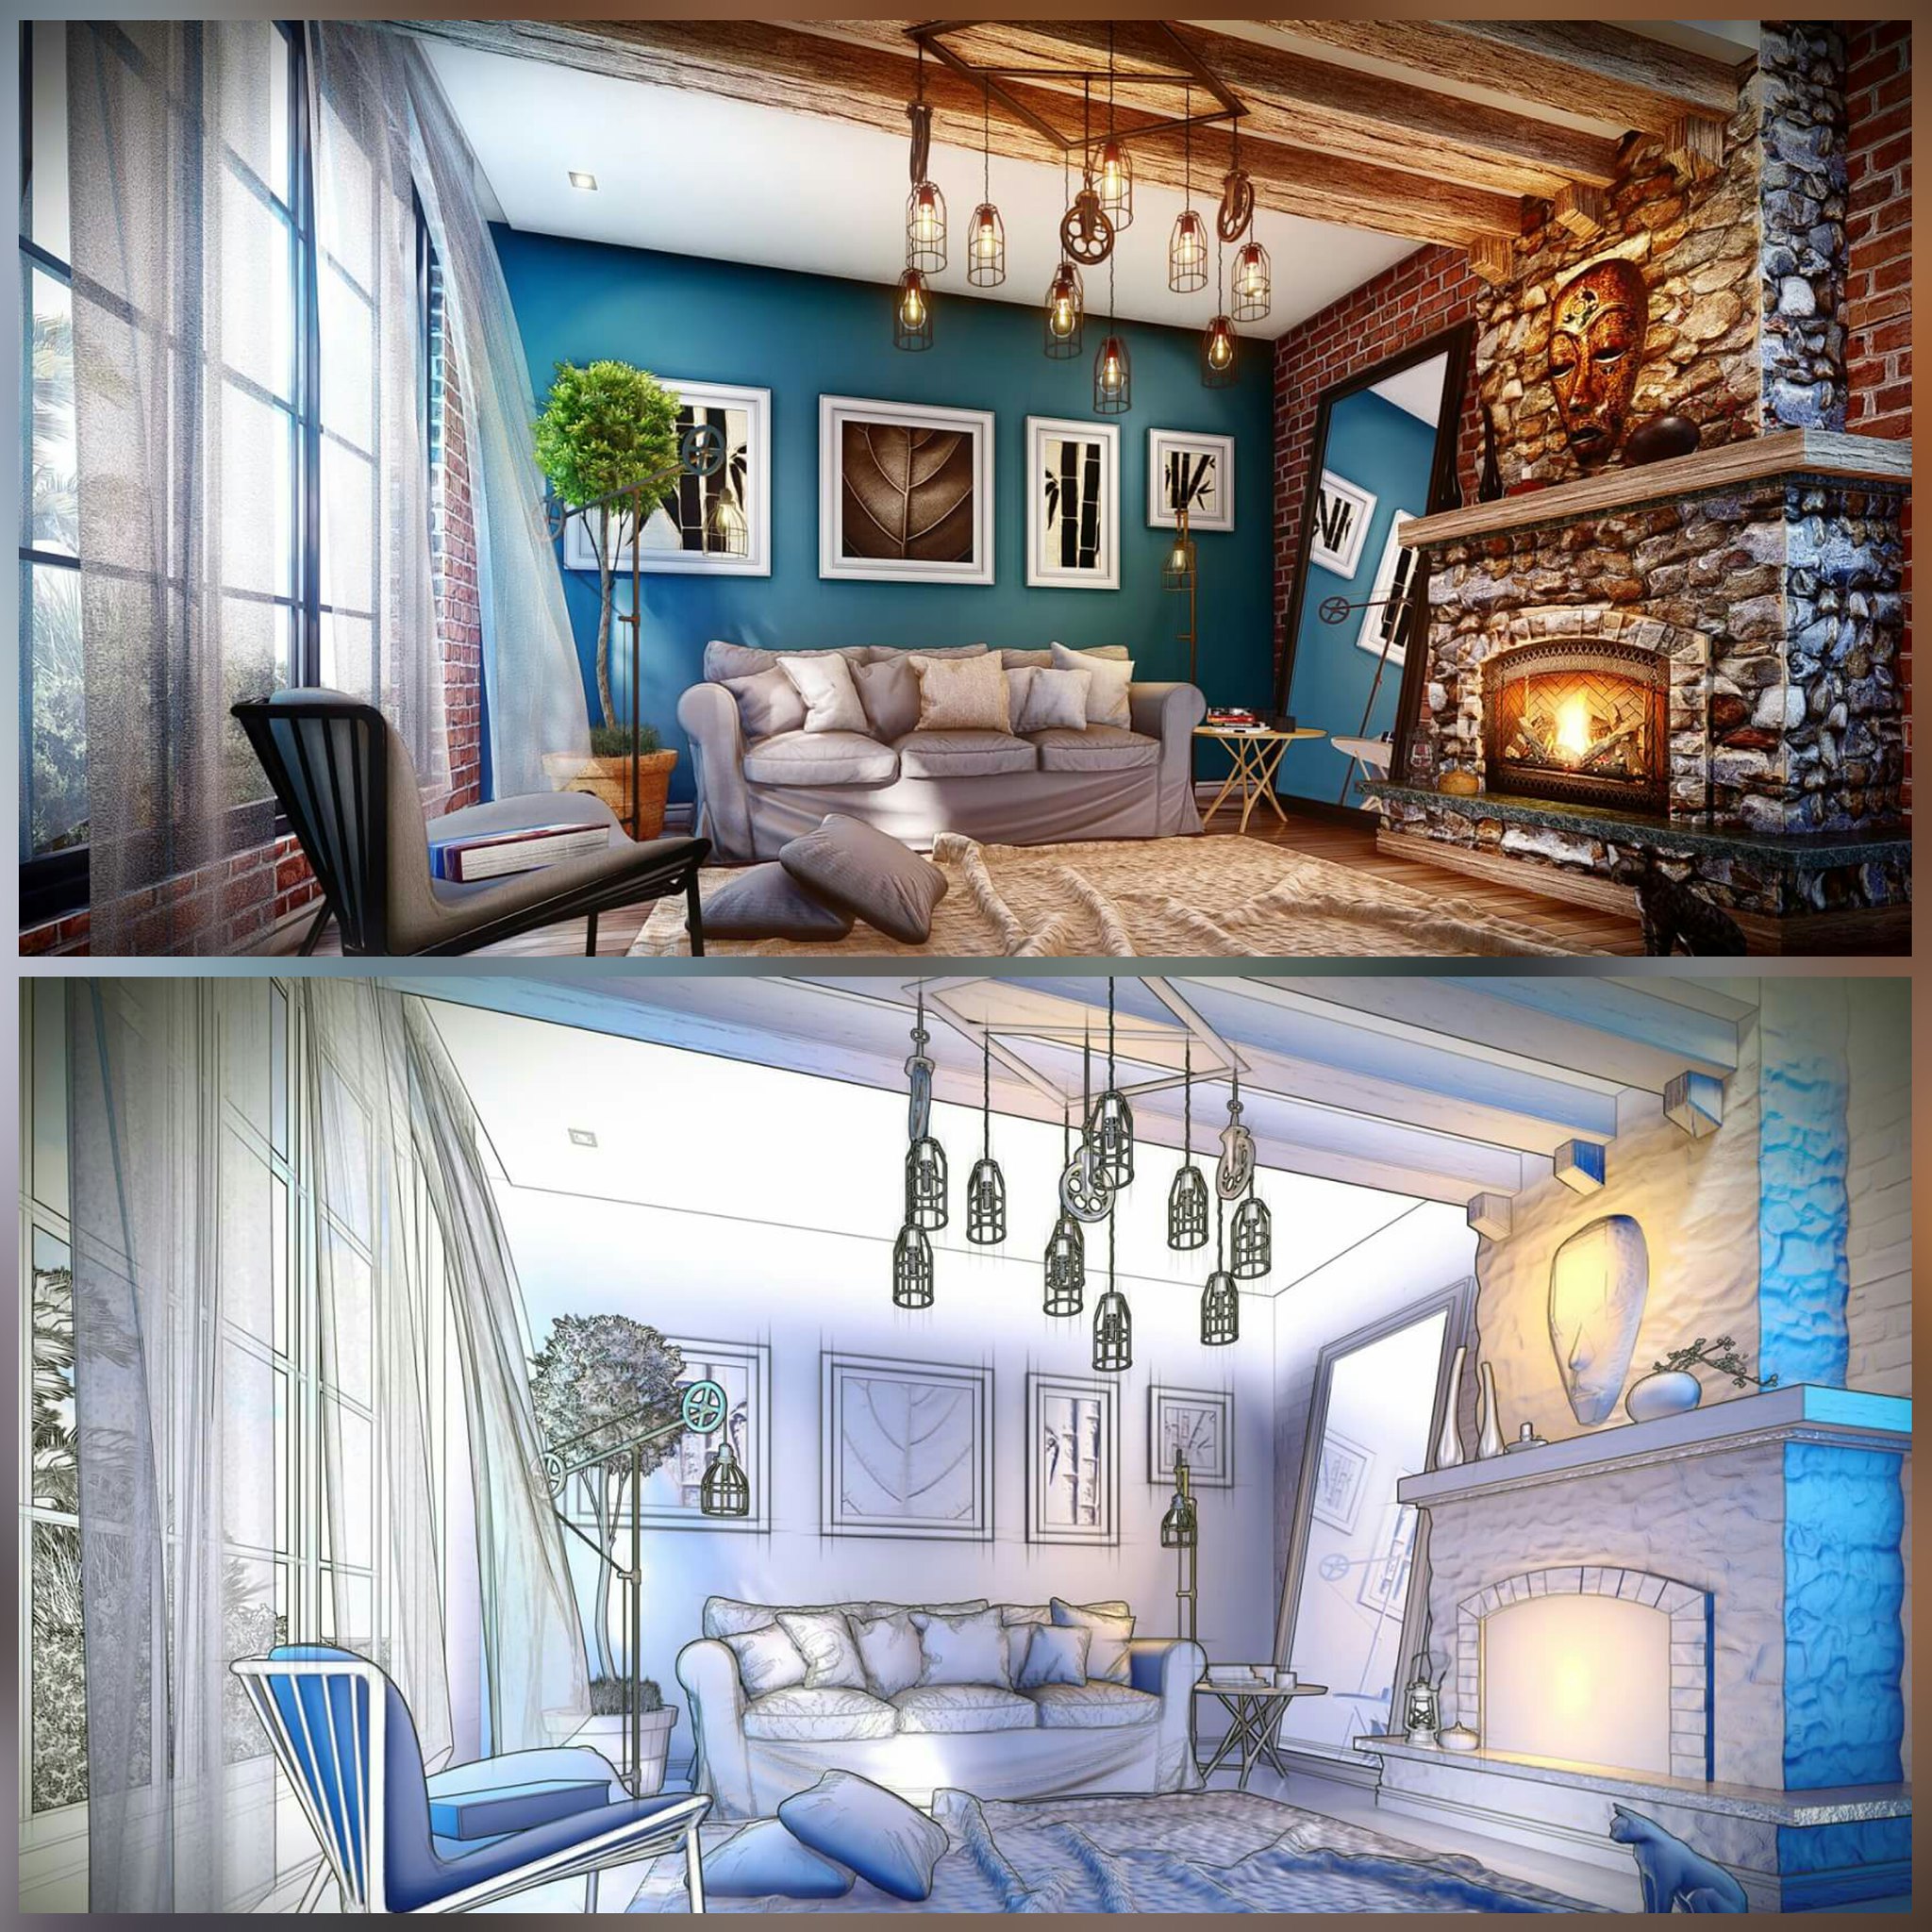
The Farm Pool ... Lumion render (REVISED 1) with Tips and Tricks

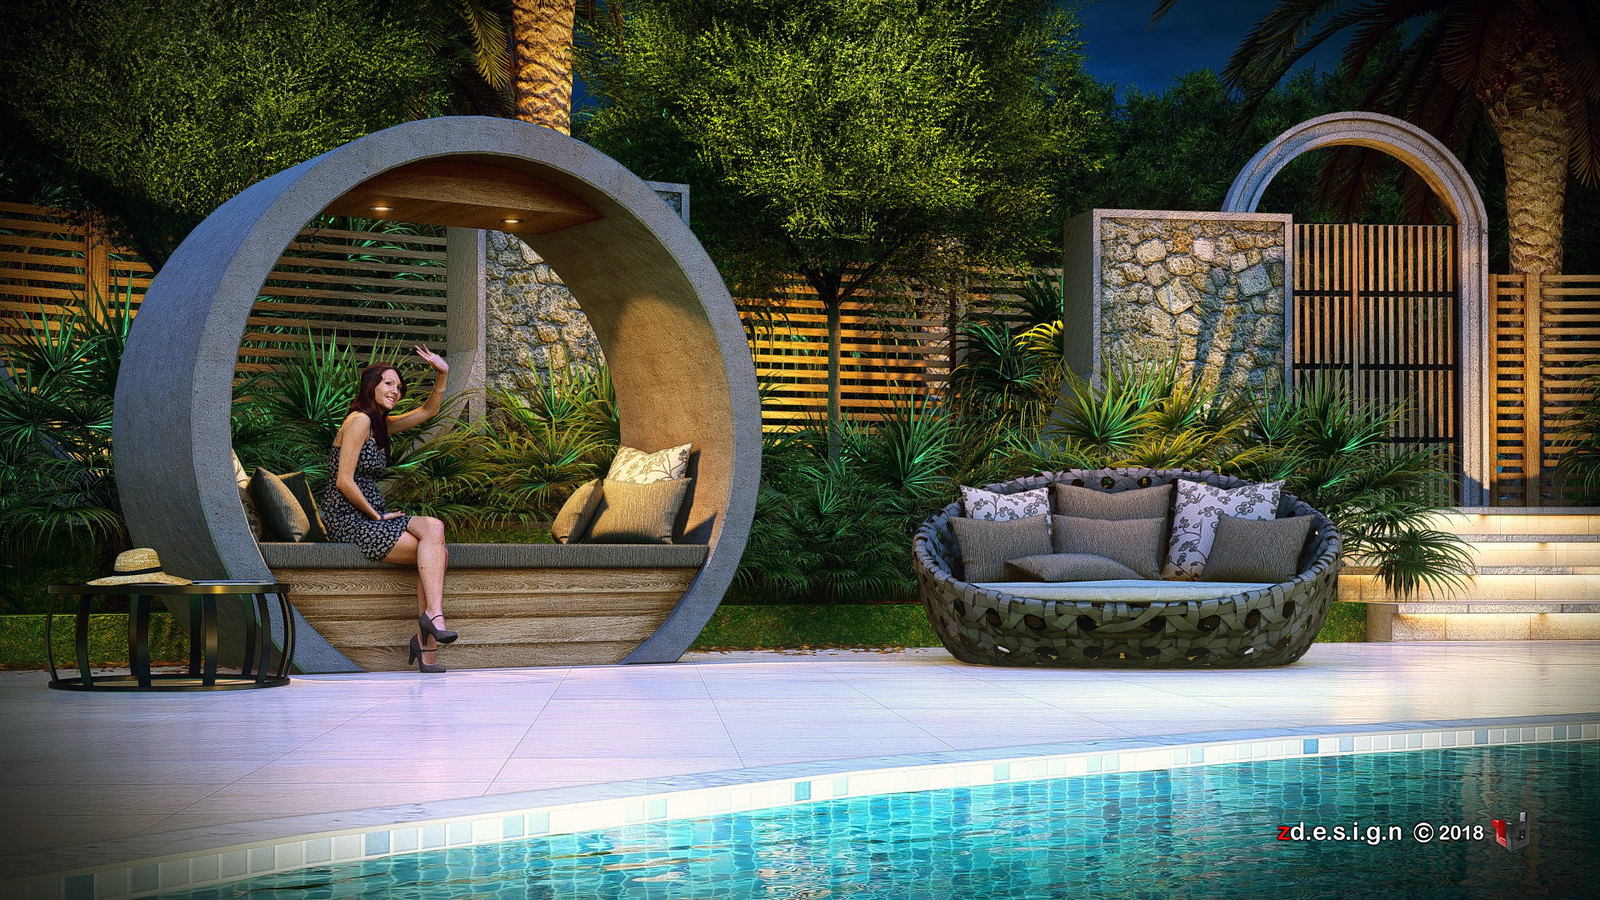
"The Farm Pool" - Relax and get away from the crowds, heat, noise and queues. Enjoy a day of nature, incredible views, friendly people, great foods and wine! workflow : sketchup + lumion8...check previous concept

code : P20_PRINT_DAY_BRIGHT *
code : FLYTHROUGH_DAY_BLOOM *
code : P20_PRINT_DAY_BRIGHT_lighting *
code : P19_PRINT_NIGHT_BRIGHT *
code : FLYTHROUGH_NIGHT_BLOOM *
code : P19_PRINT_NIGHT_BRIGHT_lighting *

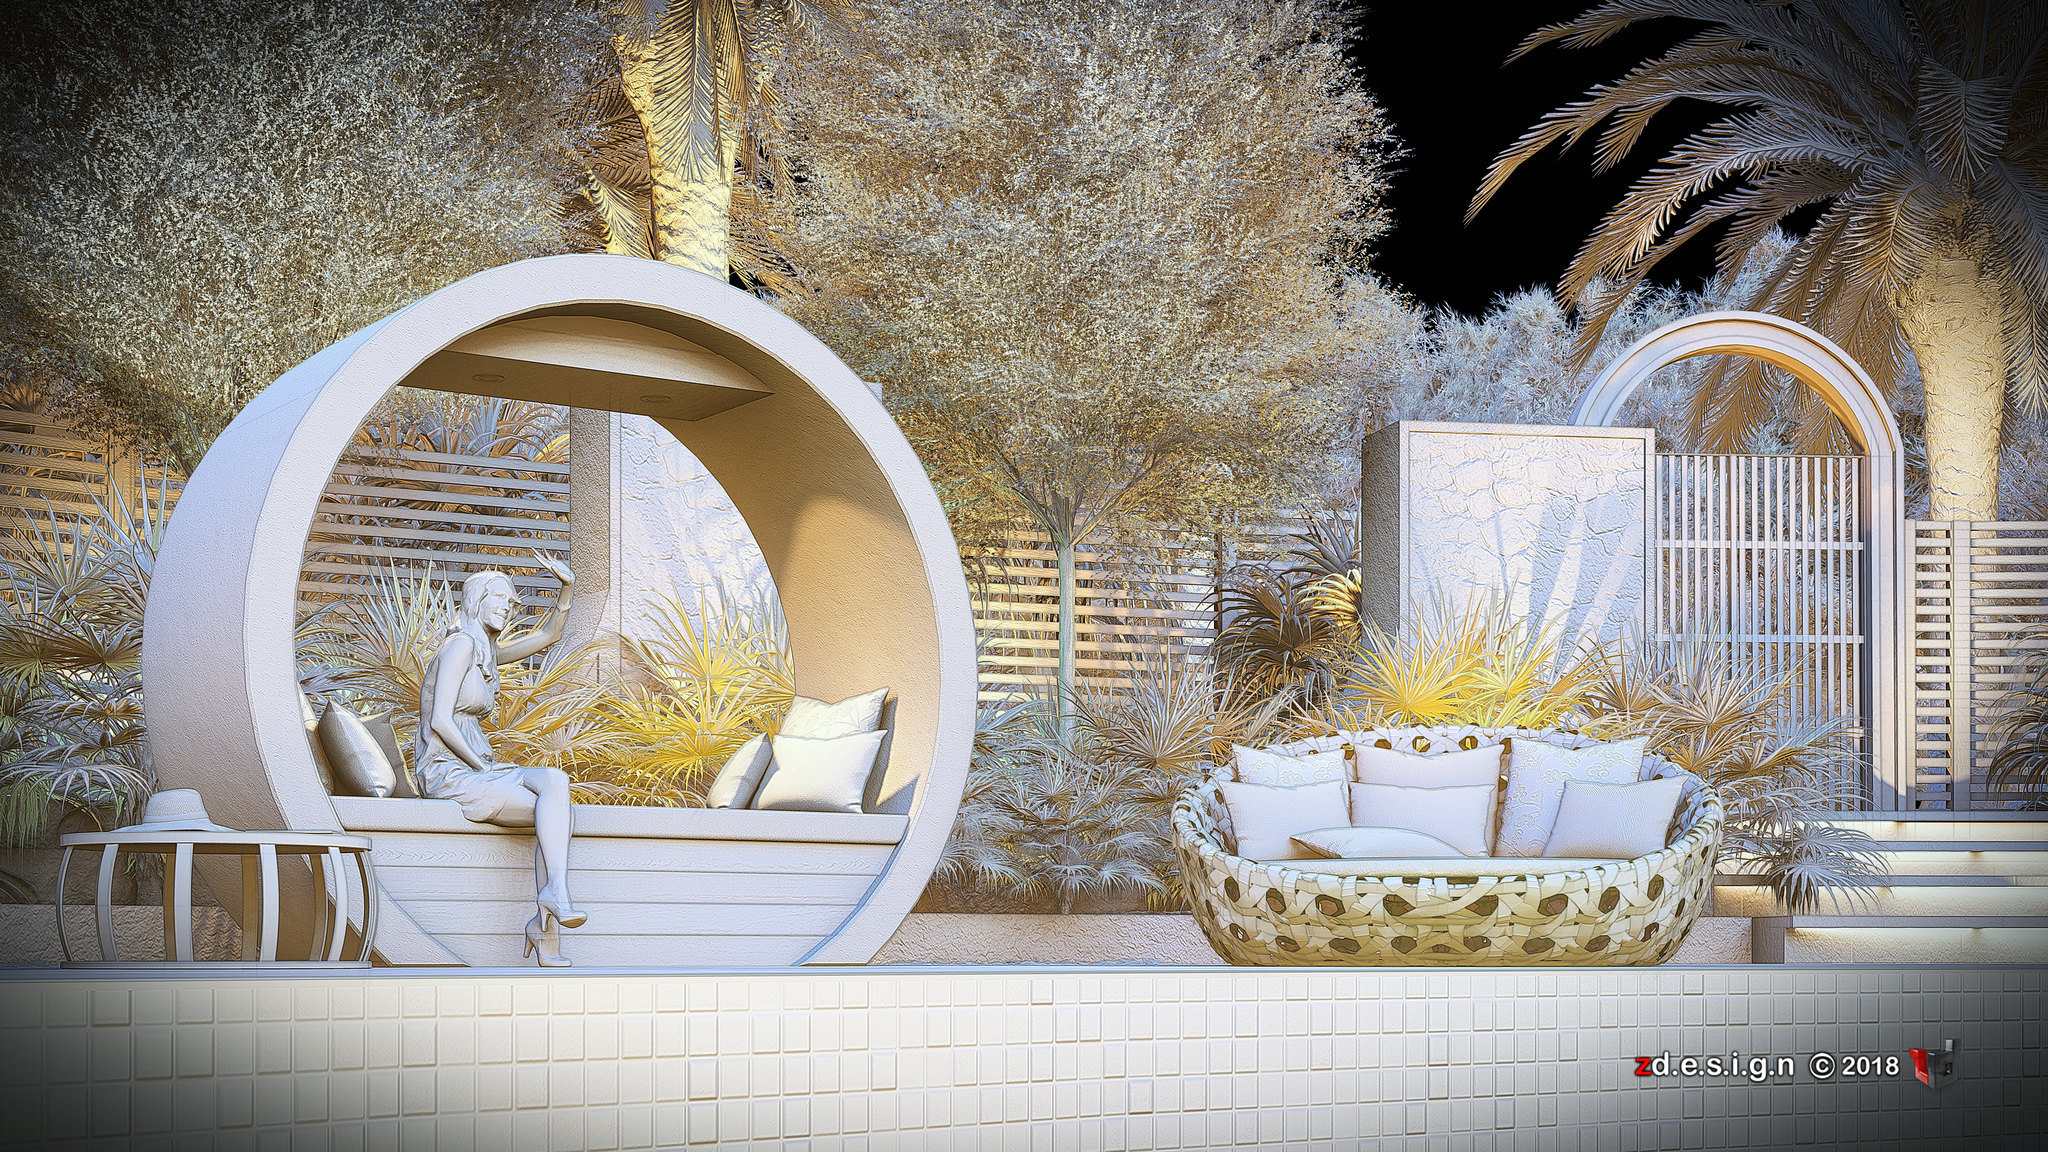
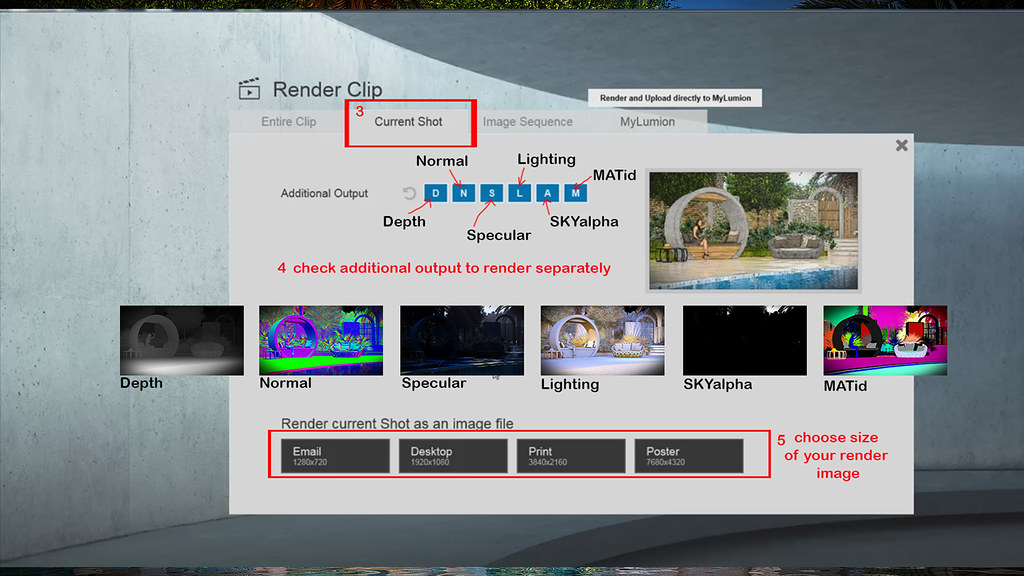
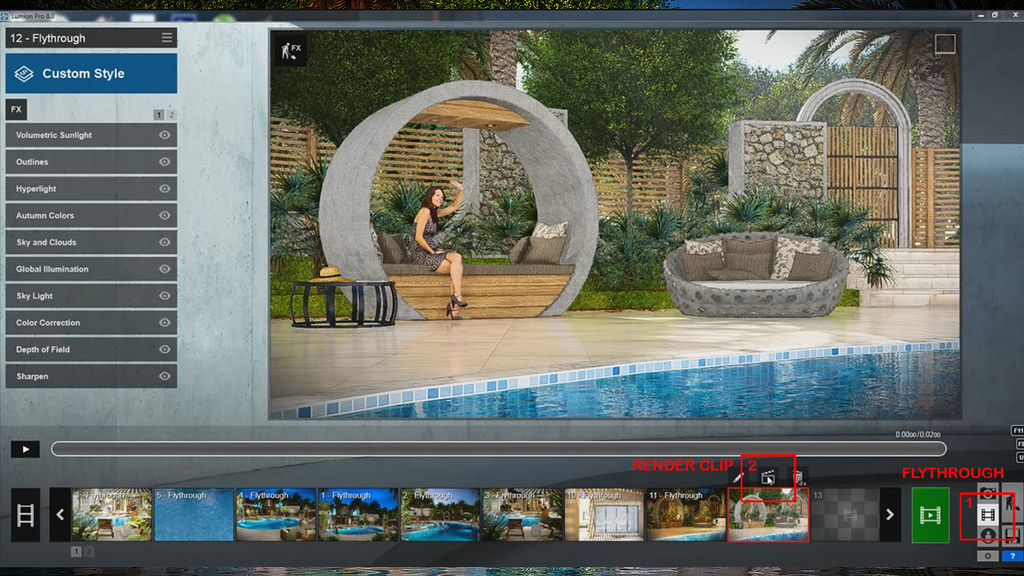
Tutorial : How to render the "Lighting" pass and other additional output like Depth, Normal, Specular, SKYalpha, and MATid...(follow the number steps)
       1- Flythrough
       2- RenderClip
       3- Current Shot
       4- Check additional output to render separately,
       5- Choose size render image.
       6- then save and hit render...voila!!!

Wednesday, July 18, 2018

LUMION EFFECT STACKs (lme)...SAMPLE

This stacks are my personal setting according to my scene setup and orientation of sun and sky in every angle using different kind of effects, hope you can try it and if you want just check below and load directly to your lumion.
This process is easy in Lumion, nevertheless you can make it even faster by re-using previous effects. Lumion allows you to copy/paste individual effects and combinations of effects (called effect stacks) for use in different images or animations. You can do this by either copy-pasting in a single project or by saving and loading between one Lumion project and another. This helps save even more time in achieving high quality images, movie clips or 360 panoramas.


LUMION EFFECT STACKS (lme)_2

HINT : after render in lumion, open the render image with stack 2 lme in photoshop and overlay stack 1 lme with 20 percent opacity and check the difference.

check all my lumion render - HERE

Wednesday, July 11, 2018

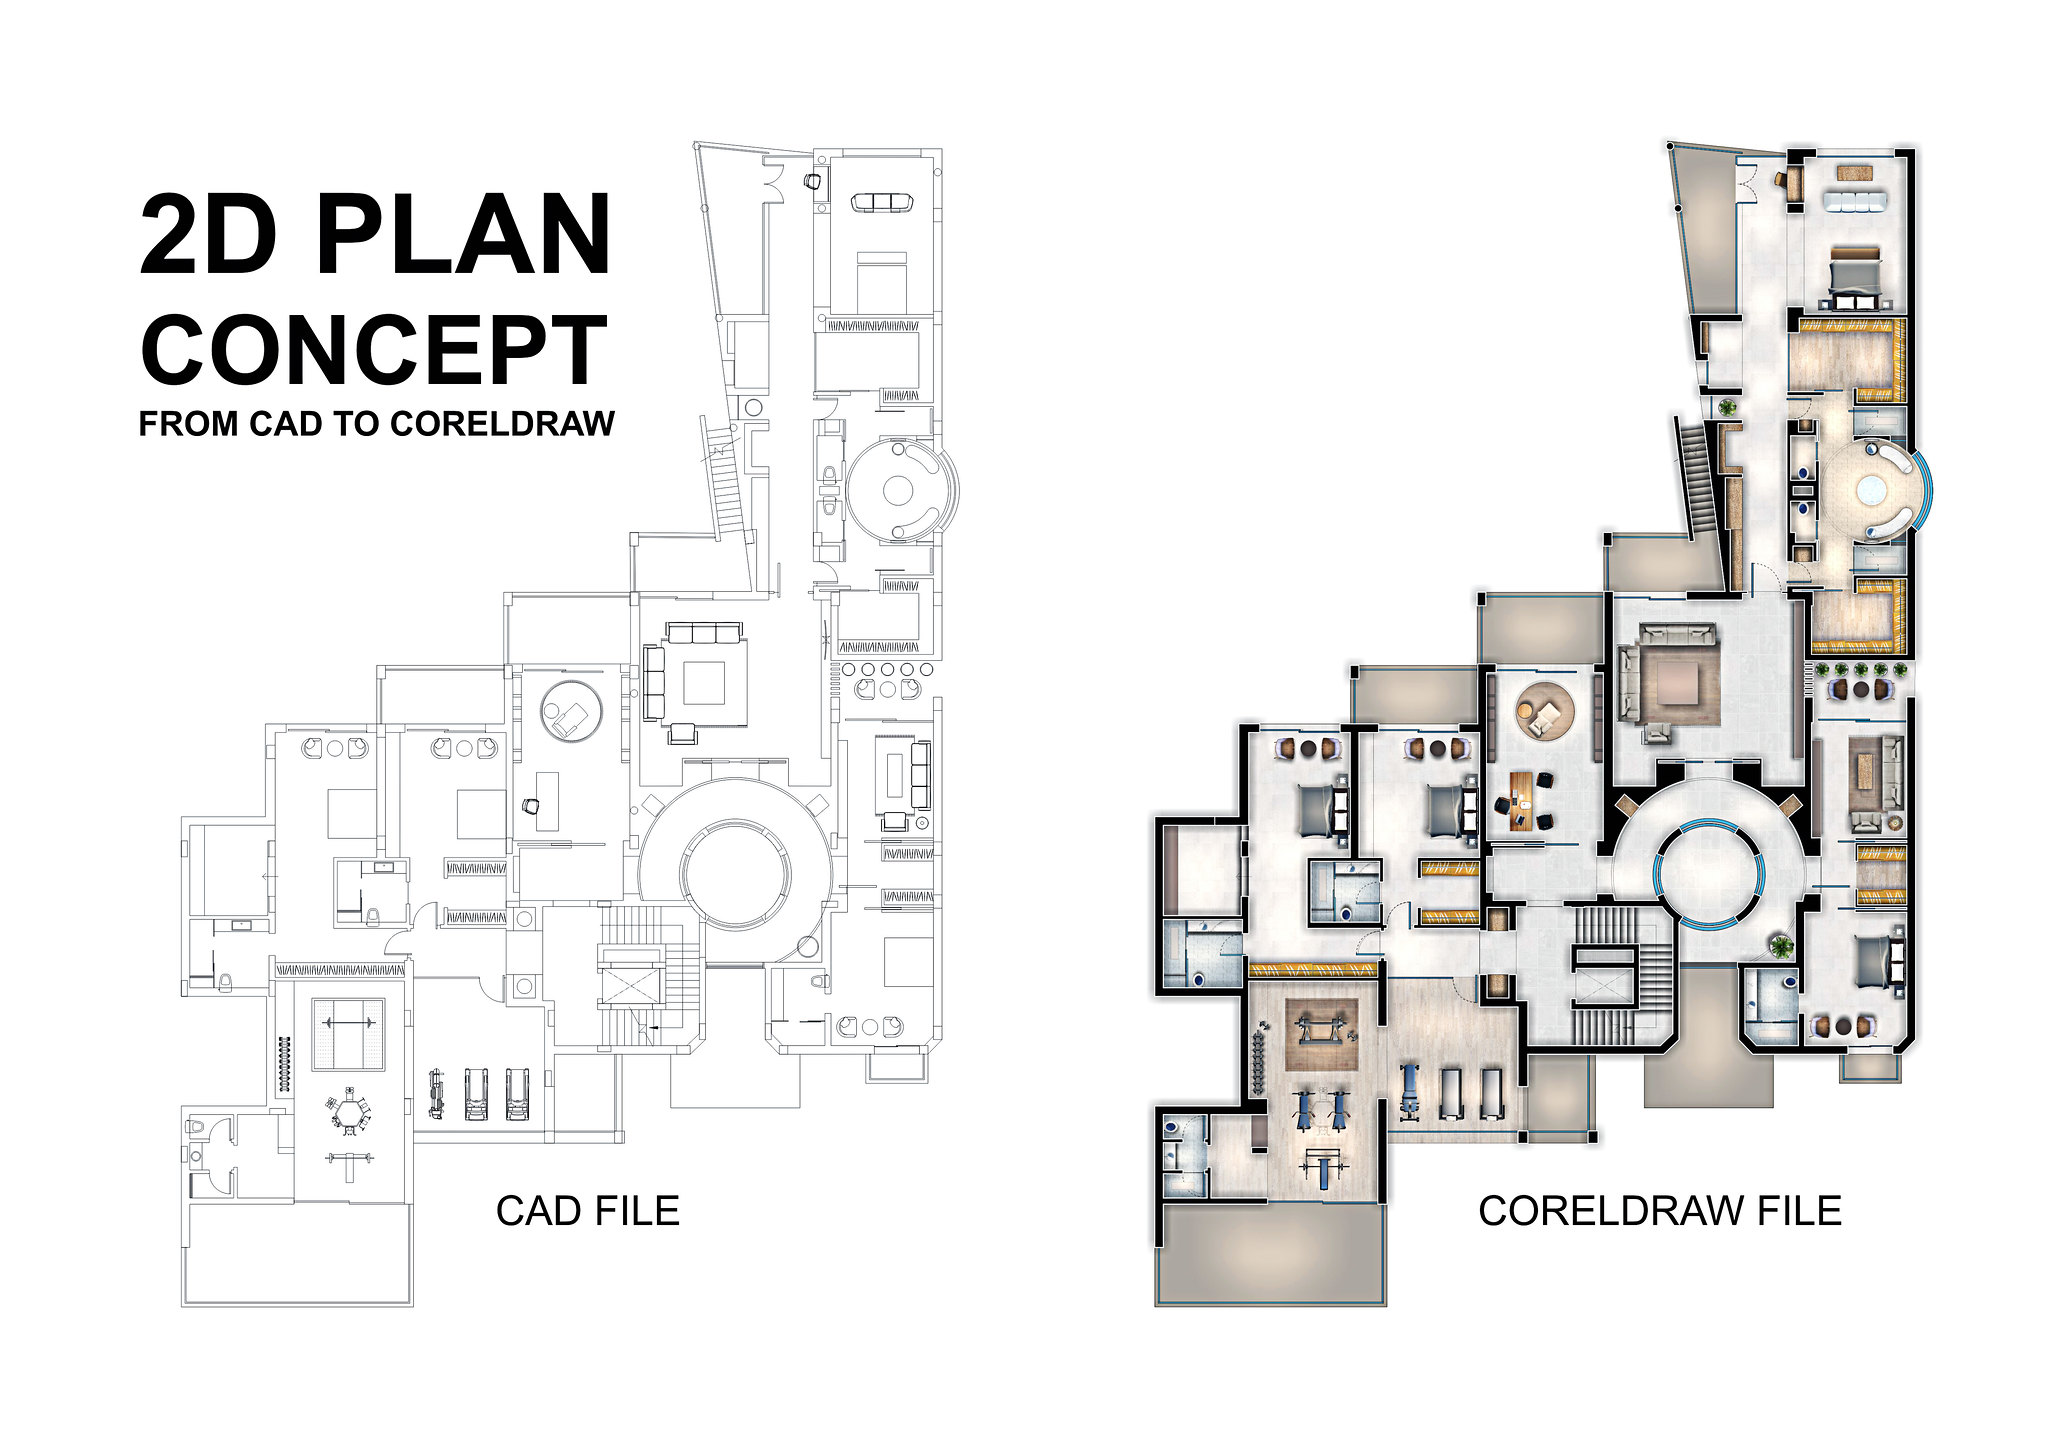
Autocad to Coreldraw . . . Tips and Tricks

To import an AutoCAD Drawing Database file (DWG) or AutoCAD Drawing Interchange Format (DXF)
In CorelDraw - Click File  Import and Locate the folder in which the file is stored.
Choose DWG - AutoCAD (*.dwg) or DXF - AutoCAD (*.dxf) from the list box next to the File name box. - Click the filename and Click Import.
From the 3D projection list box in the Import AutoCAD file dialog box, choose a plane projection of a three-dimensional object as seen from a given focal point. If you want to reduce the number of nodes on the imported object, enable the Auto-reduce nodes check box.

In the Scaling area, enable one of the following options:
Automatic — scales the drawing using the scale of the AutoCAD source file
English (1 unit = 1 inch) — lets you scale the drawing in inches
Metric (1 unit = 1 mm) — lets you scale the drawing in millimeters
Click OK.

Versions of CorelDRAW (10, 11, 12, X3, X4...X8) directly support import of DWG files (in older AutoCAD formats). Due to the complexity of the DWG format this import might be unreliable - so convert your drawing data rather via the exchange formats DXF, WMF, EPS, or PLT (HPGL). All these formats can be exported from AutoCAD and reliably imported into CorelDRAW.
Similarly for backward conversions of .CDR into .DWG files, do not use the DWG export offered in CorelDRAW. It does not create official DWG-format files and such "forged" drawing files may cause problems during further processing. Again, use rather the AutoCAD text format - DXF, or WMF.
In the New version of Corel Draw you can copy and paste directly the dxf / dwg file format...by copy-paste you will get vectors in Corel. The linetype and thickness are preserved.

After you open the DXF file in Corel Draw click a line. If this will cause all the line to be selected press CTRL+U to ungroup them. Select all the lines and use the Outline Tool to change globaly the thickness to Hairline or to other value as you need.

Monday, June 25, 2018

Lumion movie effects file (*lme file format) . . . comparison test from build mode to render output.

Lumion movie effects file (*lme)

I made a comparison from build mode to render output or even in animation, and there's a lot of trial to achieve good illumination.
From custom settings I made a trial and error to achieve good illumination in build mode but when i set to render a scene its totally different, I adjust basically around using low and high temperature with high contrast, very low sun brightness, specific amount of shadow brightness, a combination of low exposure, full hyperlight, skylight bright and saturation. I think it is important also to put cloud and sky brightness to reflect in reflective materials and overall brightness under sky and clouds are important. Tweaking those parameters around in every project since every model size and orientation along with material sets is different. Even camera angle need to adjust to get what you need. Lumion 8 become quite sensitive with all those parameters that you can see only after you render.

I use this Standard Effects in every scene : 

SUN | SHADOW | EXPOSURE | REFLECTION | GLOBAL ILLUMINATION

Add some Style Effects if needed :

LENS FLARE | DEPTH OF FIELD | 2 POINT PERSPECTIVE | VOLUMETRIC LIGHT | BLOOM
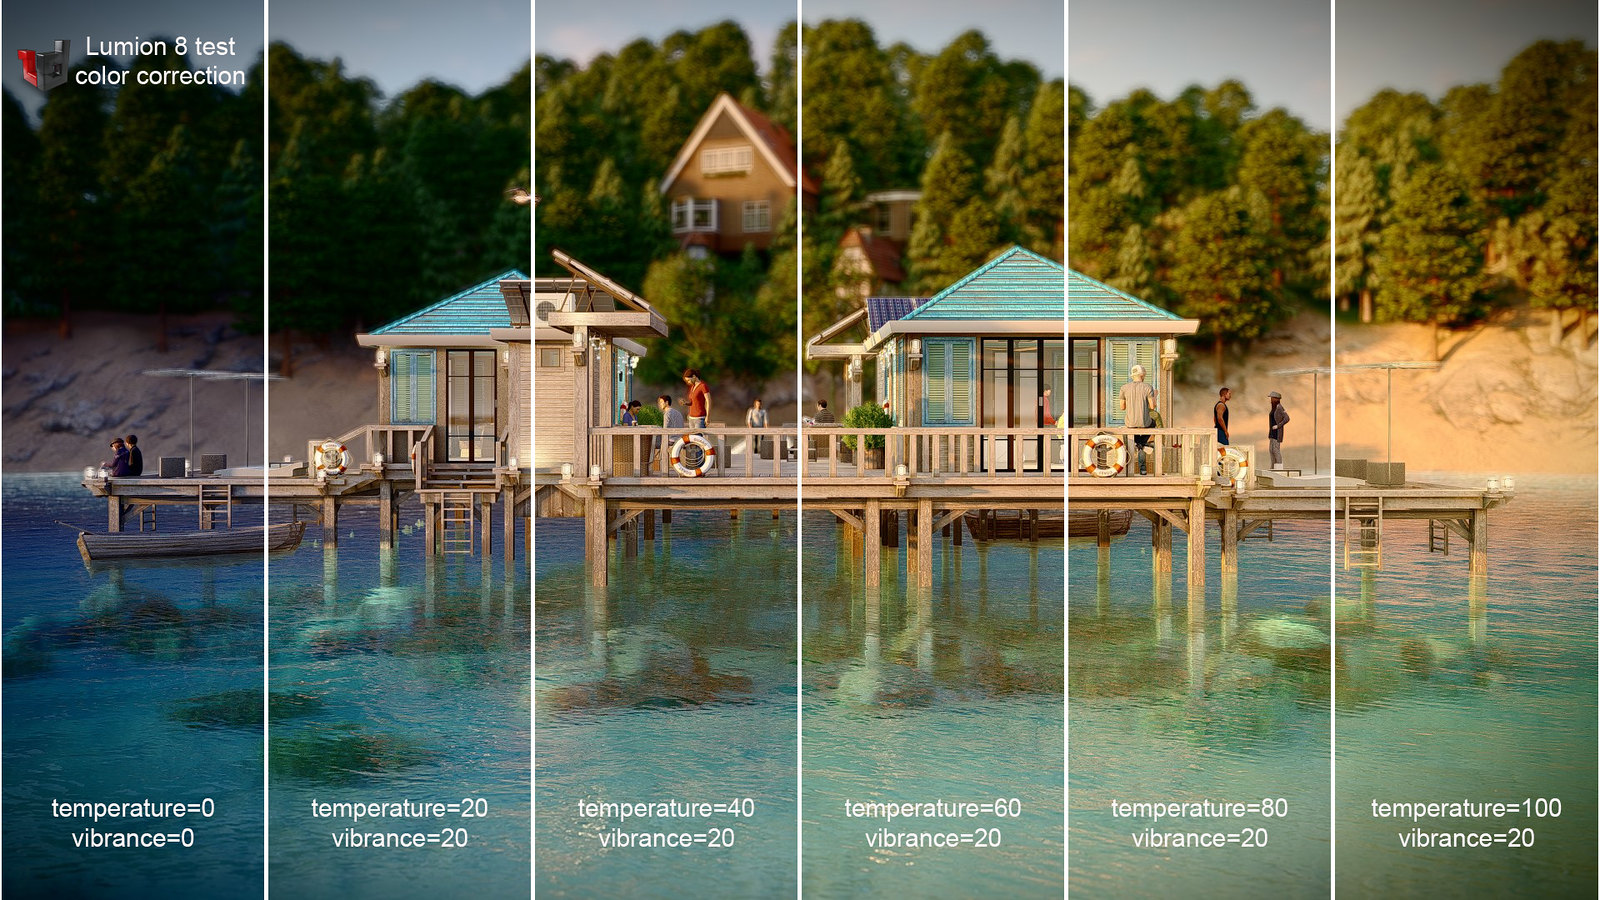
ADJUSTED COLOR CORRECTION WITHOUT POST PROCESS

To elliminate post process by adding Process Effects :

COLOR CORRECTION | SHARPNESS | SELECTIVE SATURATION | ANALOG COLOR LAB | NOISE

try to compare my screengrab images and you can check my setting for still and animation...try it !!!