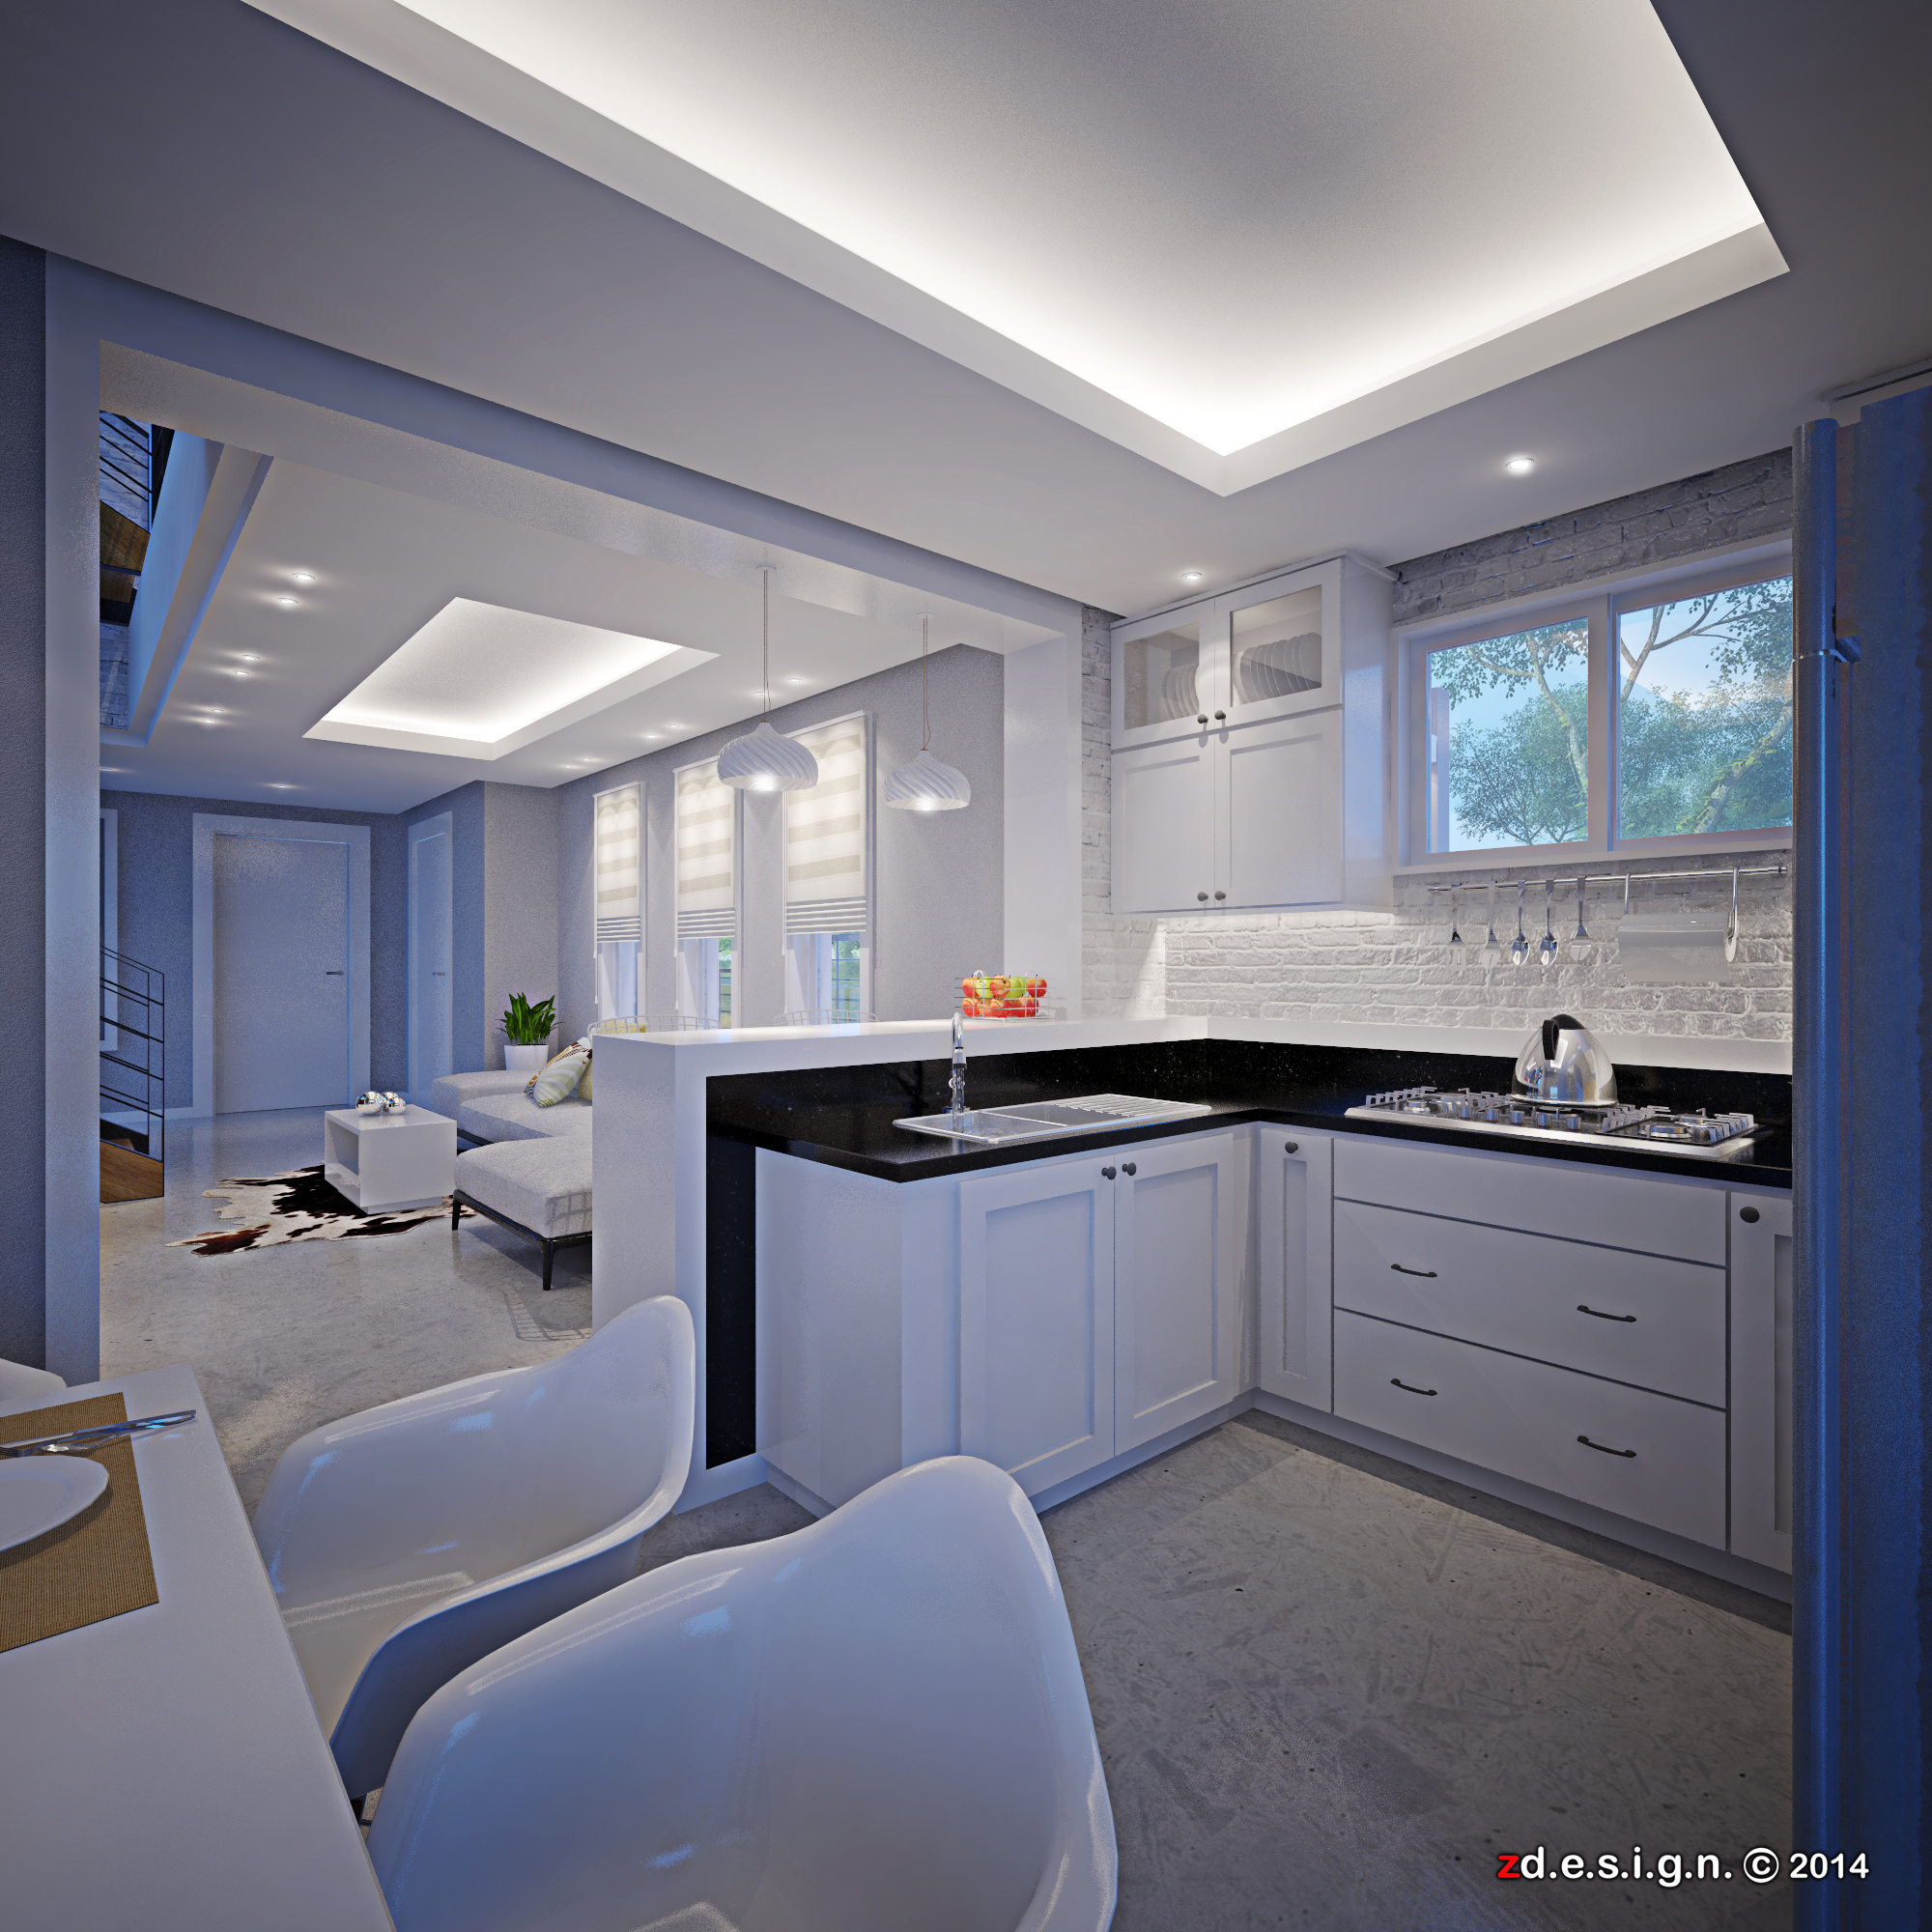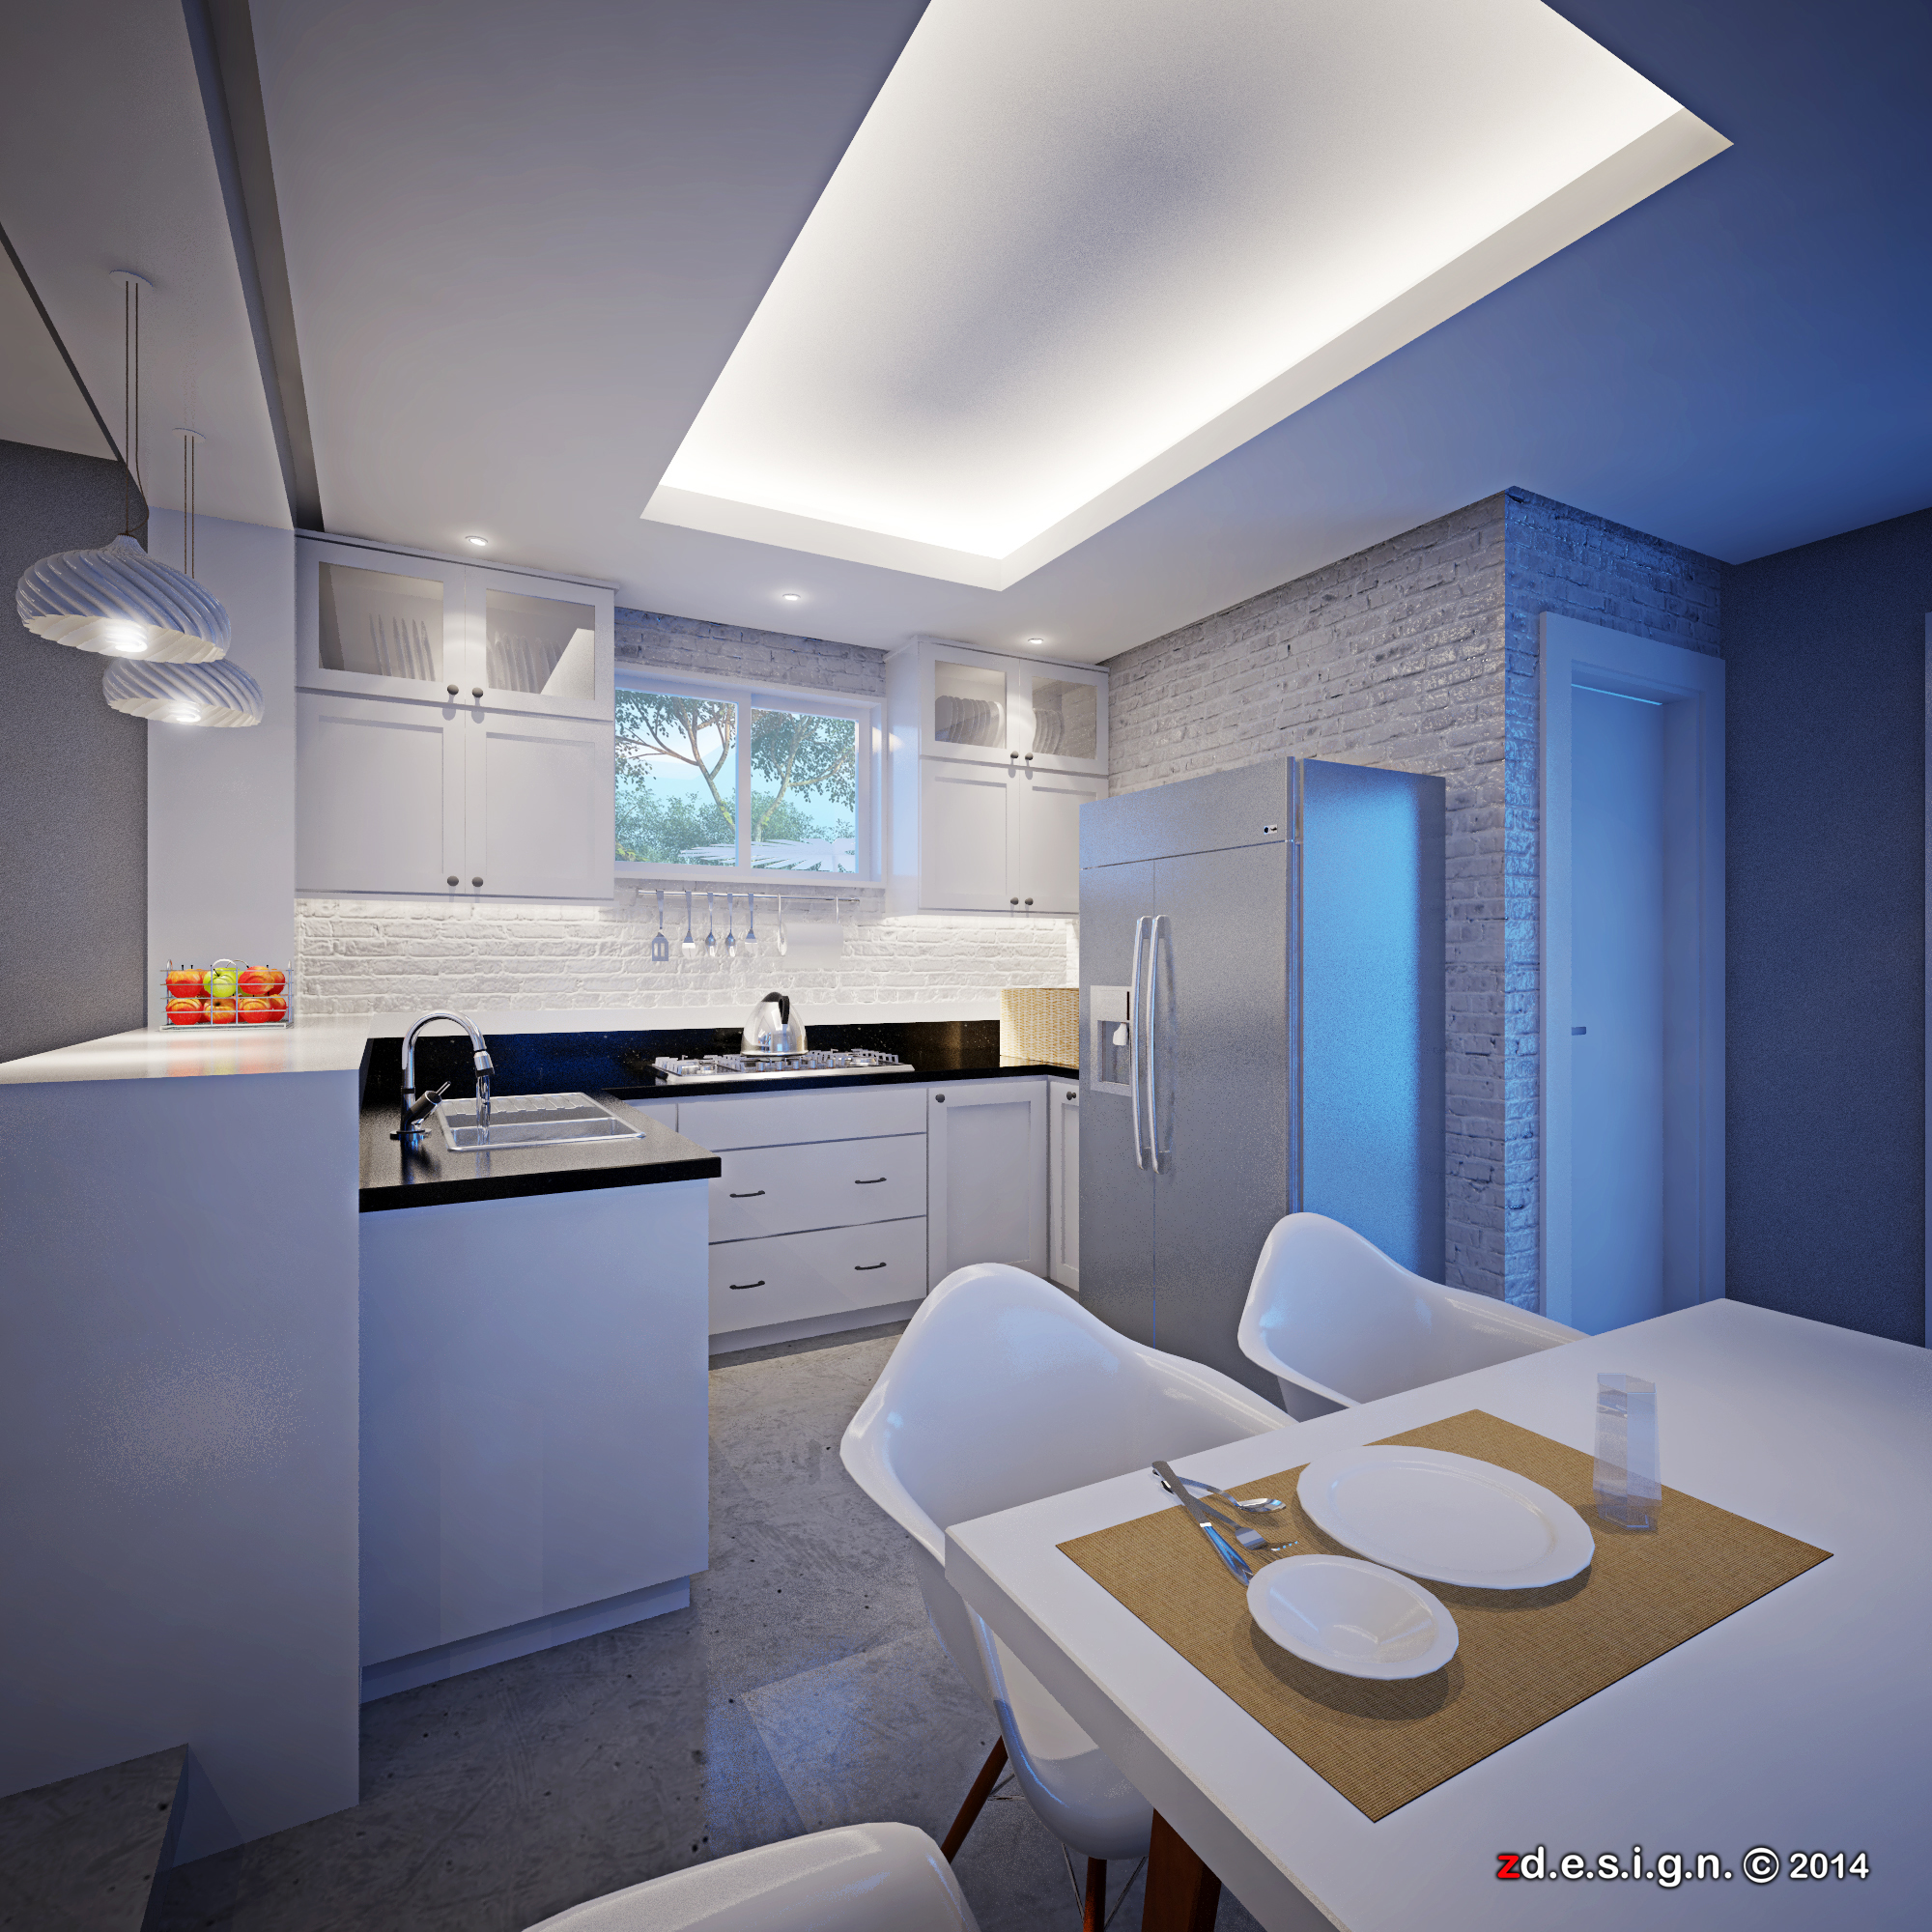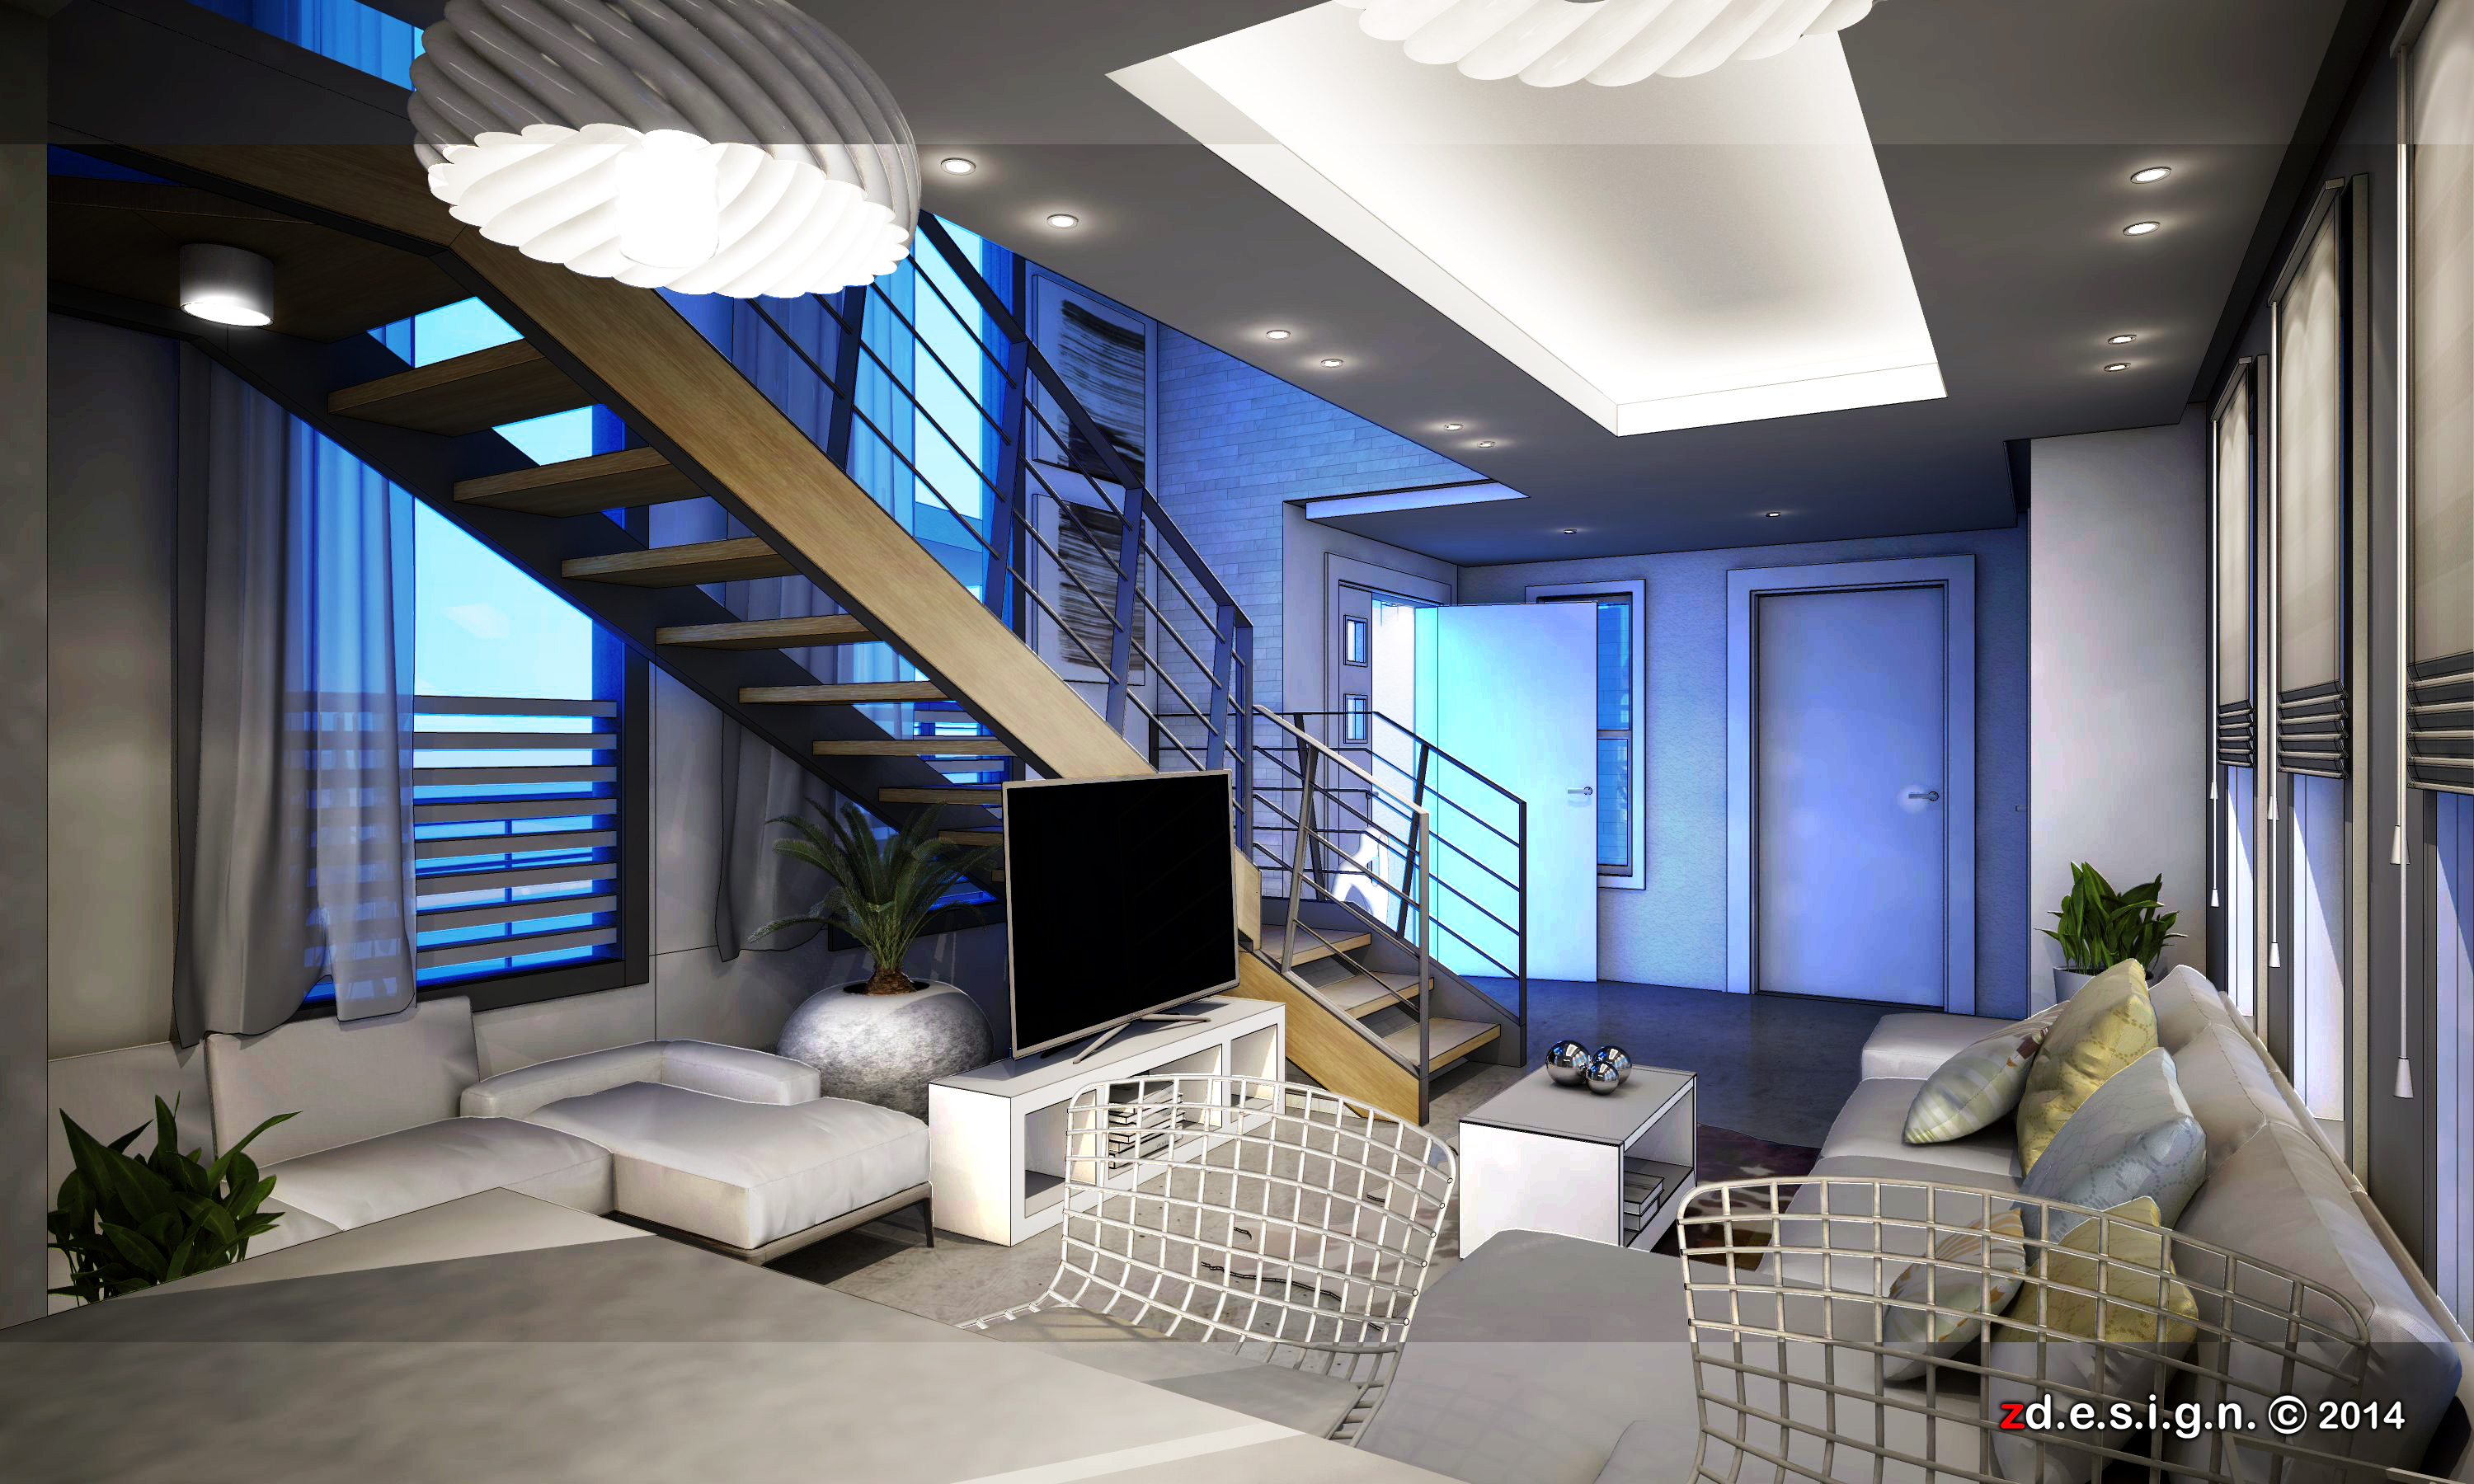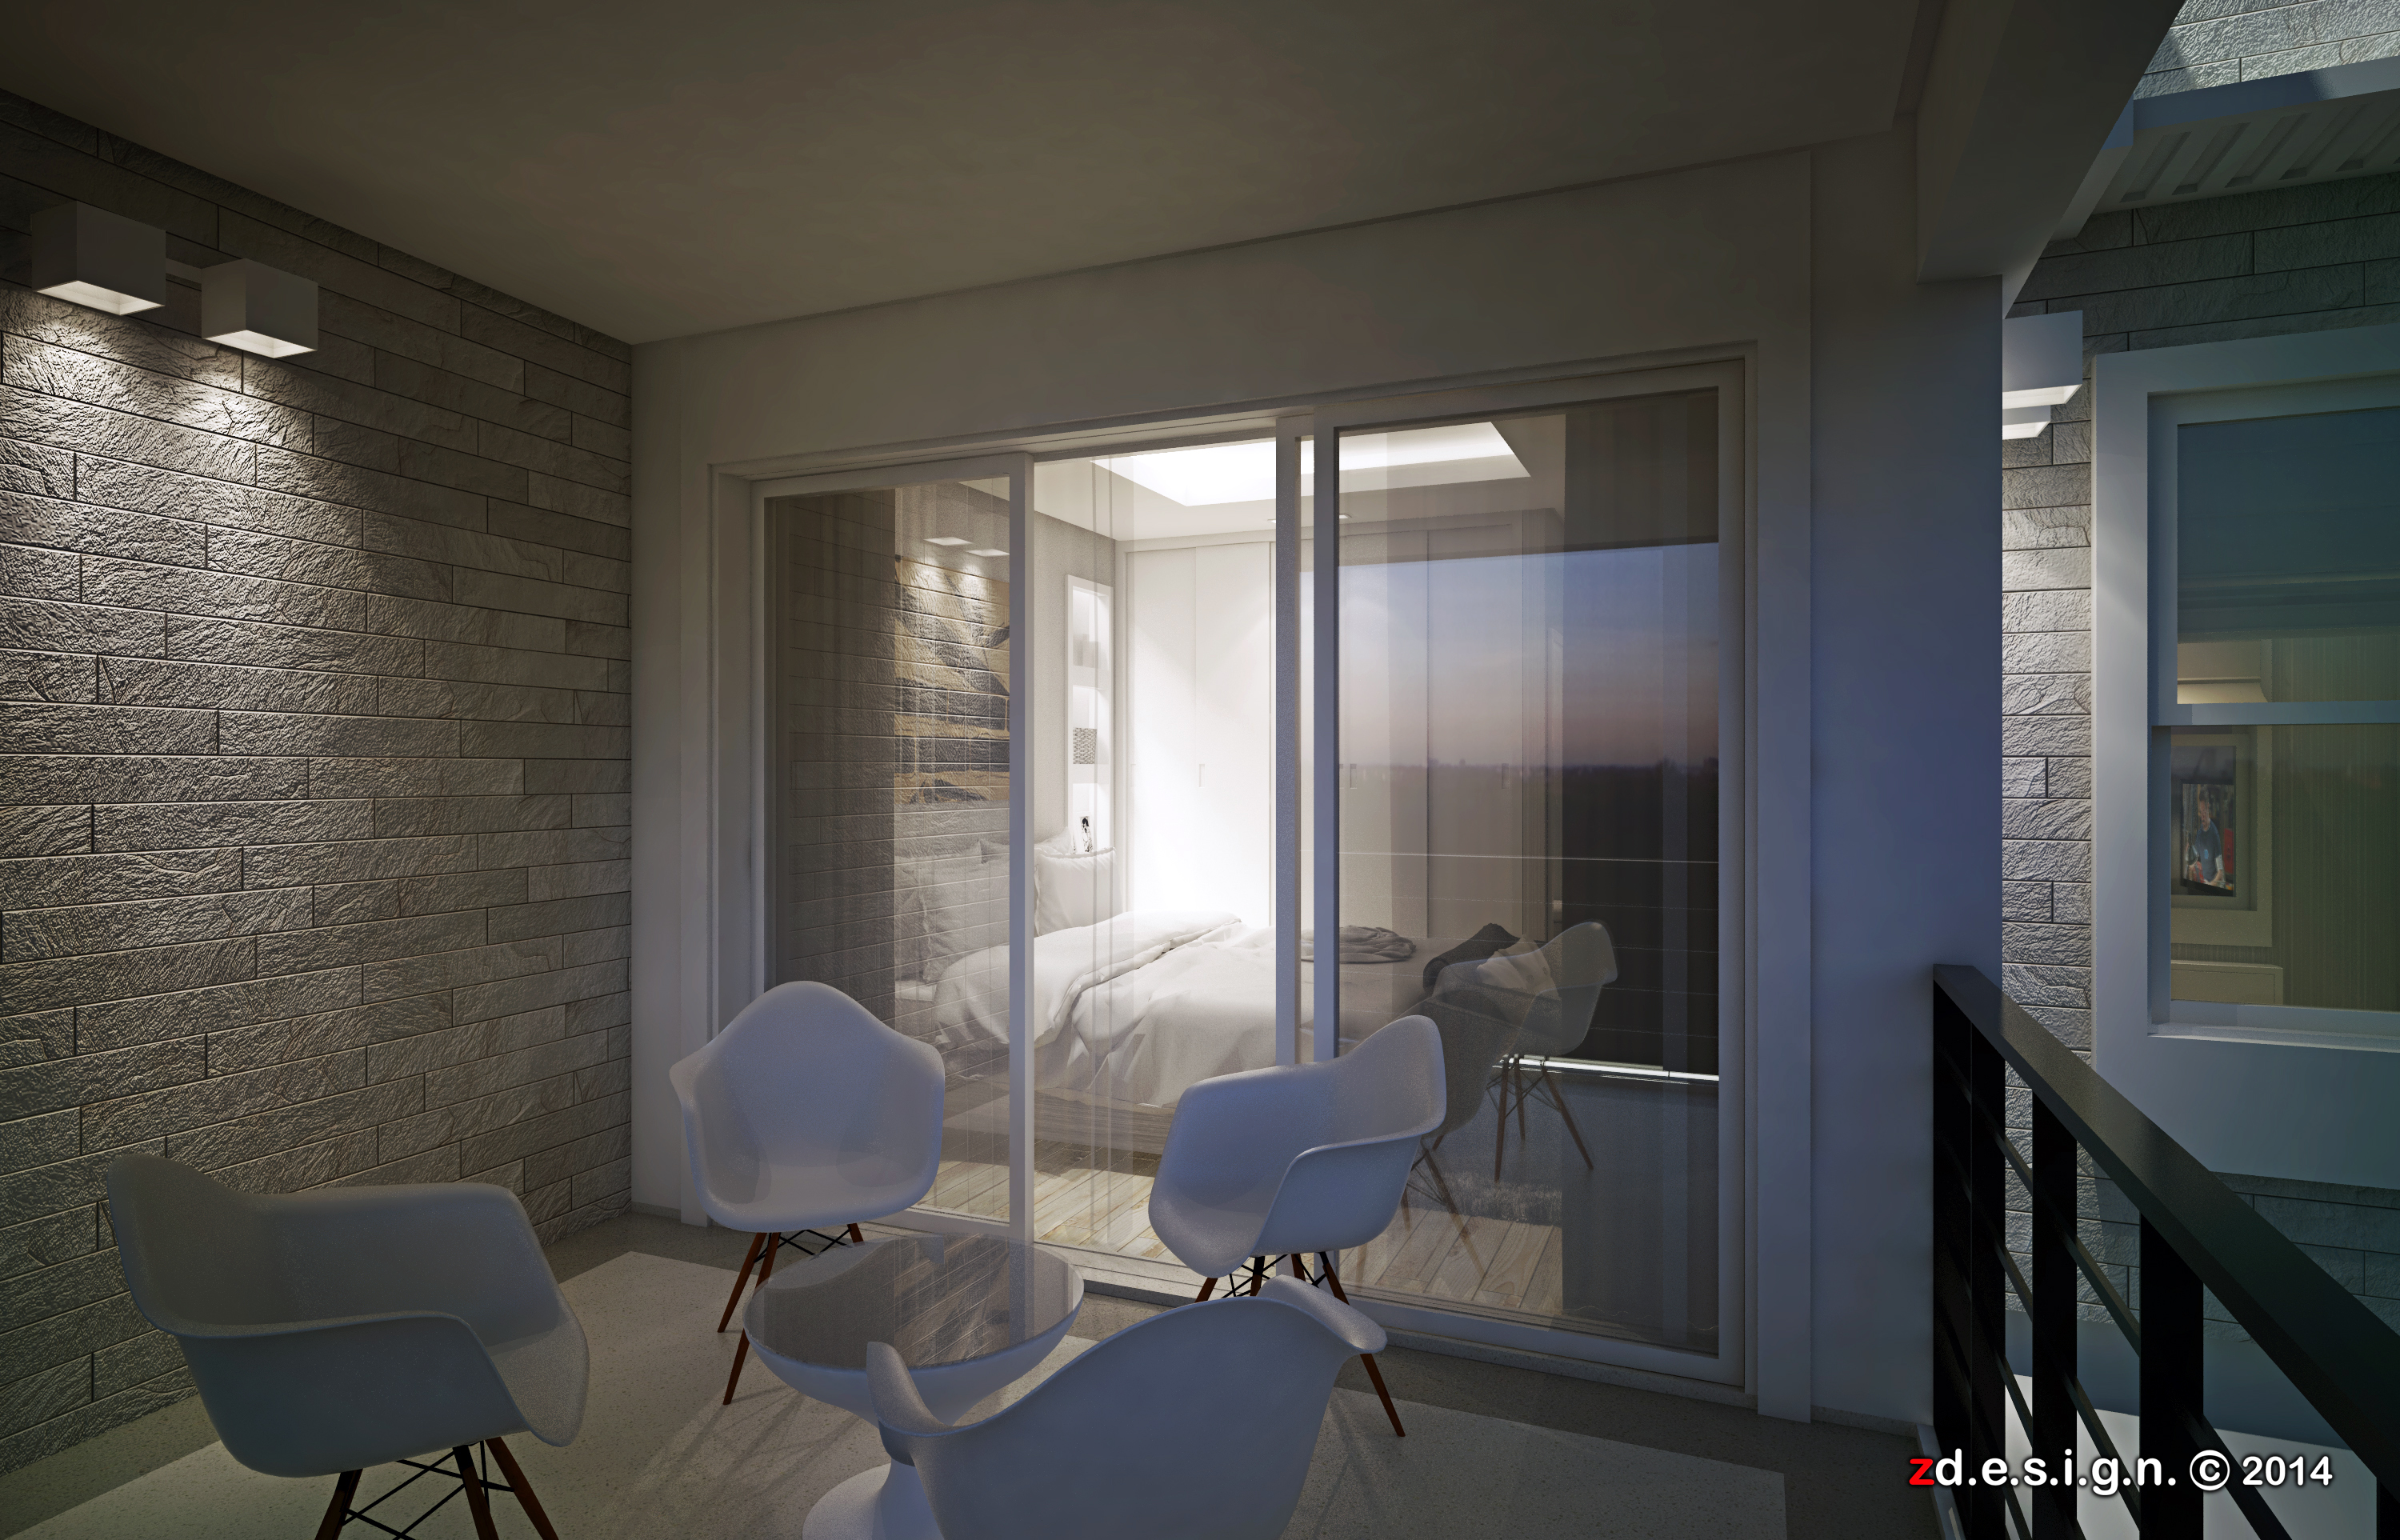
s h o r t f o l i o . . .


https://farm6.staticflickr.com/5580/14769093690_4cb4c5afa8_o.jpg
                   
That's only my listed, work in progress and practice personal work, others are not to be published due to copyright ownership.
Showing posts with label VISUALIZATION. Show all posts

Saturday, July 26, 2025

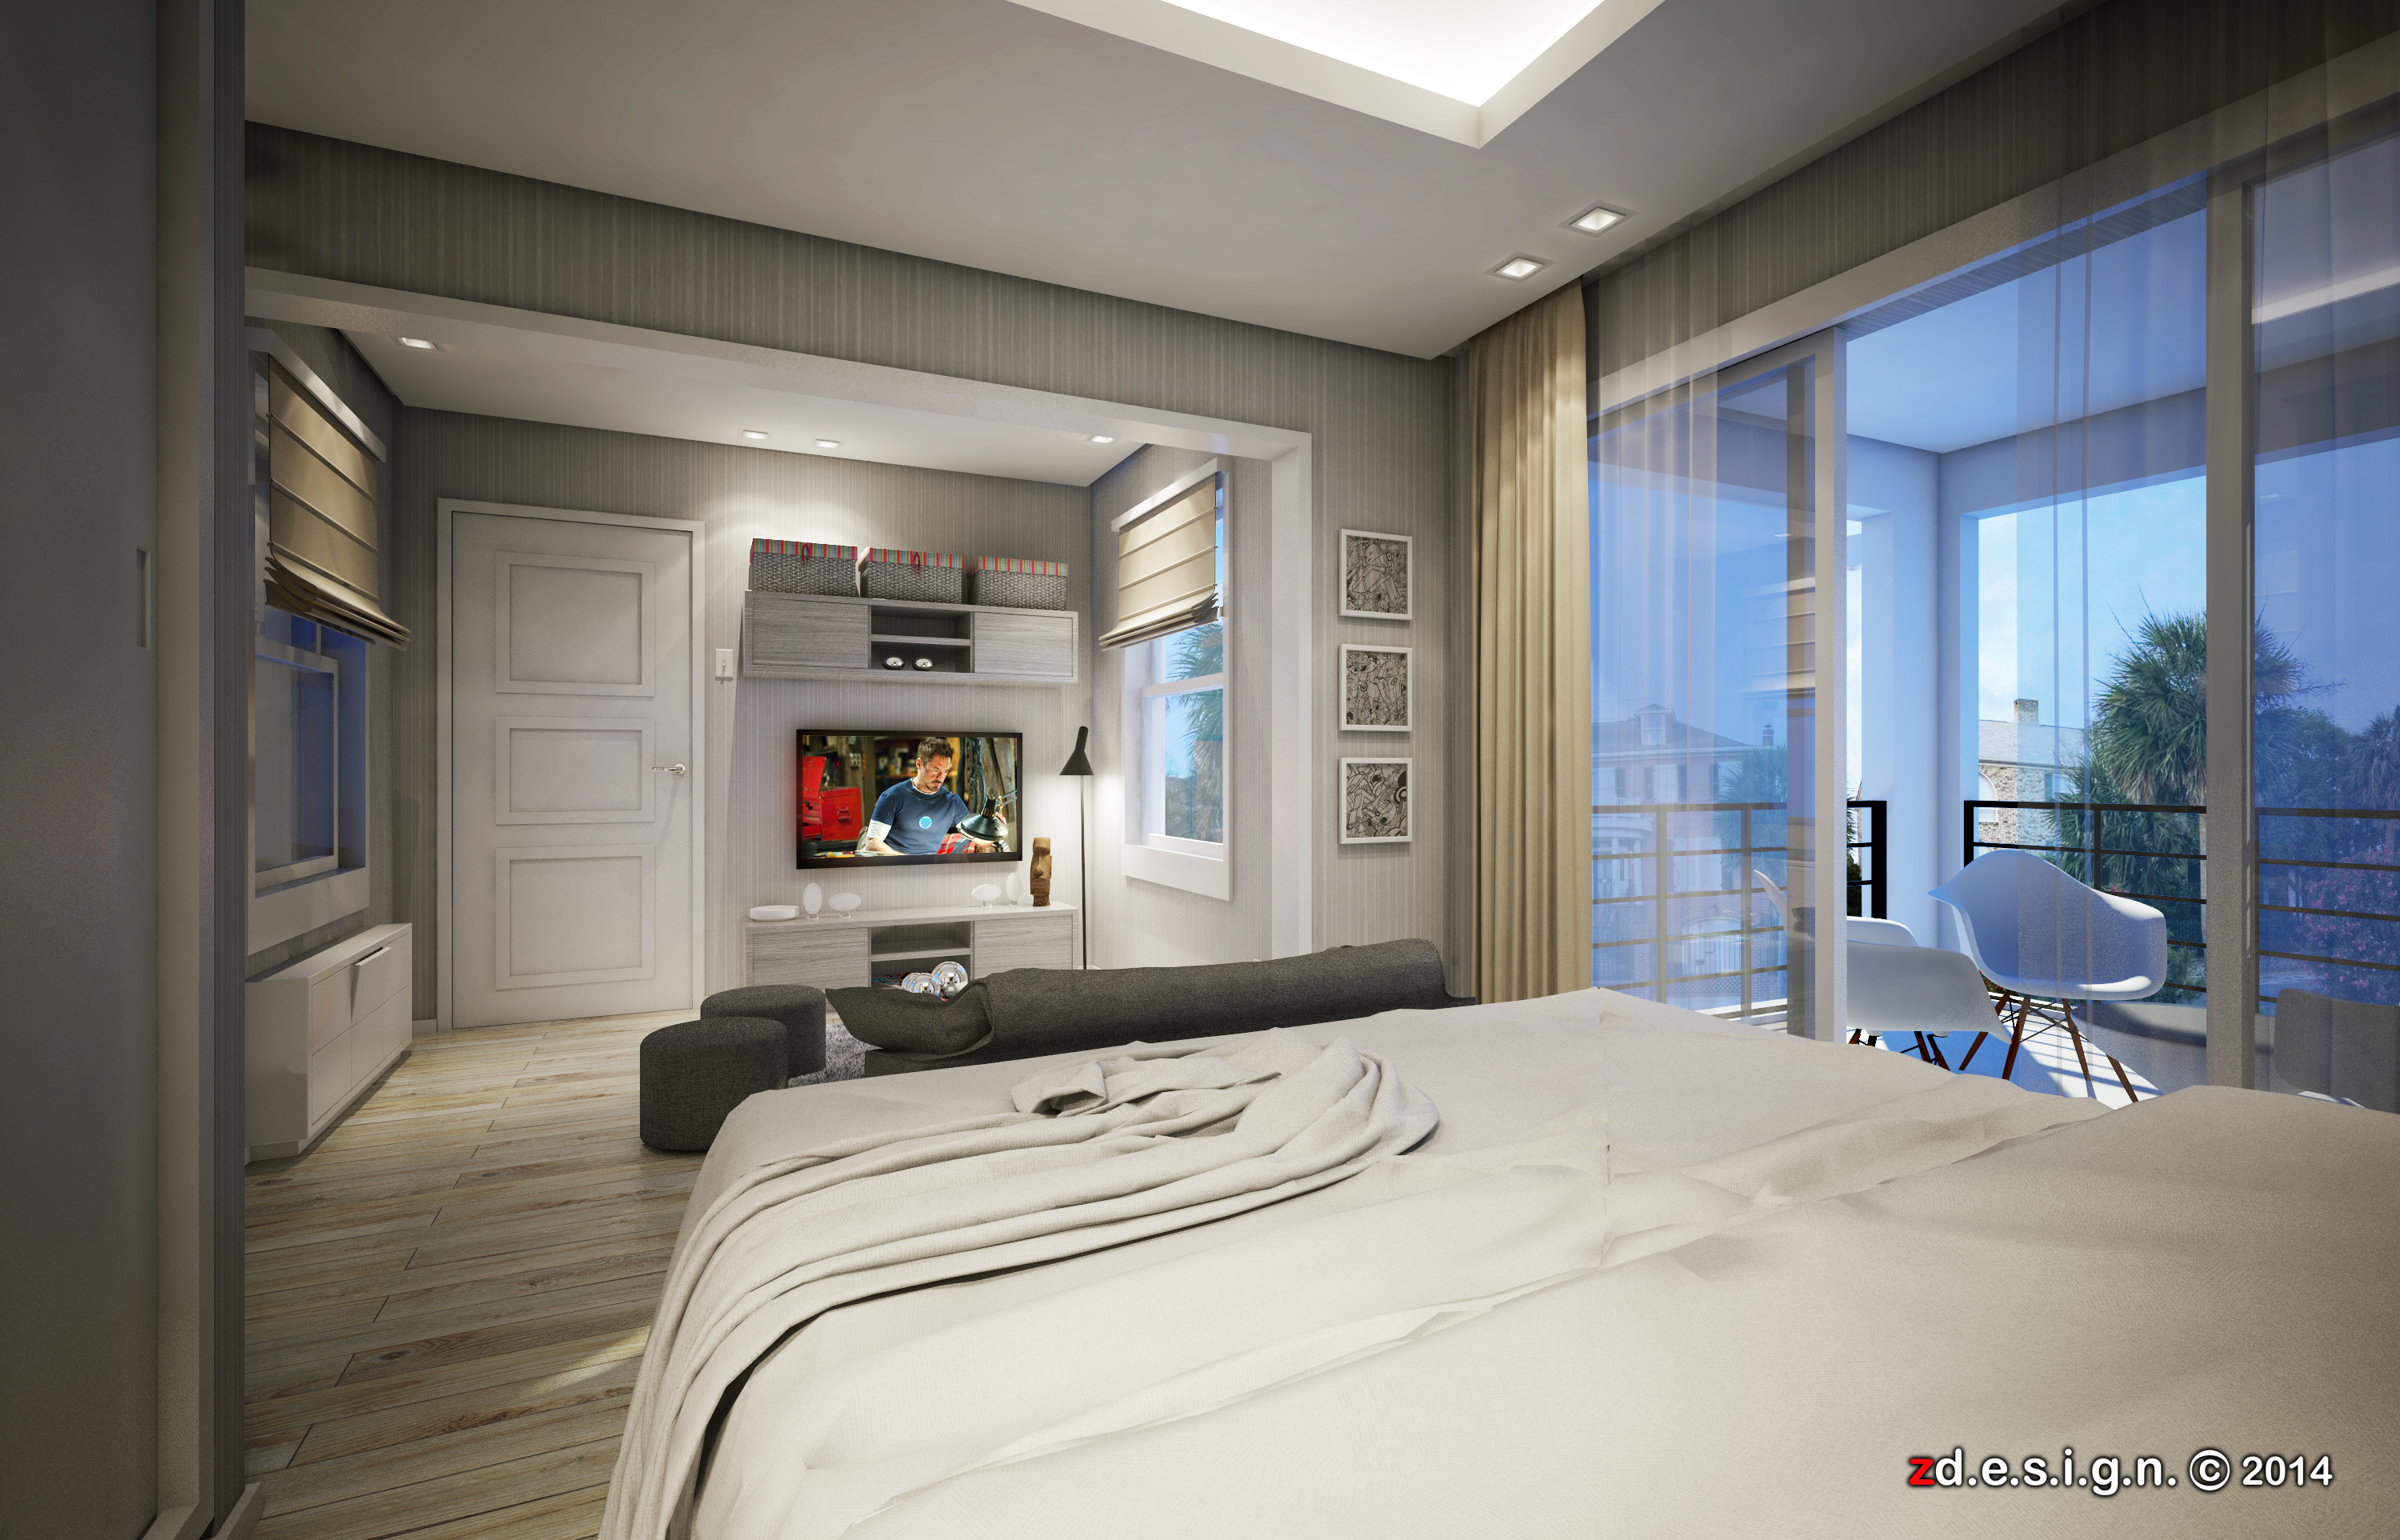
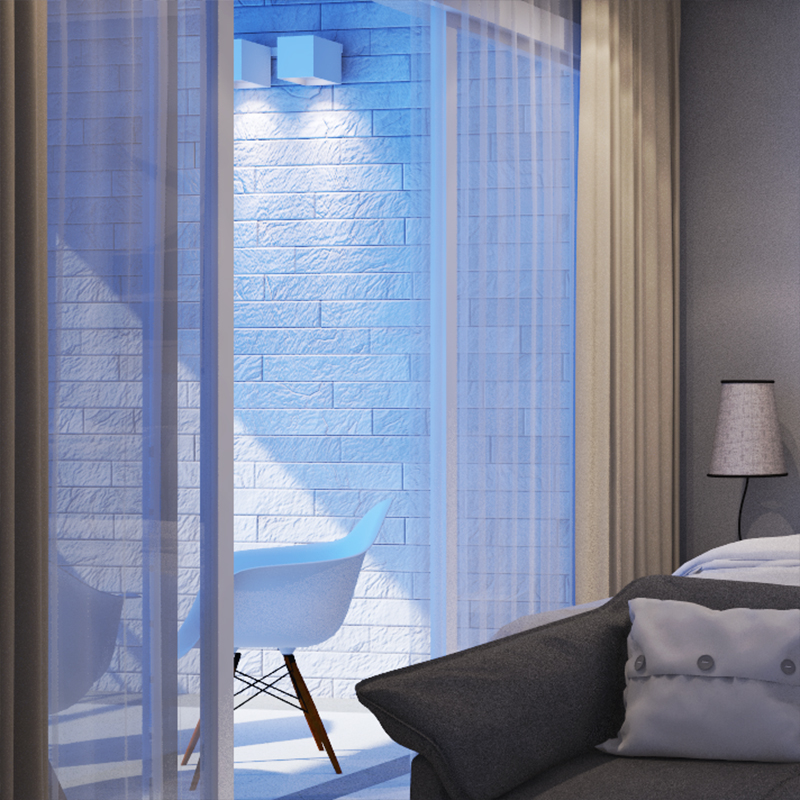
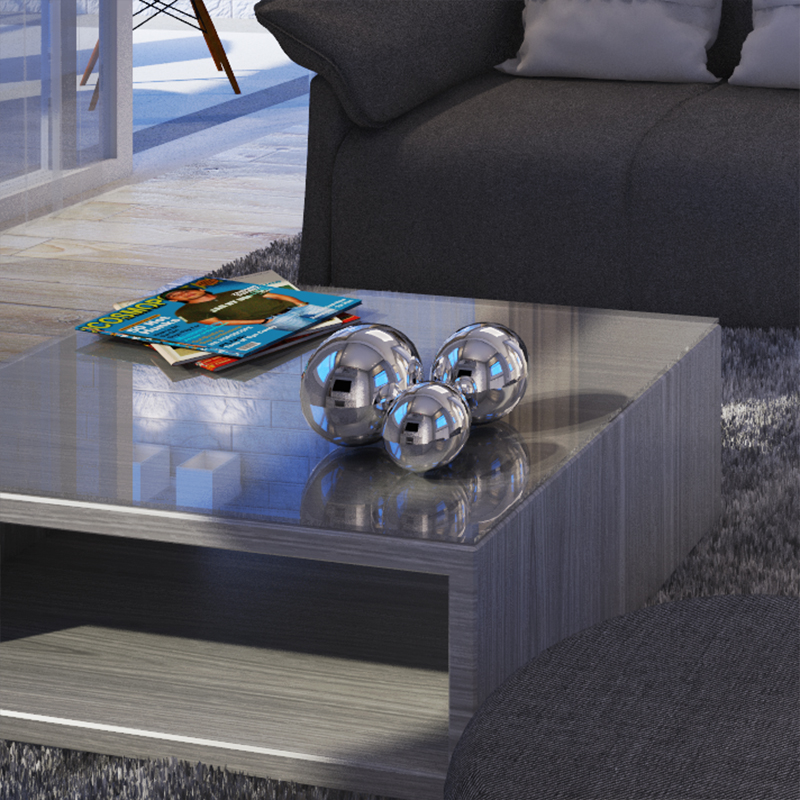
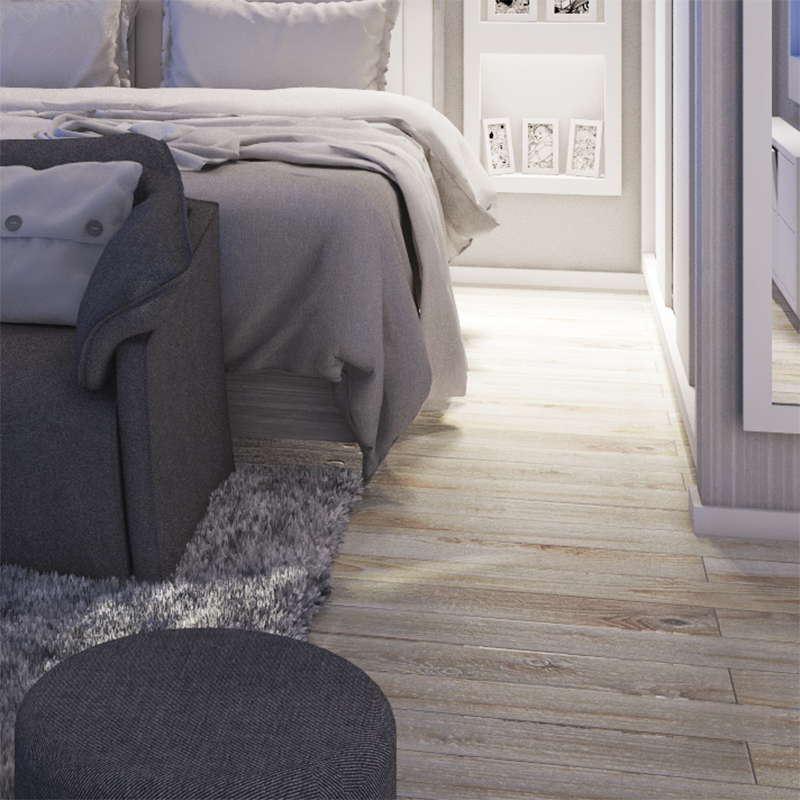
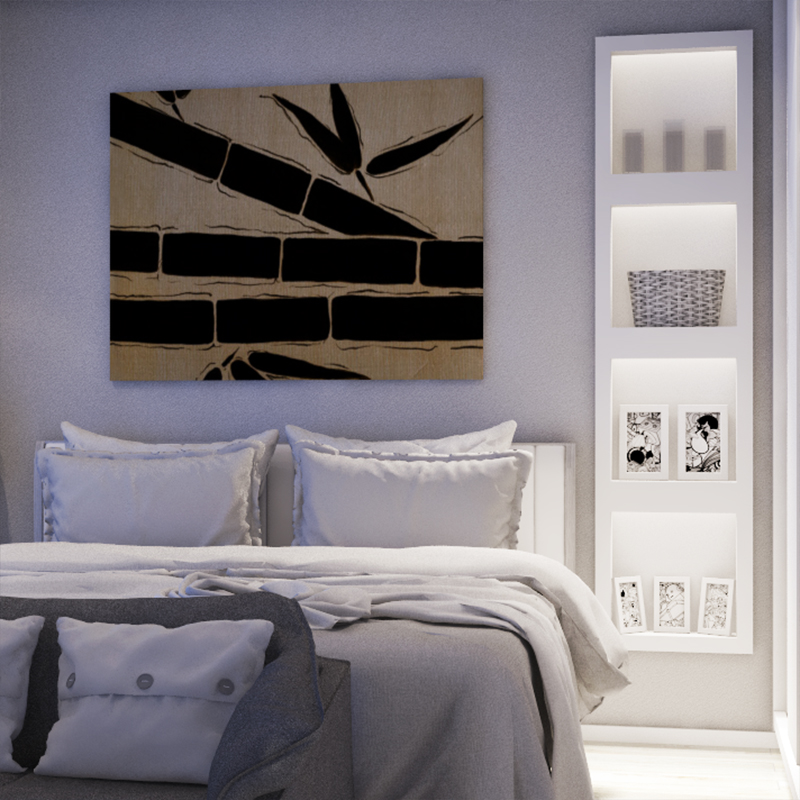
Art aesthetics and Interior ambience . . .

Art aesthetics and interior ambience are deeply intertwined—art doesn't just occupy a space; it shapes its emotional and sensory tone. When thoughtfully integrated, artwork becomes a silent architect of atmosphere, subtly guiding how a room feels through color, form, texture, and narrative. Whether it's a minimalist painting in a serene lounge or an abstract sculpture in a dynamic foyer, the aesthetic choices in art echo throughout the interior, creating harmony, contrast, or tension that defines the space's identity and mood.


Here's a more detailed look at their relationship:


Art's Role in Interior Ambience:


Setting the Tone:

Art can establish the mood and atmosphere of a room, whether it's a calming landscape for a bedroom or a vibrant abstract piece for a living area. 


Adding Depth and Texture:

Art, through various mediums like paintings, sculptures, or textiles, introduces visual and tactile interest, preventing a space from feeling flat or sterile. 


Evoking Emotion and Narrative:

Art has the power to evoke feelings and tell stories, making a space more meaningful and engaging. 


Reflecting Personality:

Art choices can reflect the occupant's tastes, values, and cultural background, making the space feel personal and authentic.


Interior Design's Role in Displaying Art:


Providing Context:

The overall design of a space, including its colors, furniture, and lighting, provides the context within which art is viewed and appreciated. 


Creating Harmony and Balance:

Interior design principles like balance, harmony, and contrast are also relevant to art, and aligning these principles can create a cohesive and visually appealing space. 


Highlighting Focal Points:

Strategic placement of art can create focal points, drawing attention to specific areas within a room. 


Enhancing the Overall Experience:

The ambience of a space, including its acoustics, lighting, and scent, also plays a role in how art is perceived and appreciated, contributing to the overall experience. 
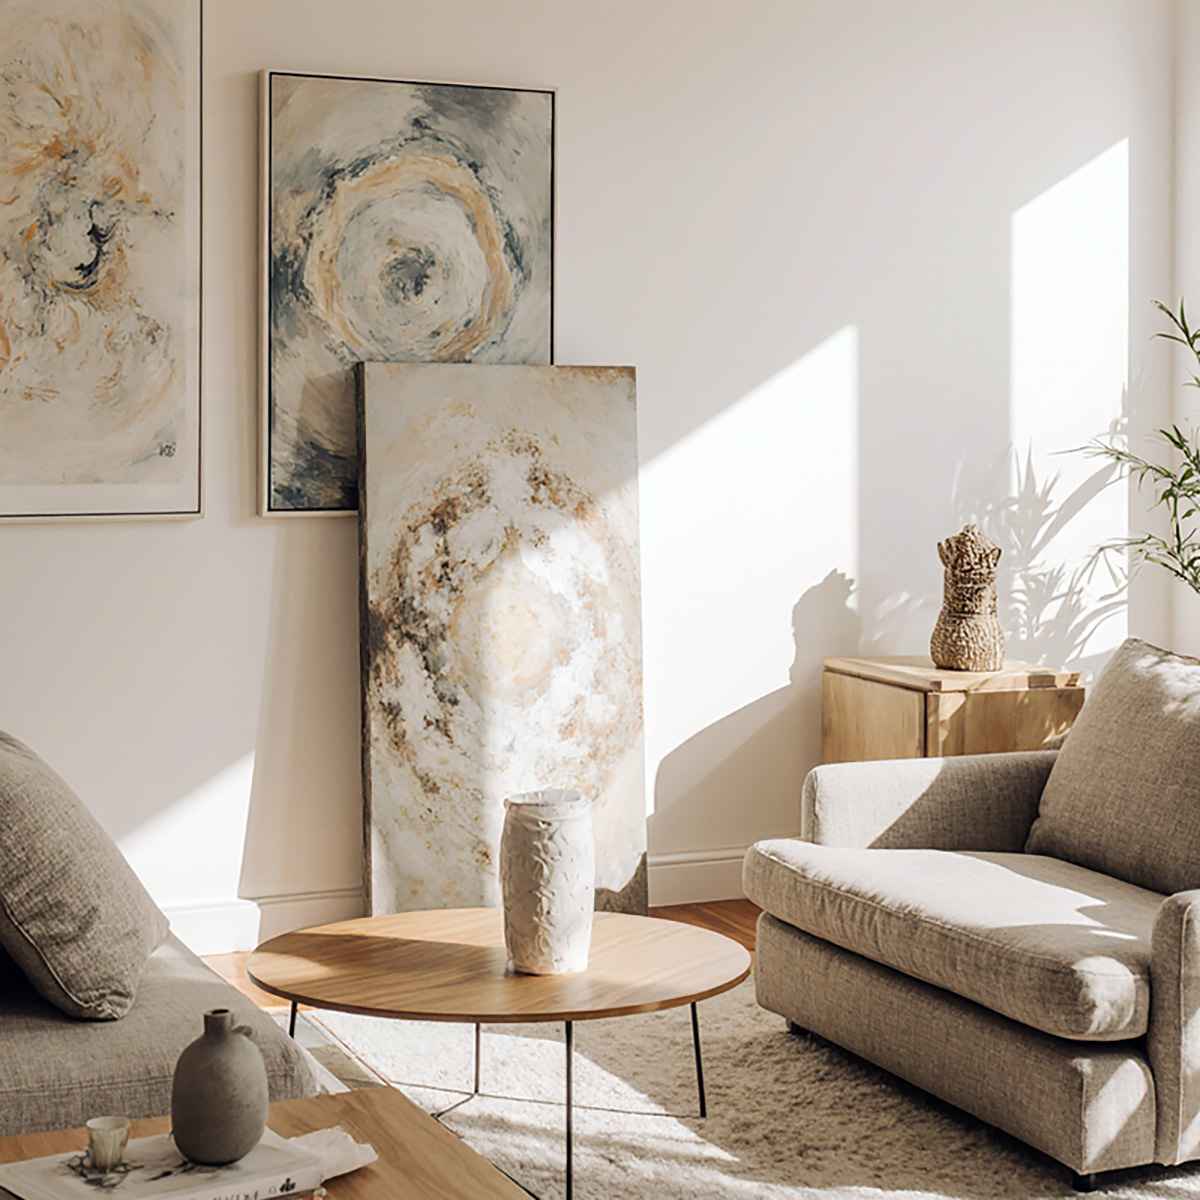


Considerations for Choosing Art for Interior Spaces:


Room Function:

Consider the purpose of the room when selecting art. For example, a calming landscape might be suitable for a bedroom, while a vibrant abstract piece could be ideal for a living room. 


Personal Style:

Choose art that reflects your personal taste and preferences, ensuring that the space feels authentic and reflects your personality. 


Color Palette:

Coordinate the colors of the art with the existing color scheme of the room to create a sense of harmony and balance. 


Size and Scale:

Ensure that the size and scale of the art are appropriate for the space and the furniture it will be displayed with. 


Lighting:

Pay attention to the lighting in the room and how it will affect the appearance of the art. 


By carefully considering both art aesthetics and interior ambience, you can create spaces that are not only 
visually appealing but also evoke emotion, tell stories, and reflect the unique personality of the occupants. 

Thursday, August 28, 2014

Monday, June 16, 2014

Monday, May 19, 2014

Visual p r o c e s s . . .

https://farm4.staticflickr.com/3919/14769038128_c983f75538_o.jpg

Before I will start explaining the process, First of all I am very thankful to my blog or social media page showing my personal work which is some of my friends, followers and especially the clients find and contact me here.

In general when a client contacts me, everytime they usually ask 3 things whether it is 2D or 3D visual or even animation - First - How much do I charge, Second - How long it takes to produce what they want and Third - What I need from them in order to create the presentation or visuals. It is very important to discuss personally before you start the project because you don't know exactly what they want and what they are thinking. Client needs and expectations are very important, so write down everything...collect all the information.

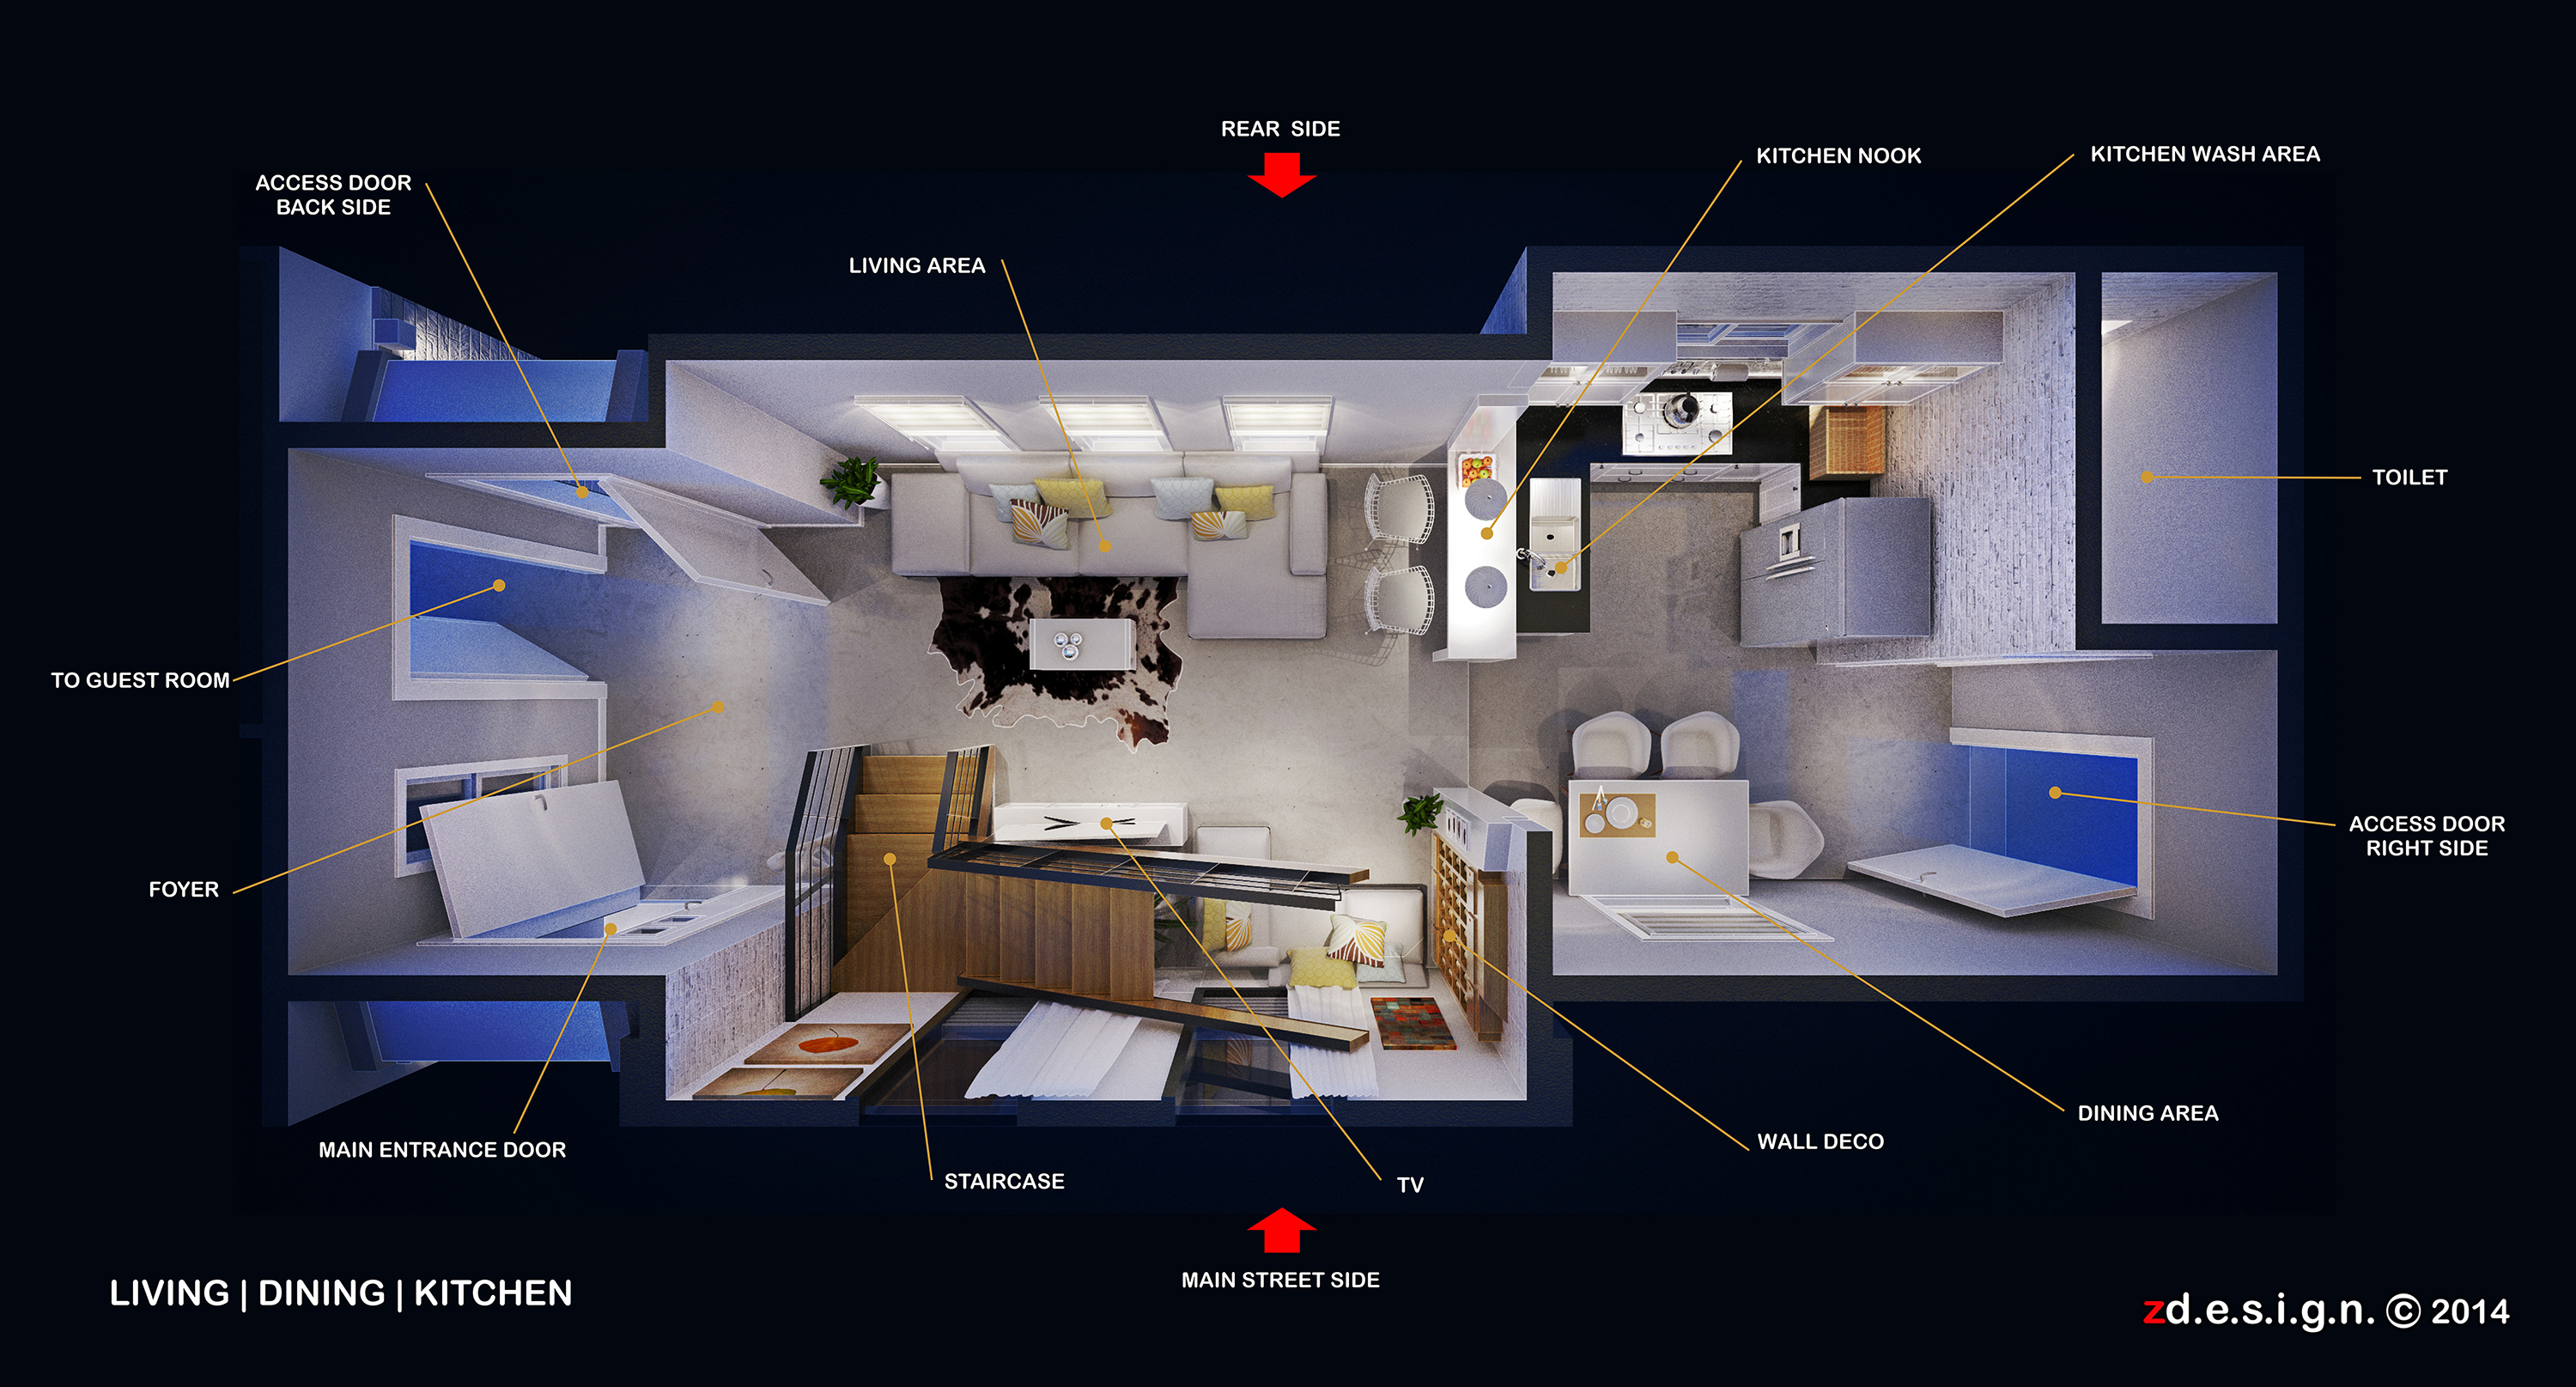
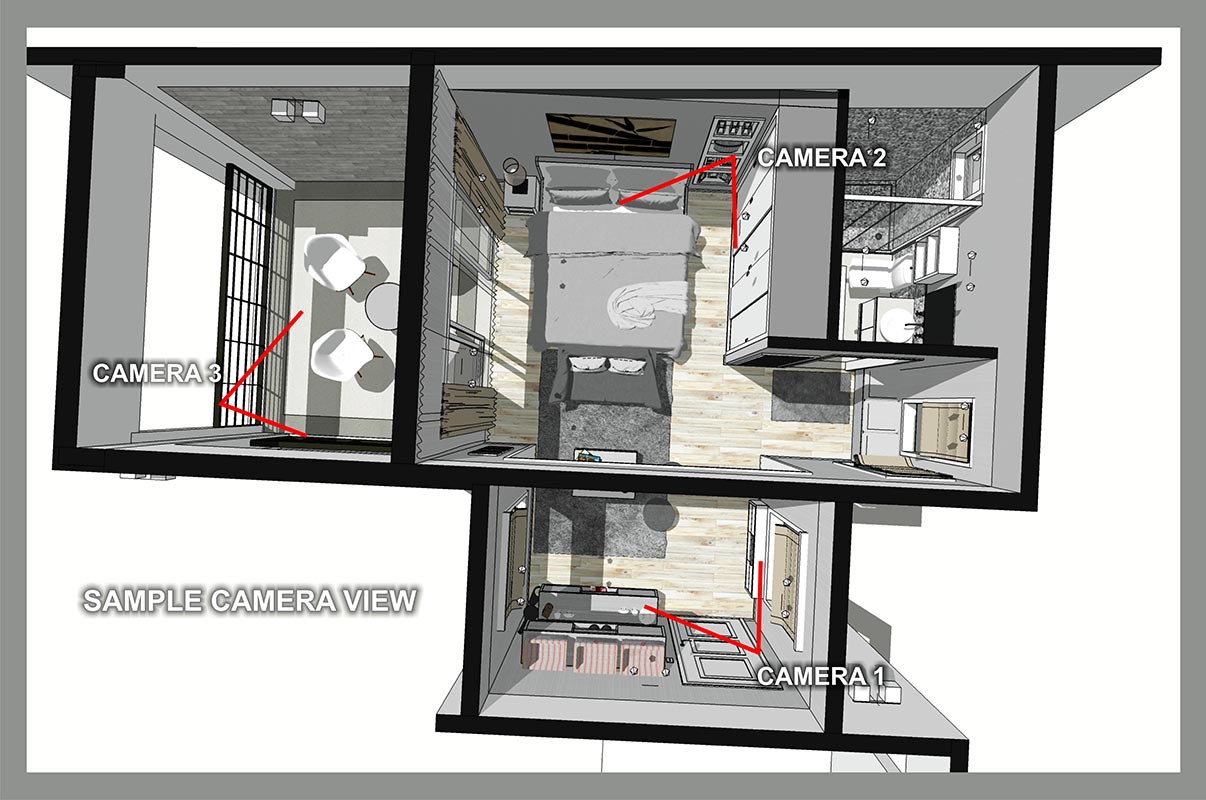
To be honest to goodness, the longer I have time the better, No one wants to do a rush job in a short period of time. Unless it’s a very simple concept design, which is rarely the case. I usually quote a  time frame of 7 to 14 days (1 to 2 weeks) it depends on the large scale project. This includes producing 3D model volume, texturing, ambient lighting and test render etc etc. Once I fixed everything...I send an email to them with attached image top view with proposed camera location (not final | standard resolution) for approval of scene views perspective for final render ( 2 or 3 standard camera view per room). Also I need to know how many camera view (rendering images) they need.

https://farm6.staticflickr.com/5594/14792072848_e463d6b868_o.jpg

P r o c e s s :

A. Floor Plan with furniture layout, Elevation and Section - DWG file format is enough.
    If they don't have, just sketch in a piece of paper with proper dimensions. A plan contains more info are easy to follow during the process of constructing the models, and if the client not sure about various specs then I’ll use standard specs.

I always produce 3D model using real world dimensions and I need as much detailed information as possible. The more information I’m given in the process, the more accurate and realistic space in the final 3D visual.

B. Texture
     For me this is the most crucial part of the process. If wood, concrete, paint, wallpaper and fabric etc. will be included as part of the design, then I need reference images or link website to give me an idea. If there are no available website links, I ask them to take a photo from their reference books and if is not suitable in the model I can do image editing in Photoshop or coreldraw or create the texture from scratch.

https://farm4.staticflickr.com/3864/14792348468_cf6b227a9b_o.jpg

C. General lighting
    I need to know the exact location of the lights in plan view whether it is pendant, wall mounted, cove light etc. Additional light effect from my side if neccessary in the scenario.

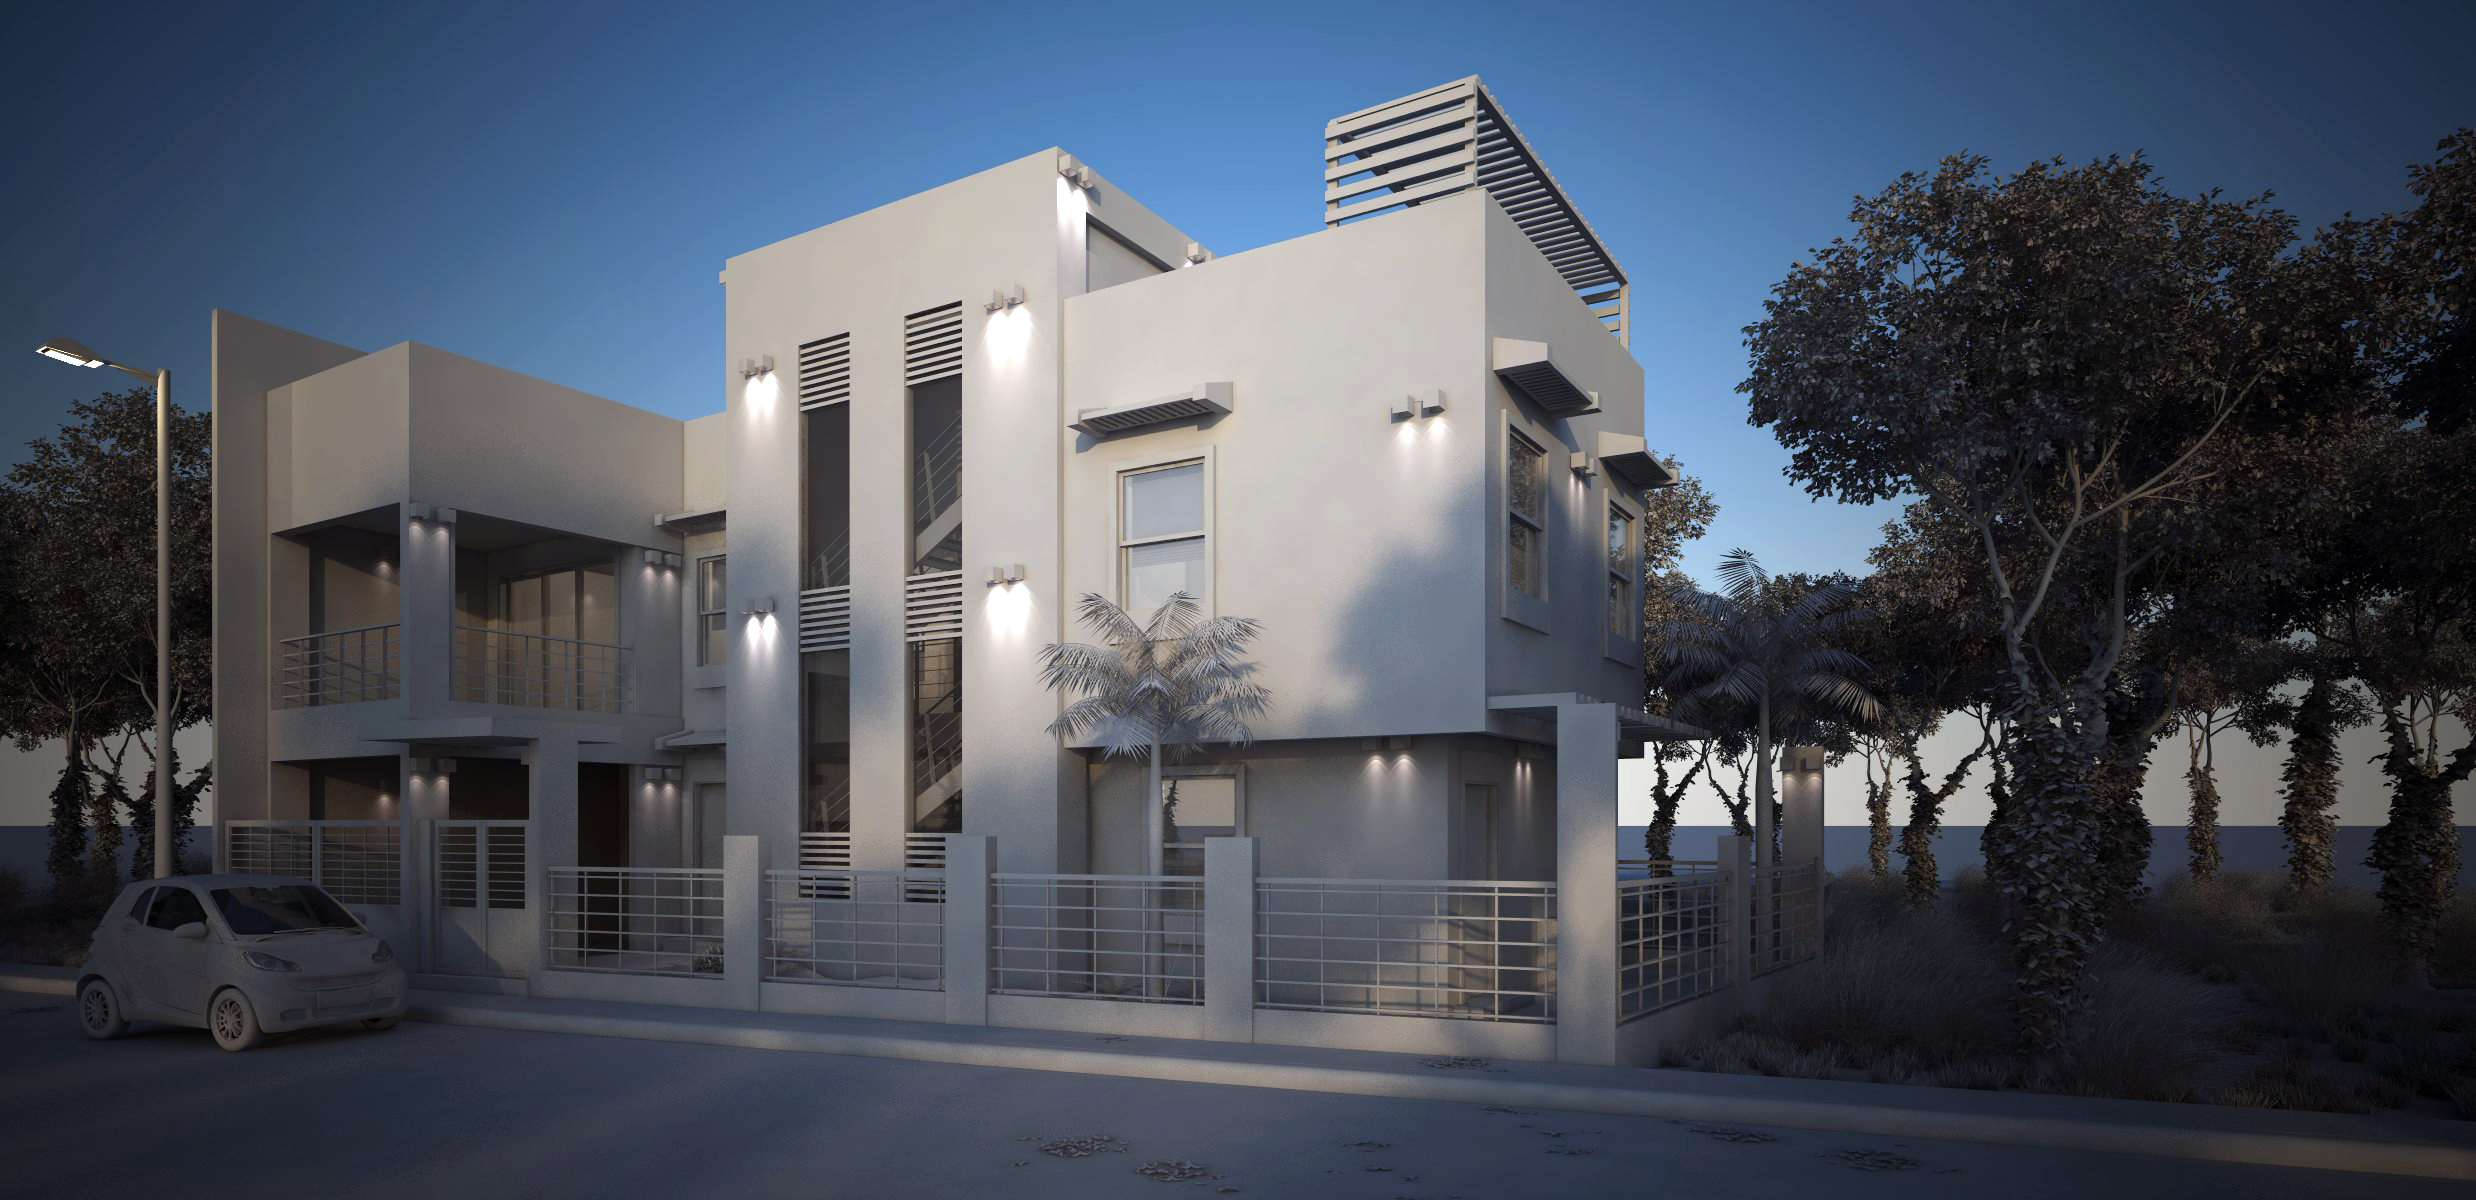
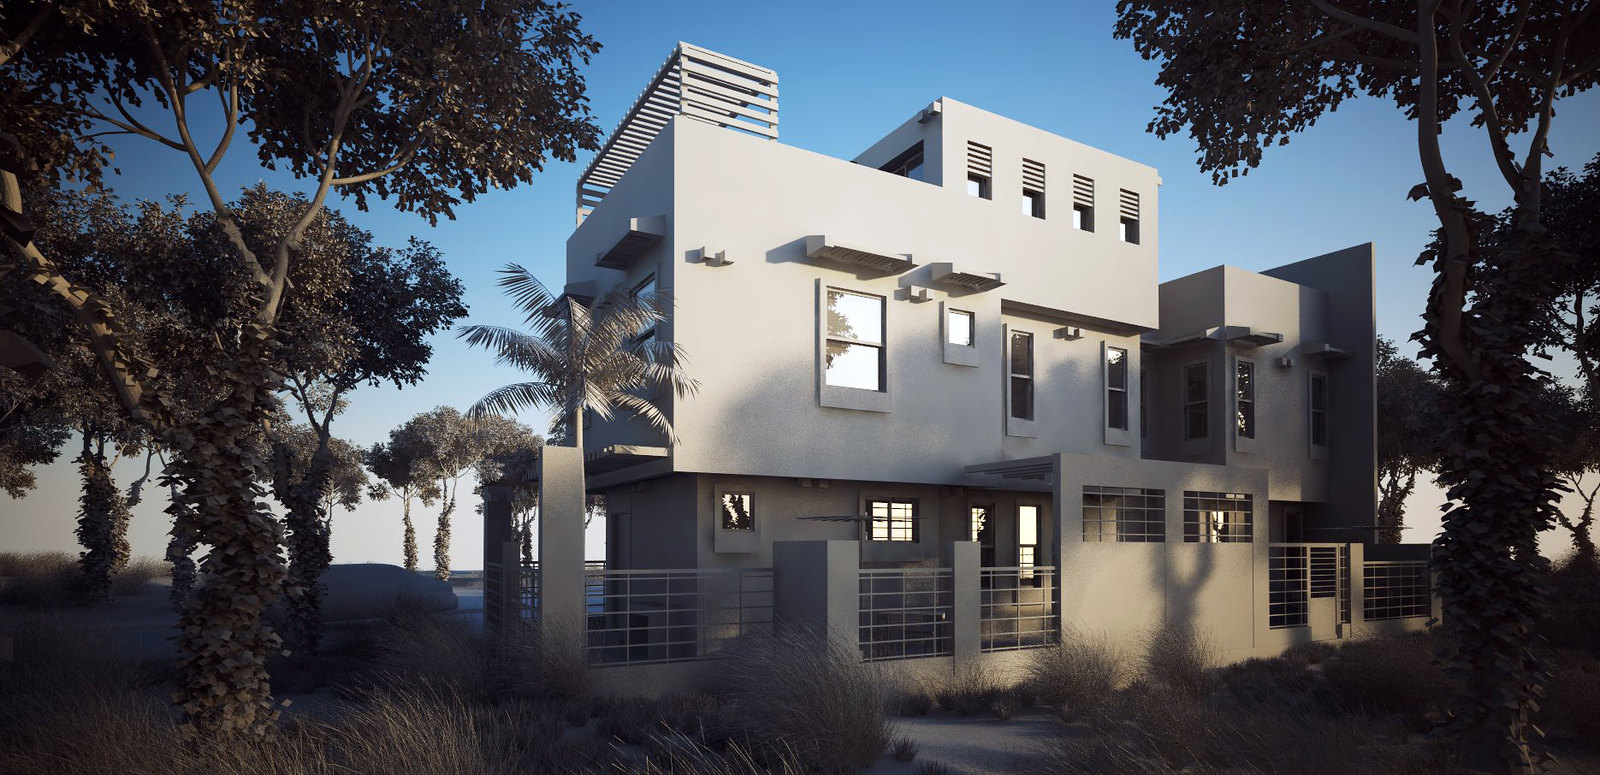
D. Test Render (my favorite part using override material)
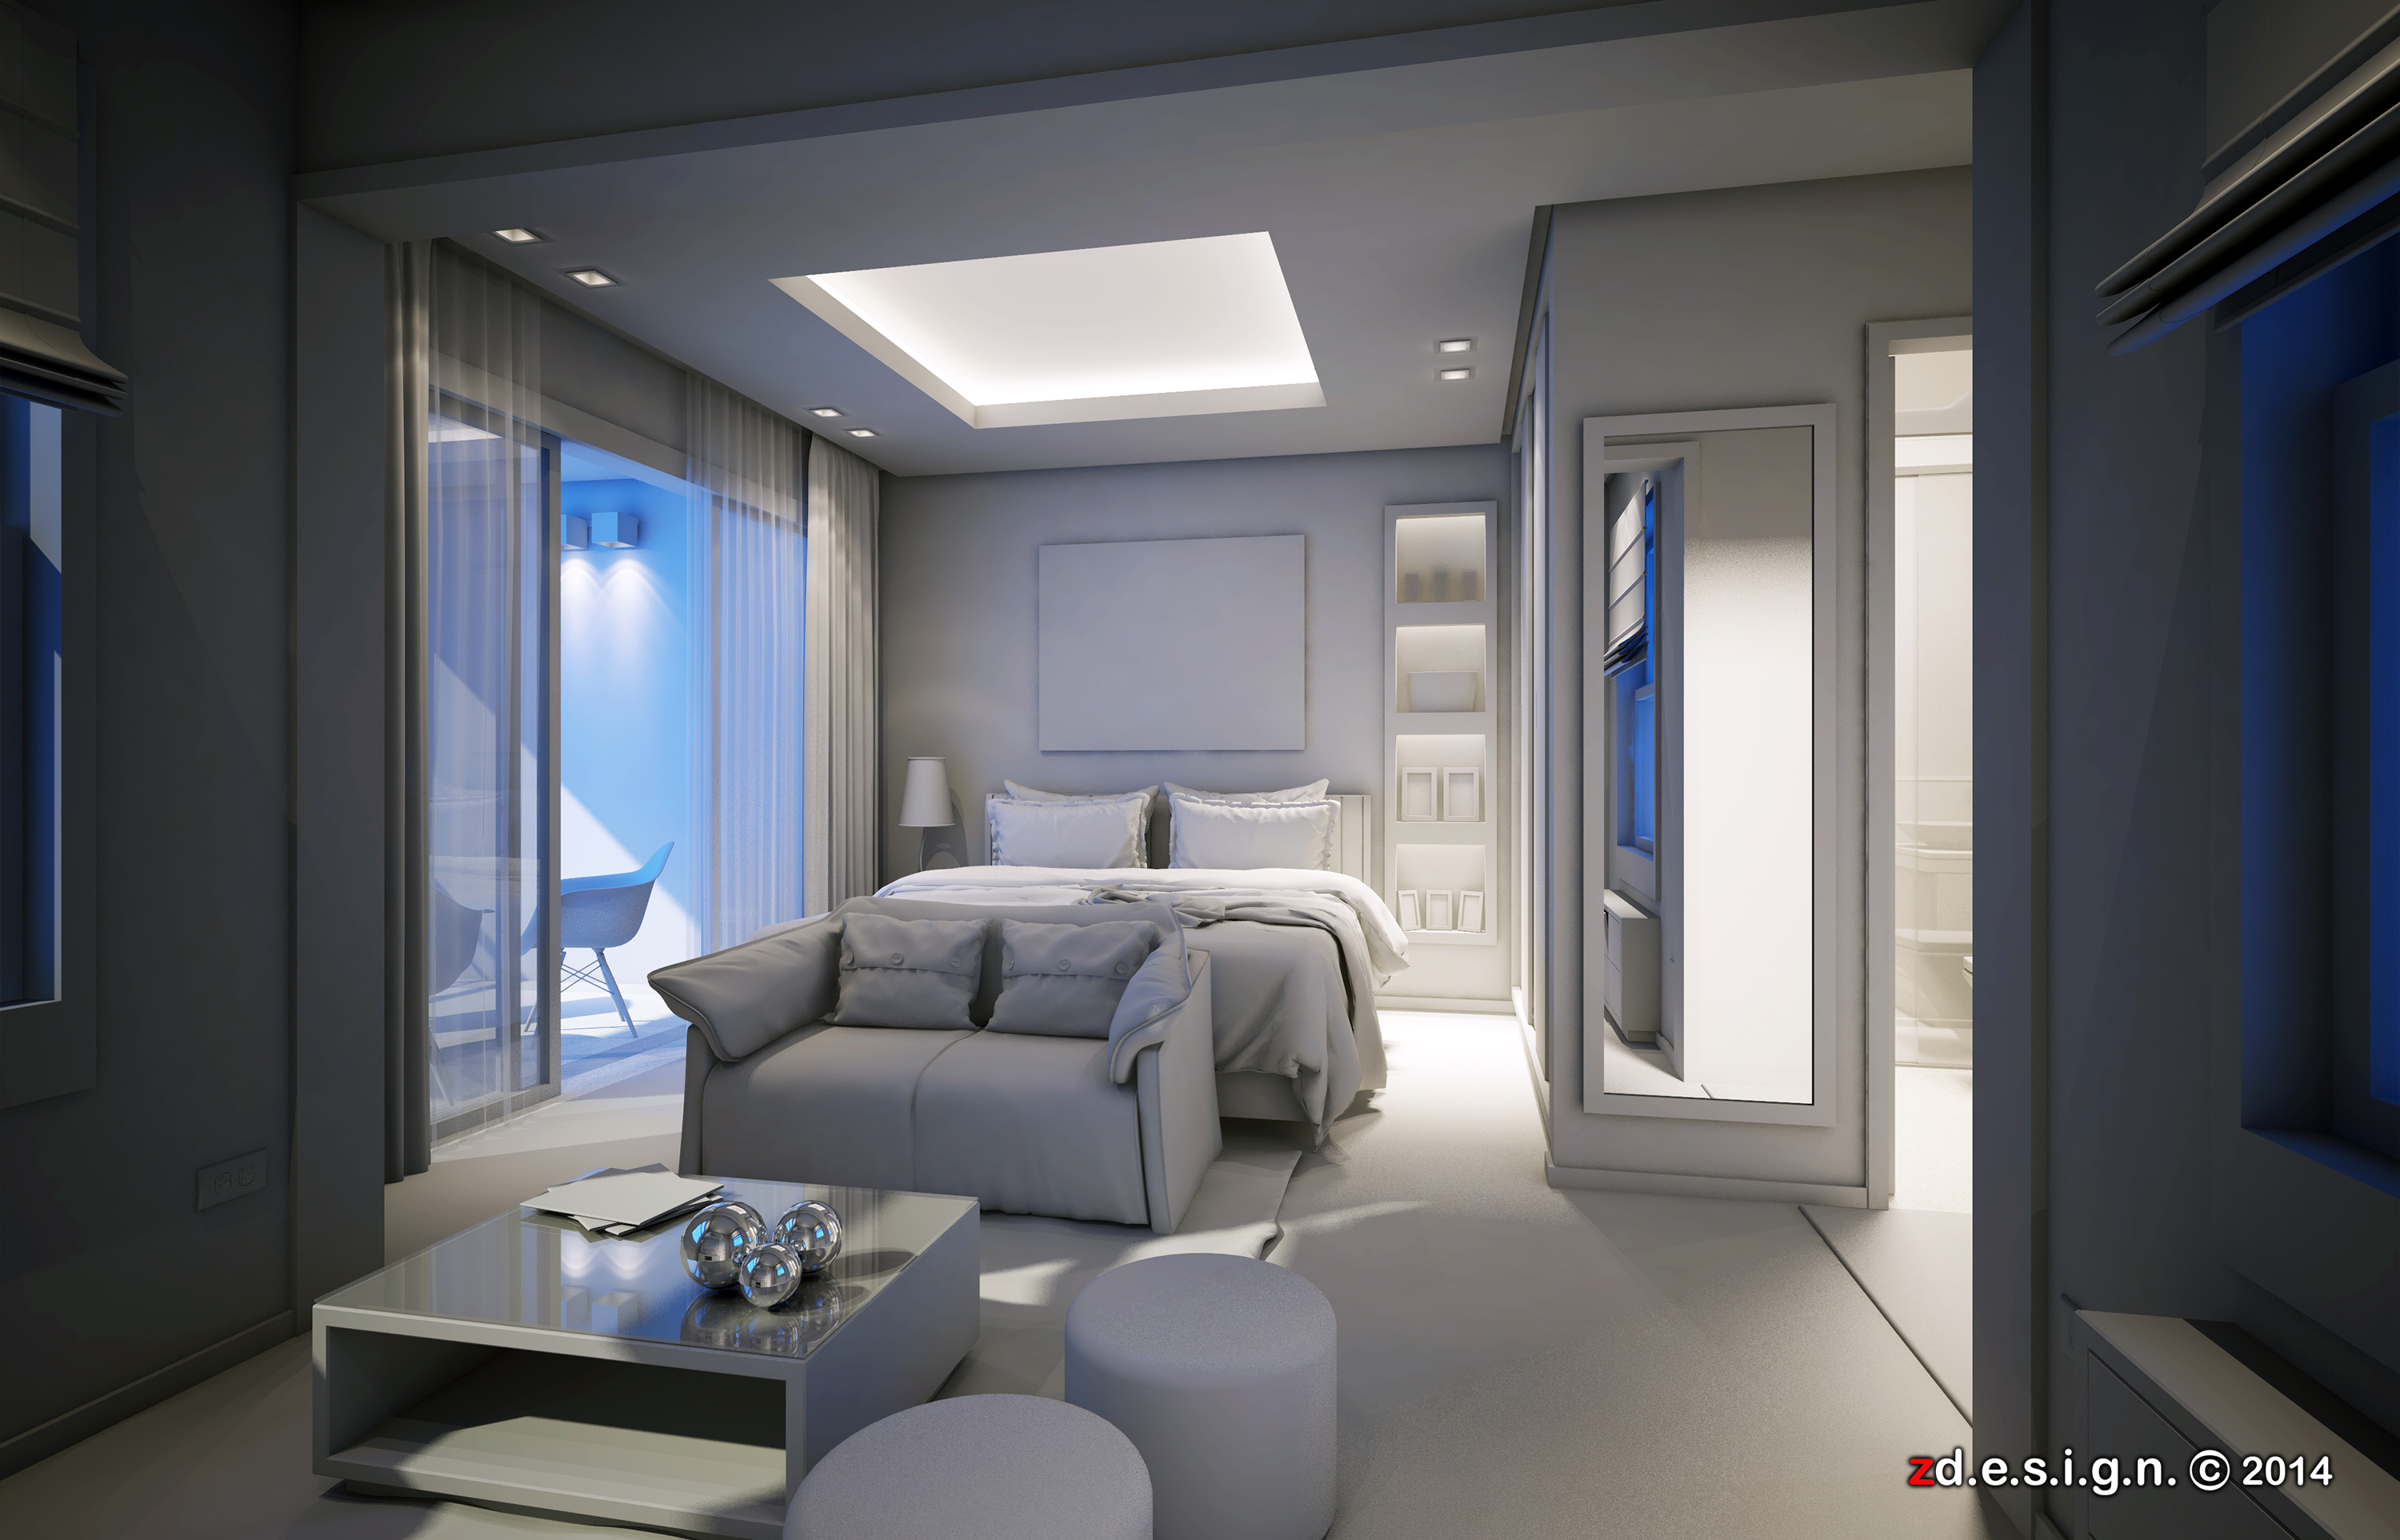
    In this process I can adjust the intensity of the individual lights versus the general environment lighting.
Ooppps Revision is part in this process, sometimes at this stage the client have a change of mind regarding a particular design element, fabric, paint color or piece of furniture. At this stage they need to communicate for any changes. ( one or two revision are enough Why? because it's not easy to change again and again blah blah blah white to black, wood to concrete etc etc. you know what i mean.) I can’t make changes in the final rendering, all changes should be made during the rough rendering step.

https://farm4.staticflickr.com/3858/14717701370_e8eedb51c5_o.jpg

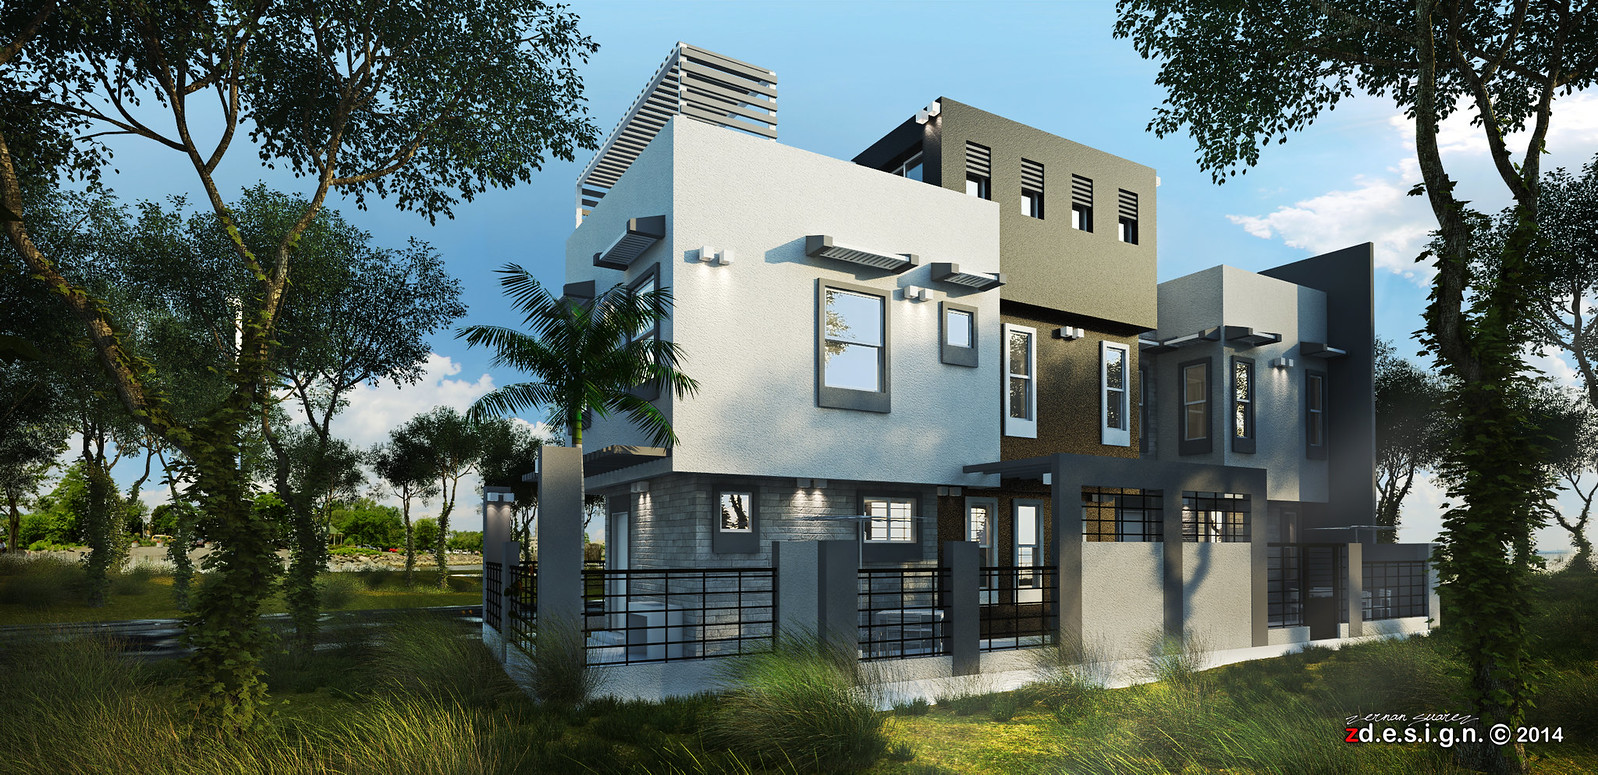
E. Final Render and Post Process
    Once the 3D scenario have been fully rendered (raw), I open it in Photoshop for post-processing to enhance the overall image, adding effects and entourage if possible.


F. Pay me . . . (don't forget your talent fees)

Note : Try and always coordinate with client, as long as you receive all the information about the project, the entire process is actually quite painless. . . Voila!

. . . sample cut views . . .
https://farm3.staticflickr.com/2927/14734954663_8a80af3c1b_o.jpg https://farm4.staticflickr.com/3882/14692095706_eecf10767d_o.jpg
https://farm4.staticflickr.com/3895/14528416750_a70f374db1_o.jpg https://farm4.staticflickr.com/3907/14692095166_0364be5e7a_o.jpg
CHECK ALL MY VISUALIZATION H E R E
...

Thursday, November 28, 2013

autoCAD TO CORELdraw tutorial . . .

W O R K F L O W
1. CAD FILE EXPORT AND SAVE AS METAFILE .wmf
2. OPEN CORELDRAW AND COPY AND PASTE IN COREL
3. AUTOMATICALLY IT'S ON LAYER 1
4. LOCK THE LAYER 1 BY CLICKING THE PEN TOOL IN OBJECT MANAGER
5. MAKE A NEW LAYER WALL AND START...
6. WATCH THE VIDEO

autoCAD TO CORELdraw tutorial . . . from zdesign media on Vimeo.

music background :
the chase
run for your life
the drums of war
heading for the battle

enjoy and thank you for watching...

http://farm4.staticflickr.com/3712/11099012355_1ab5afcb05_o.jpg