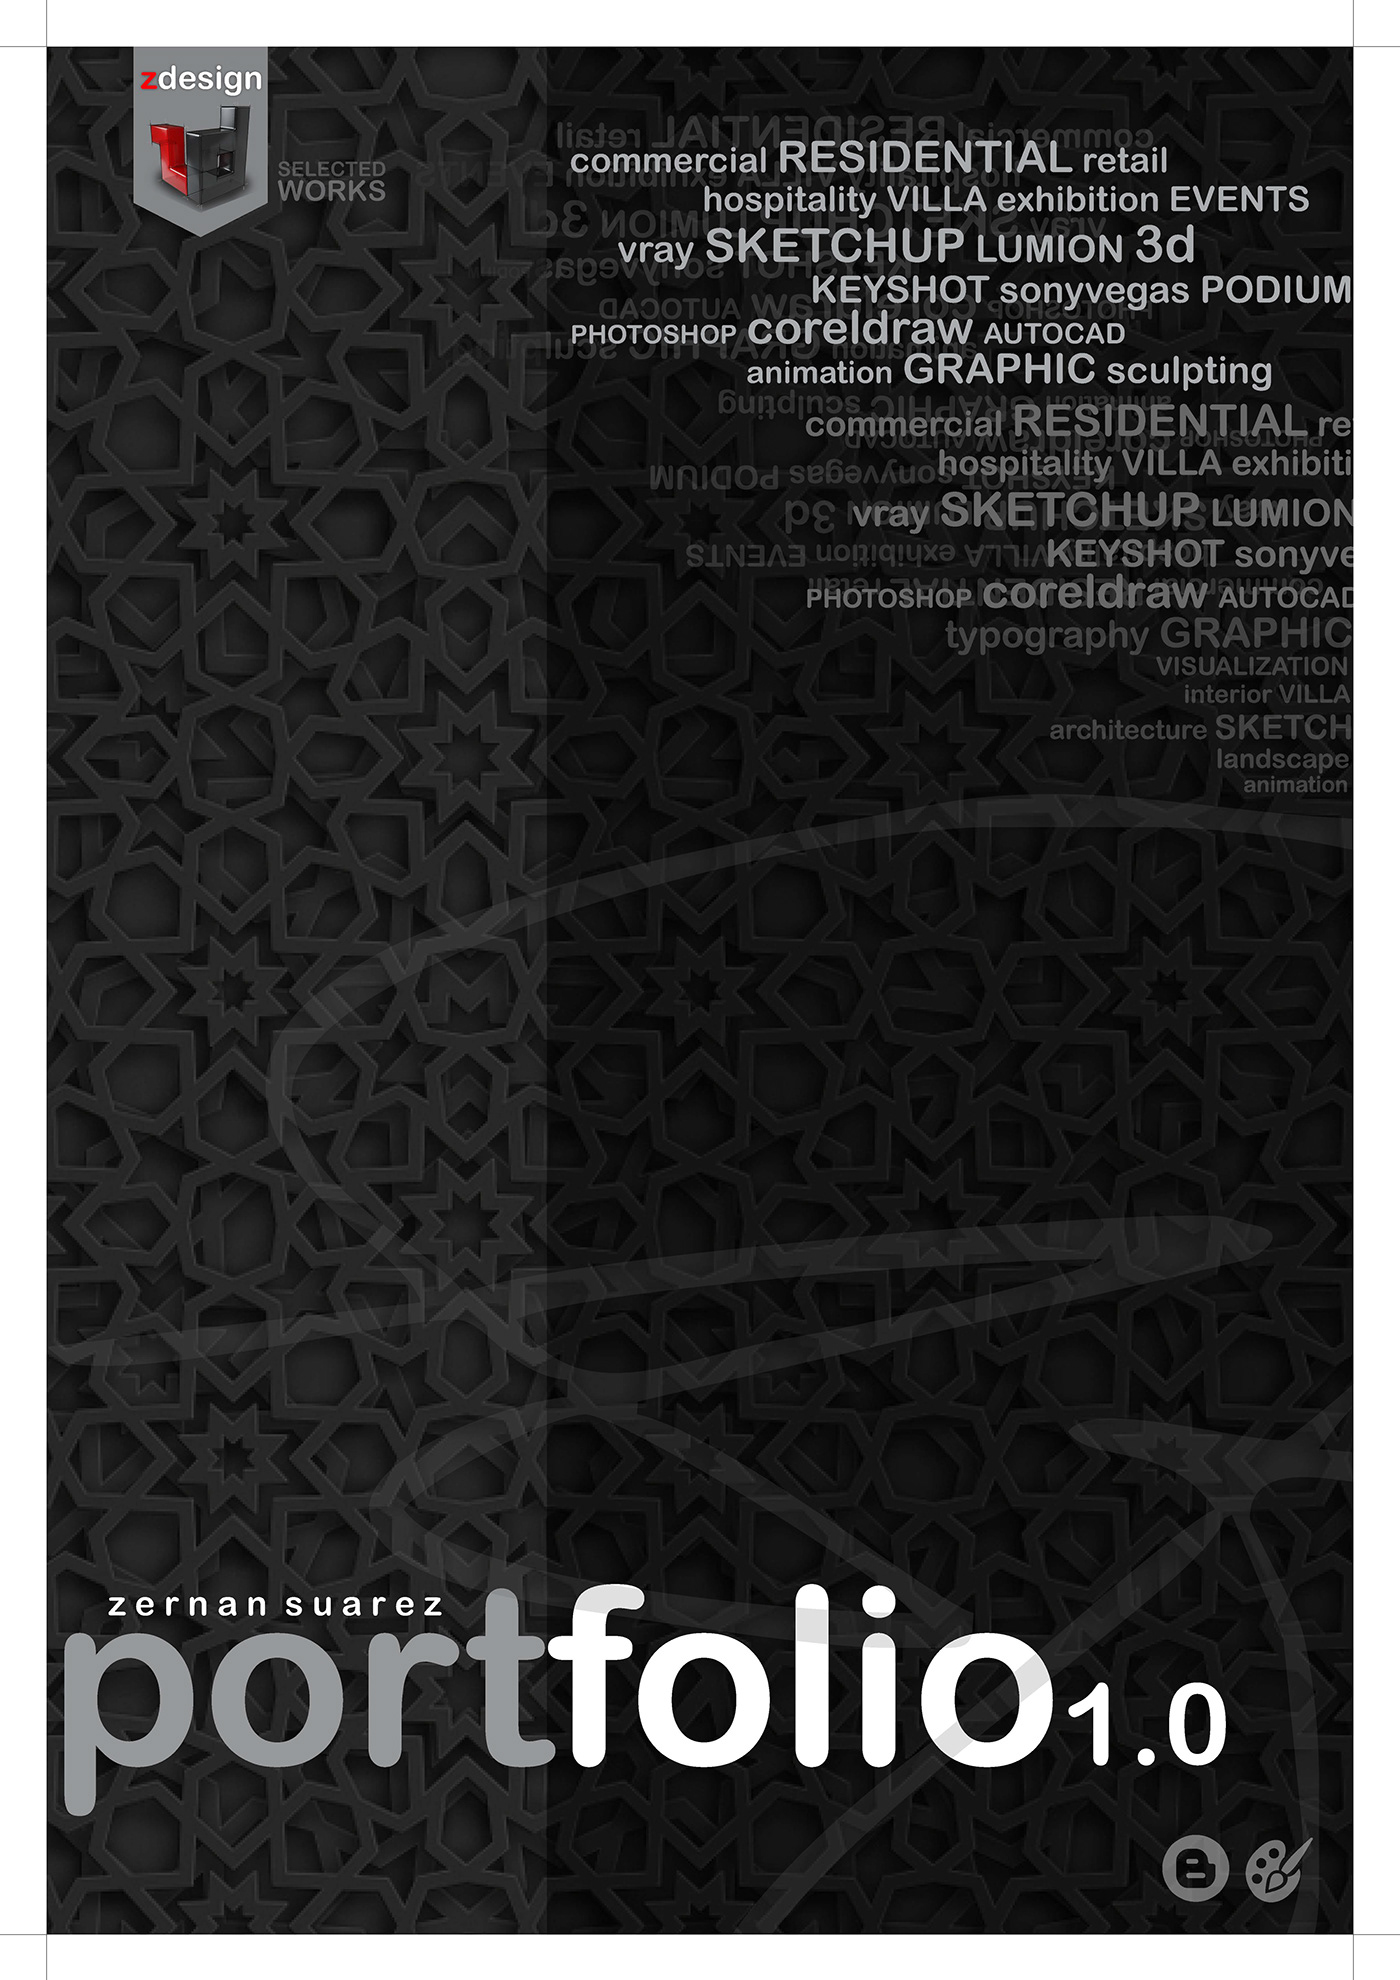
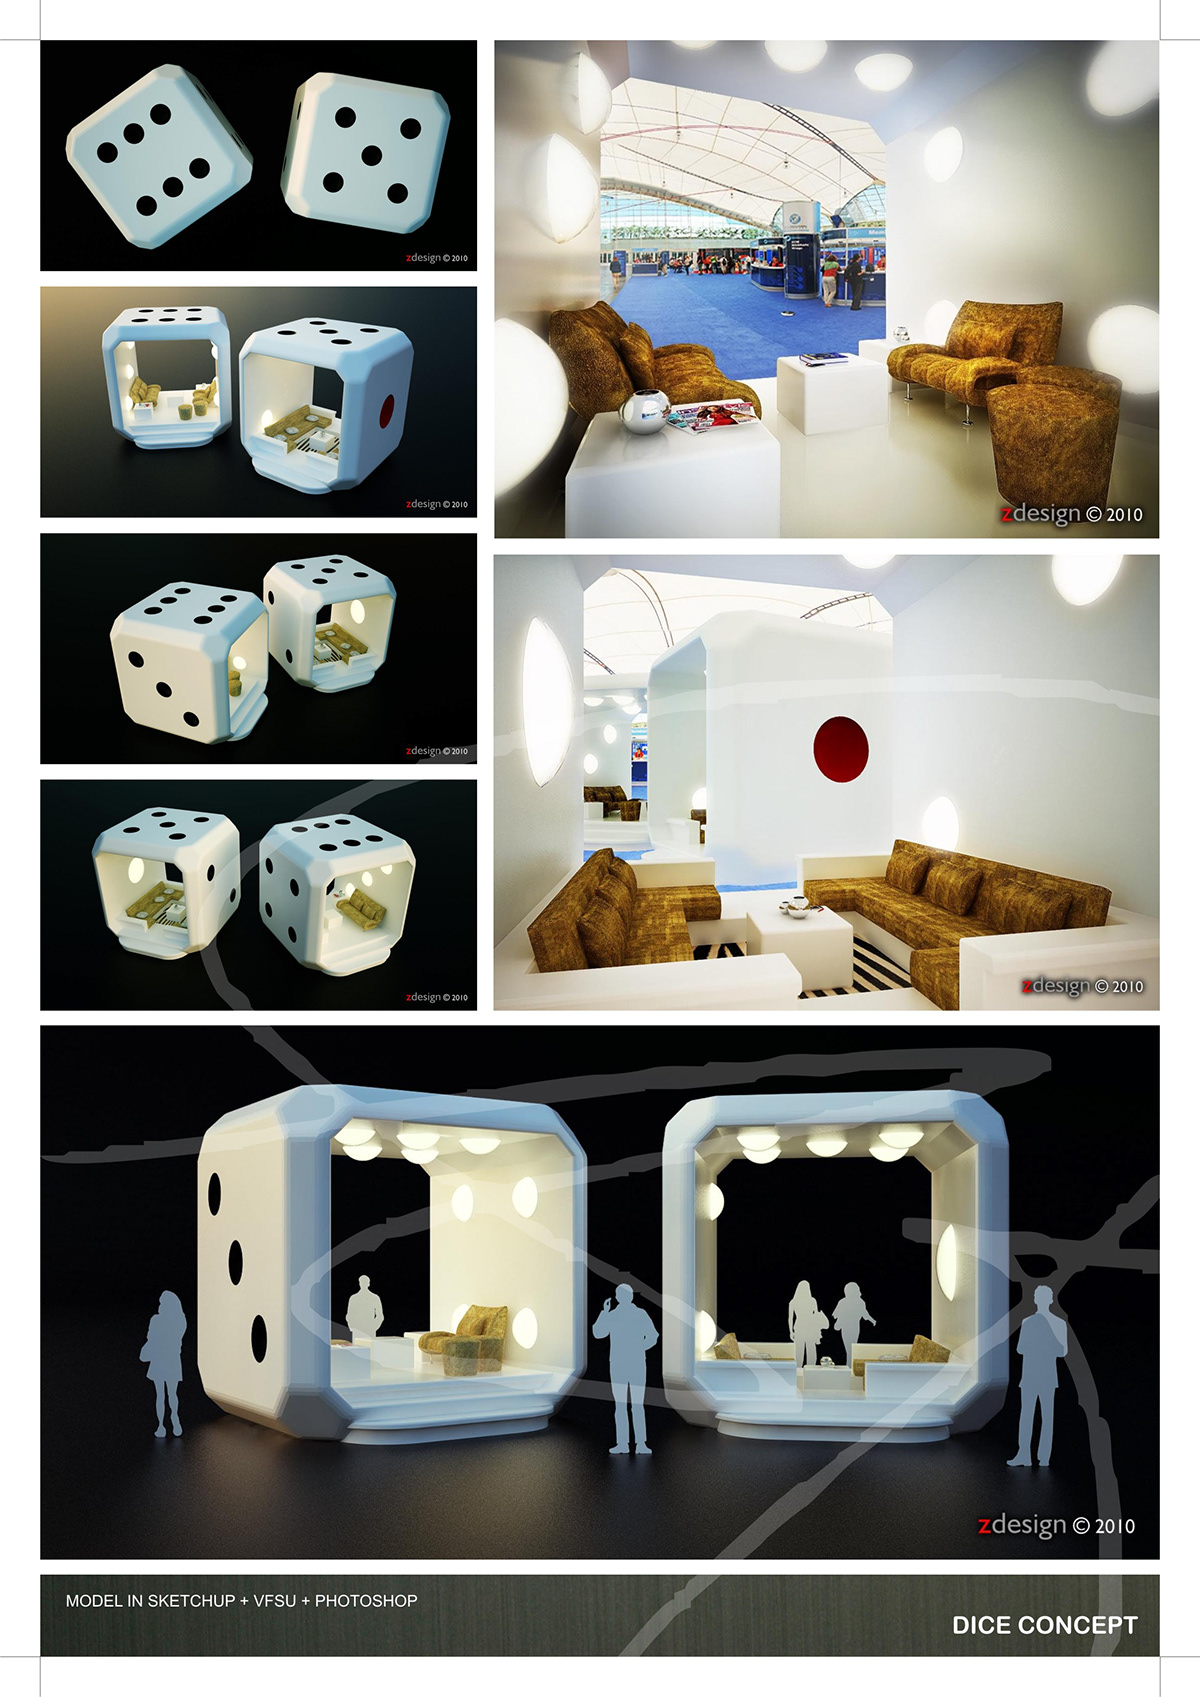
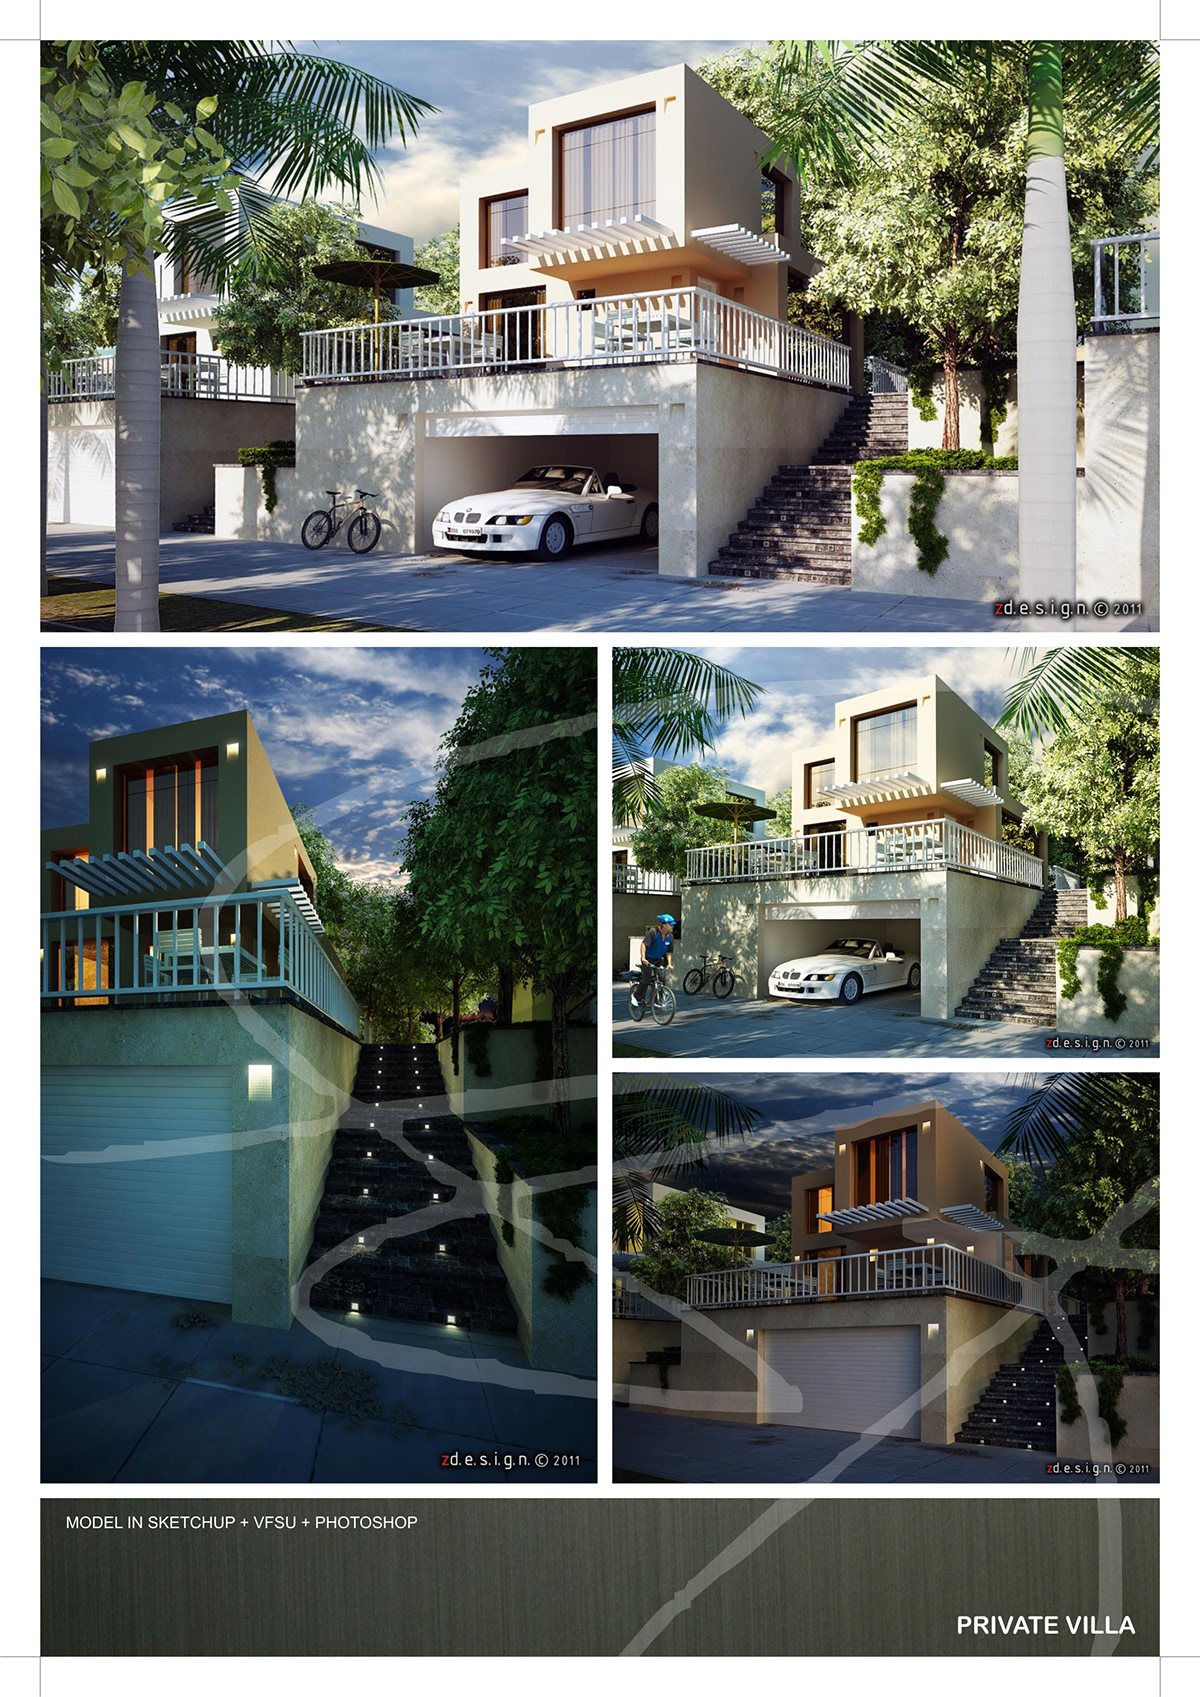
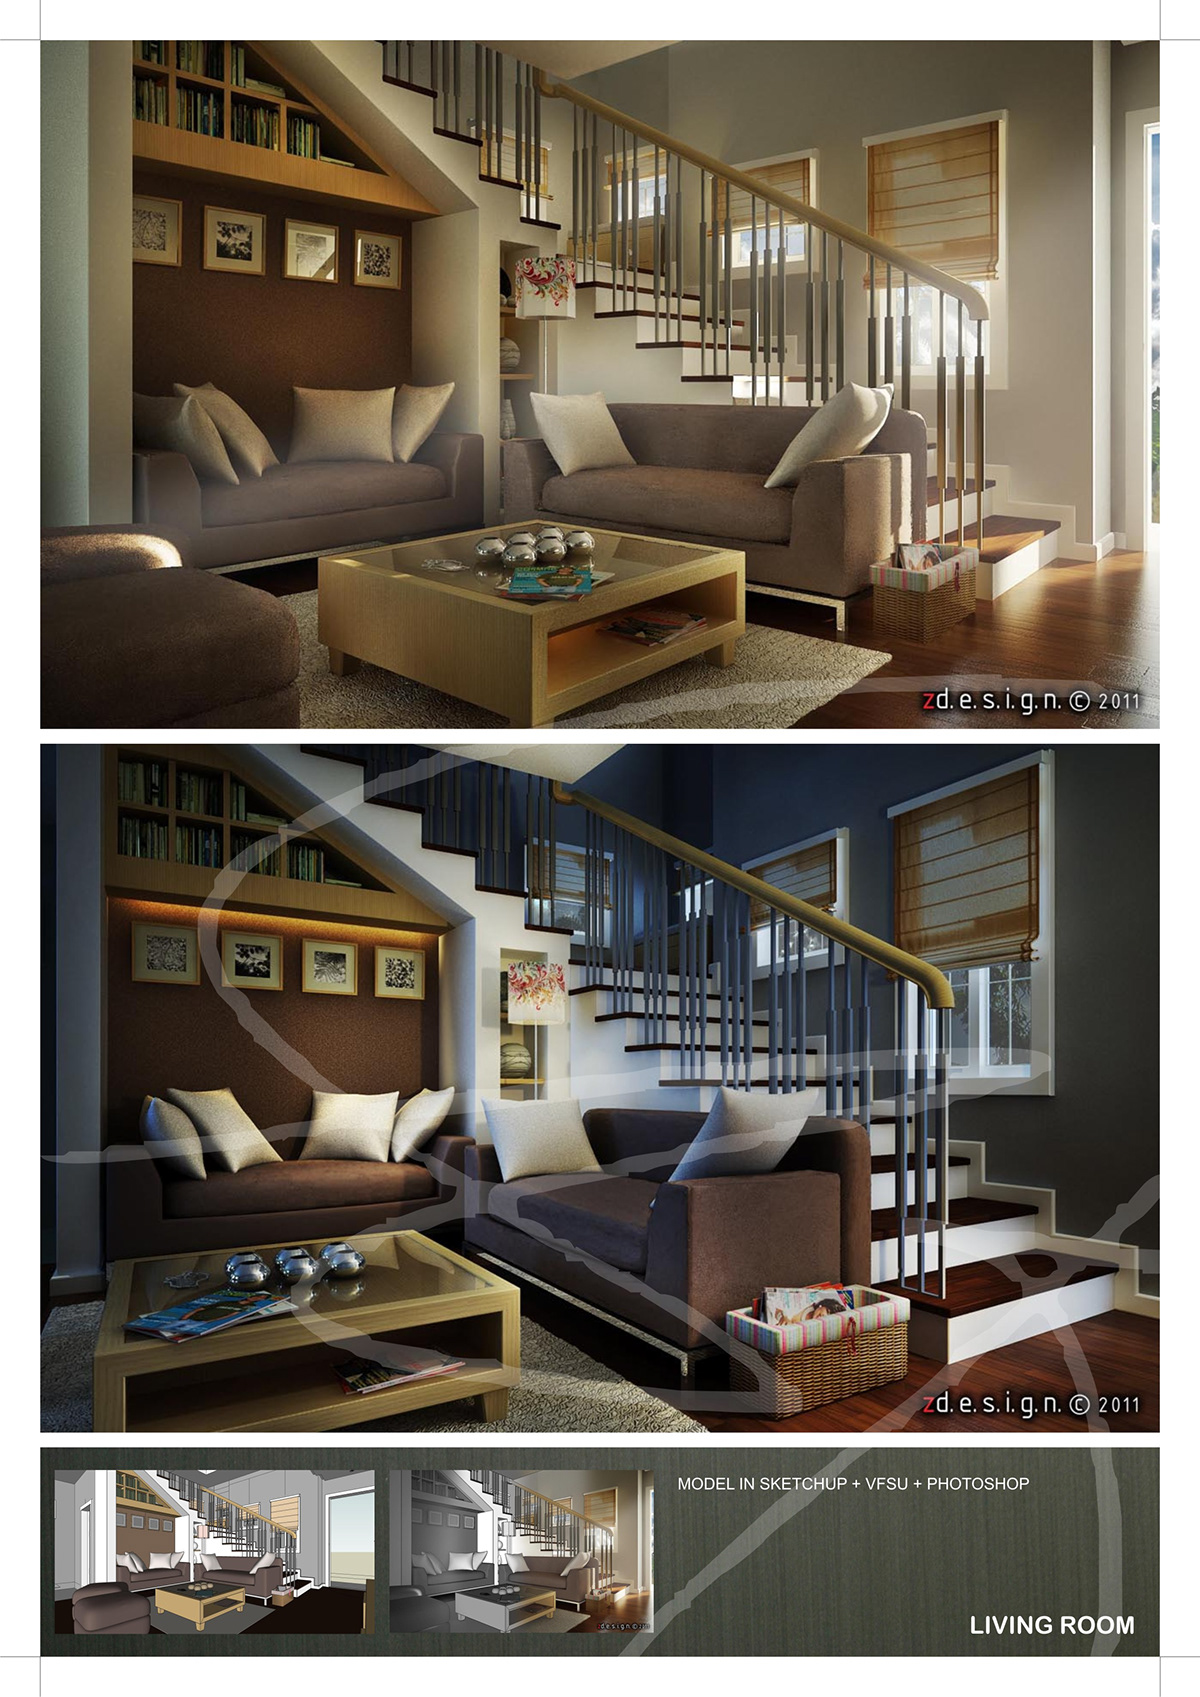
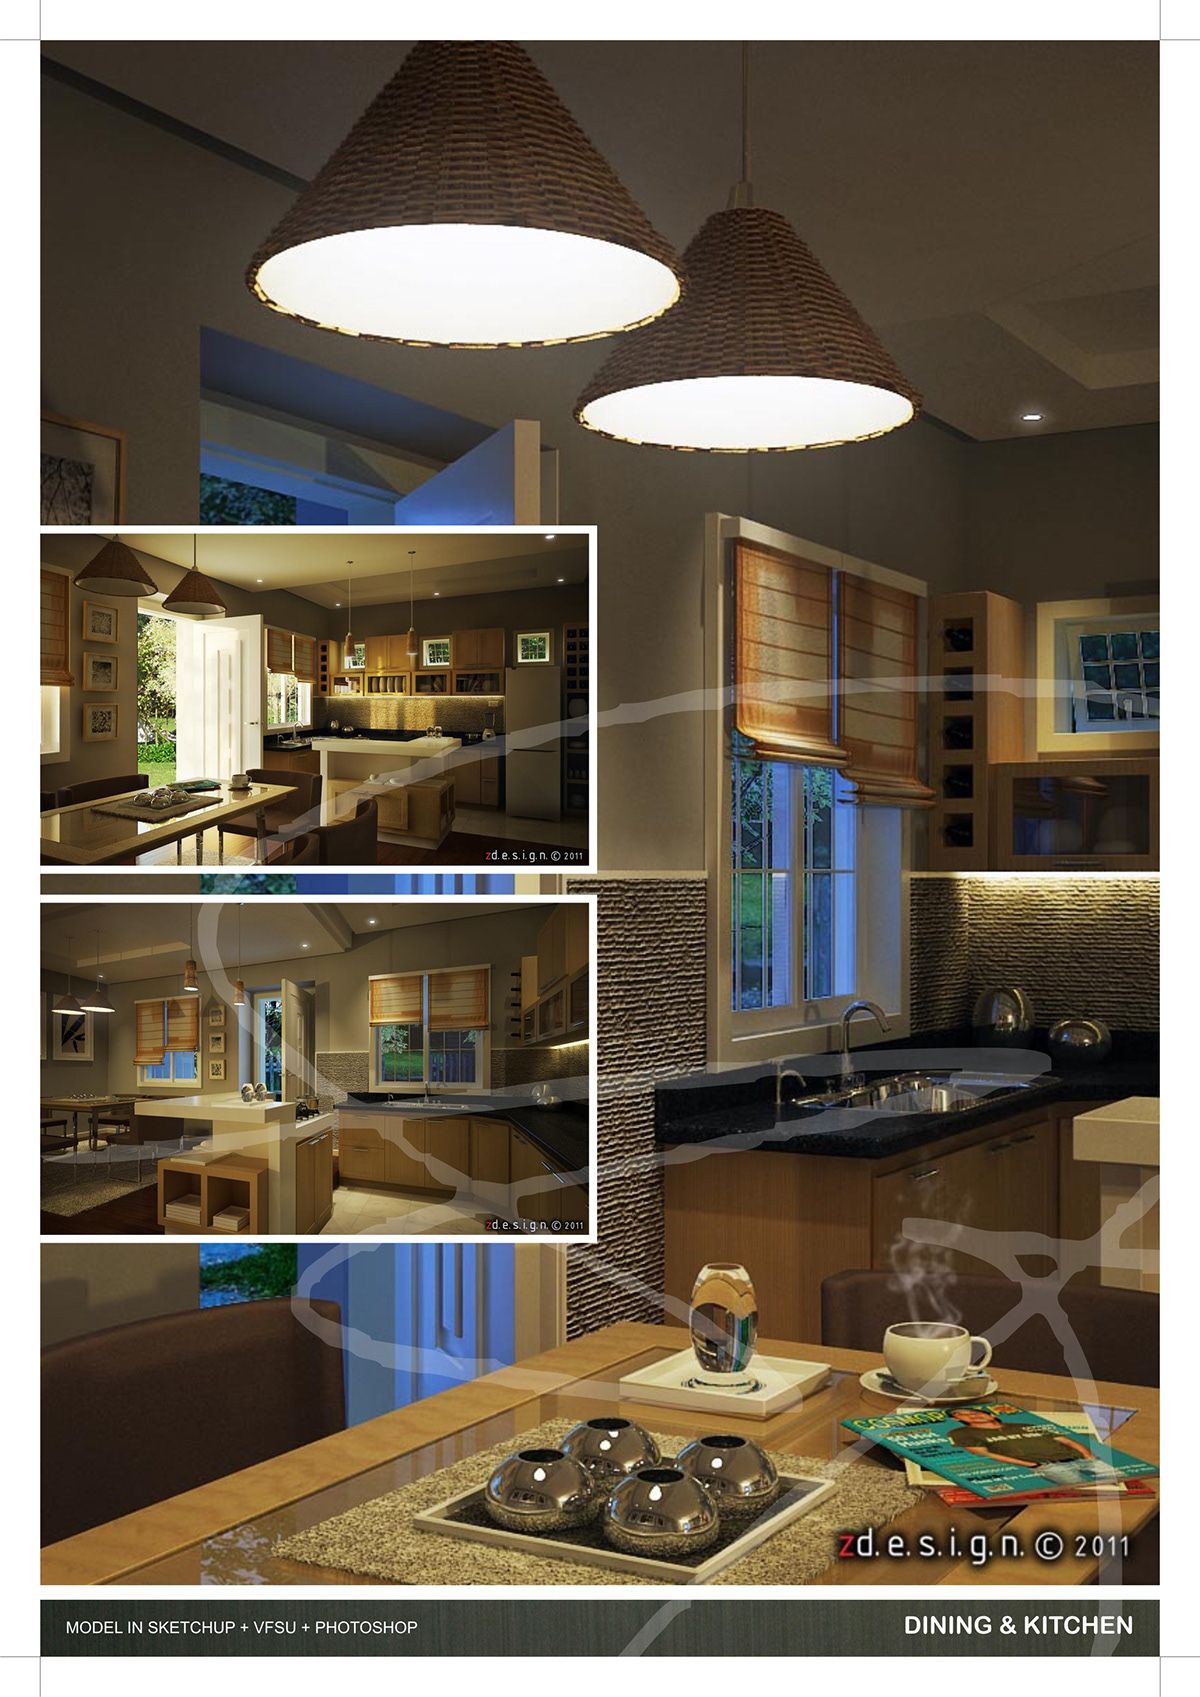
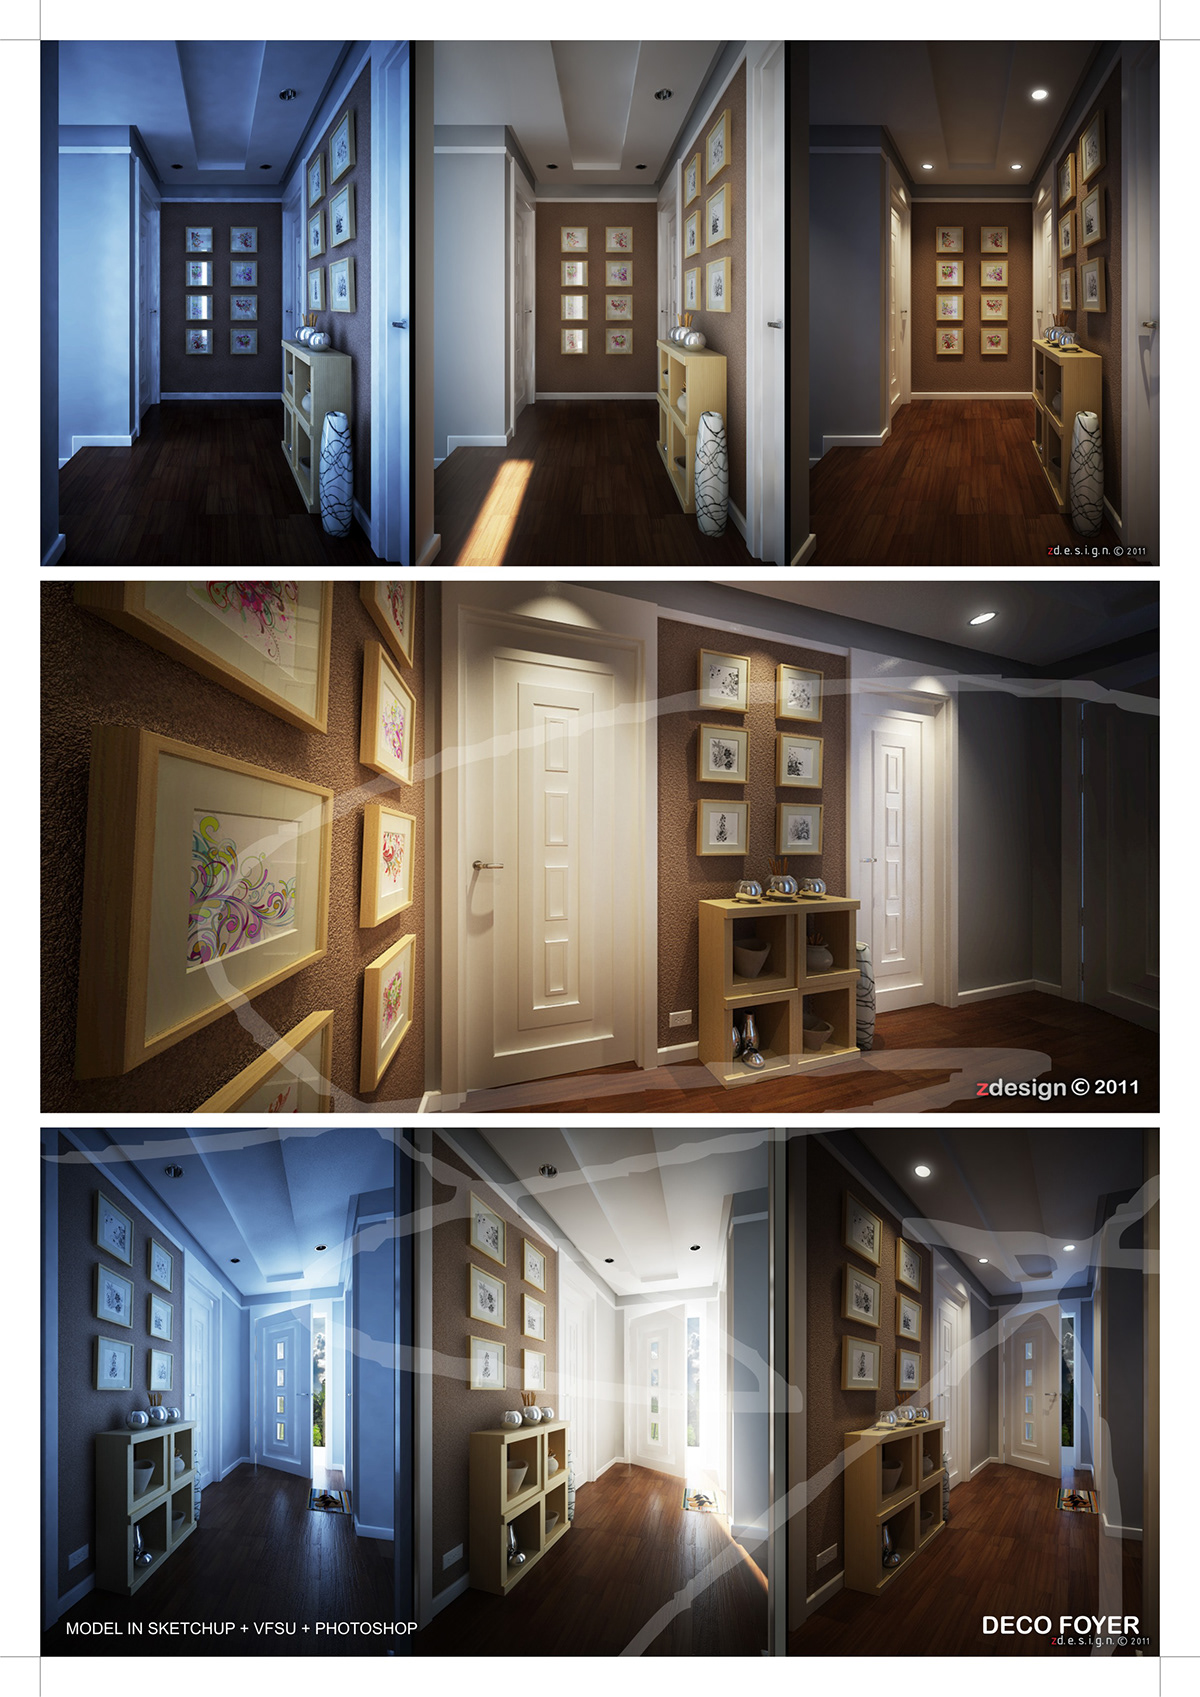
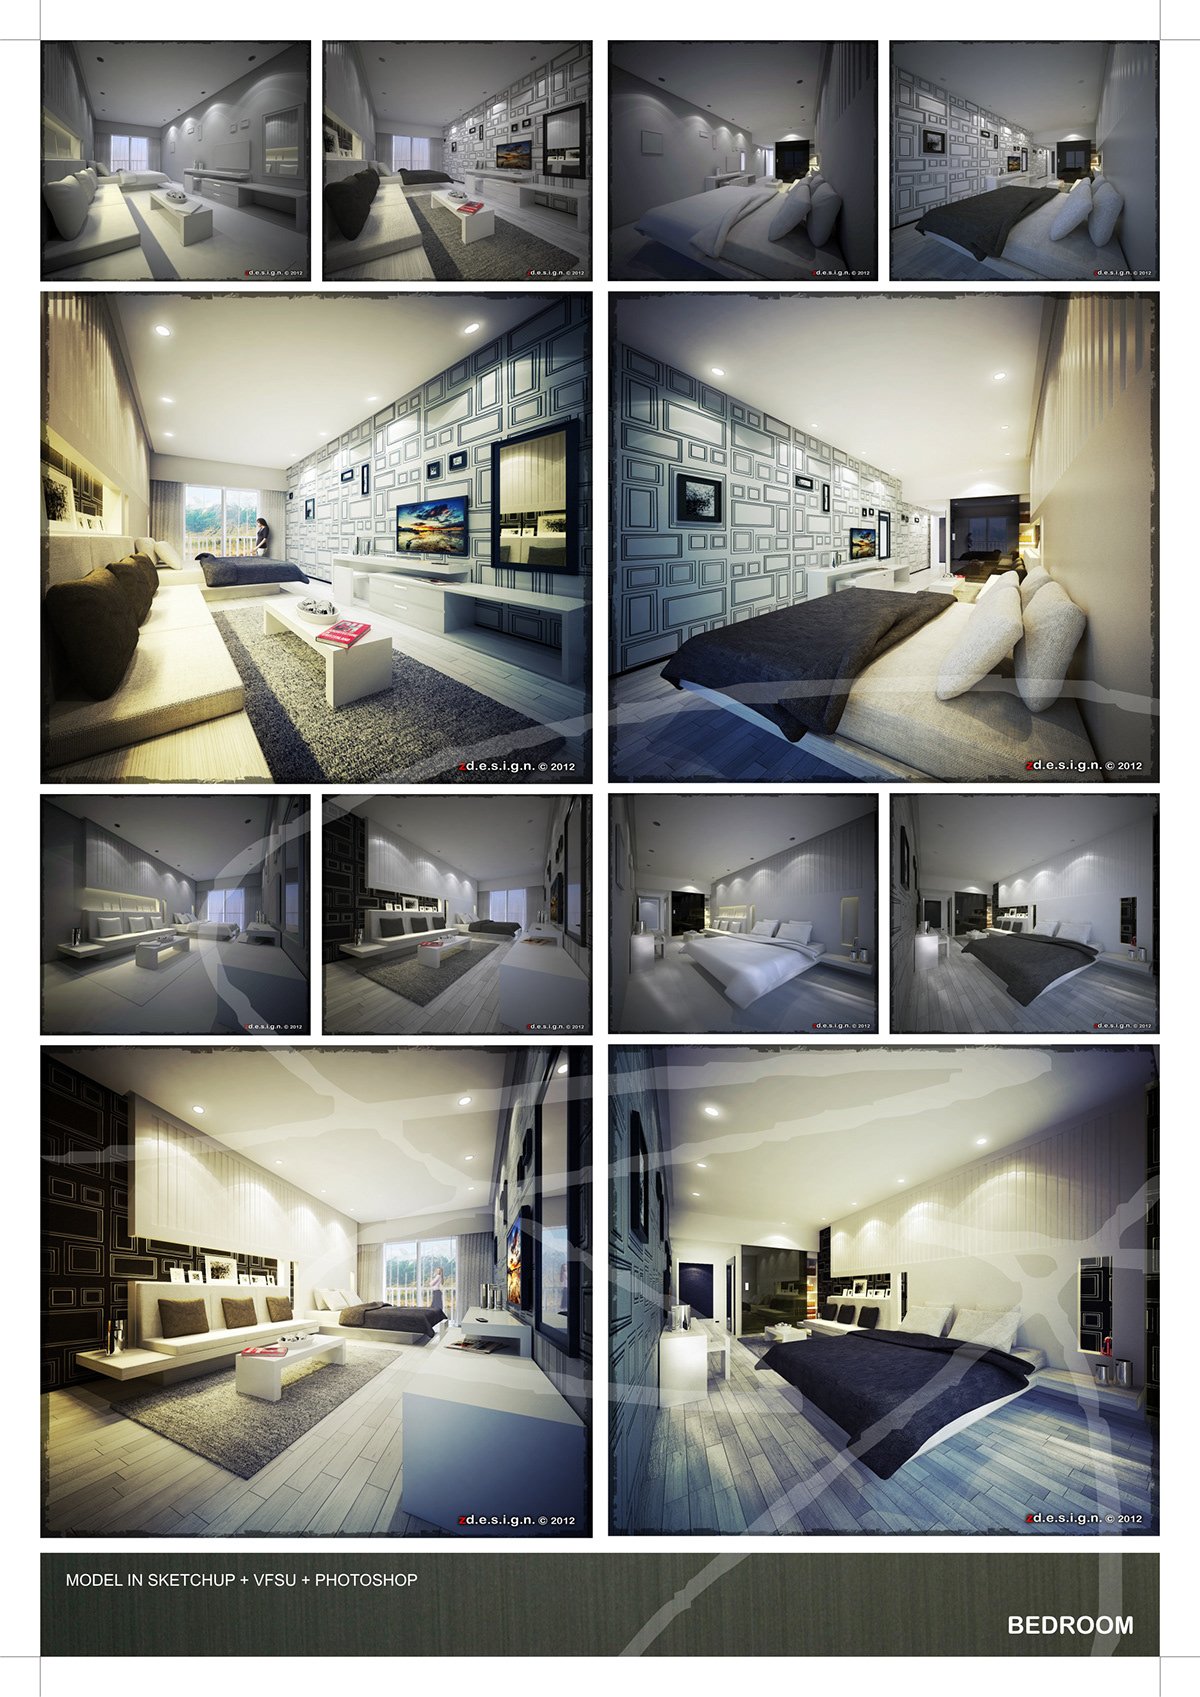
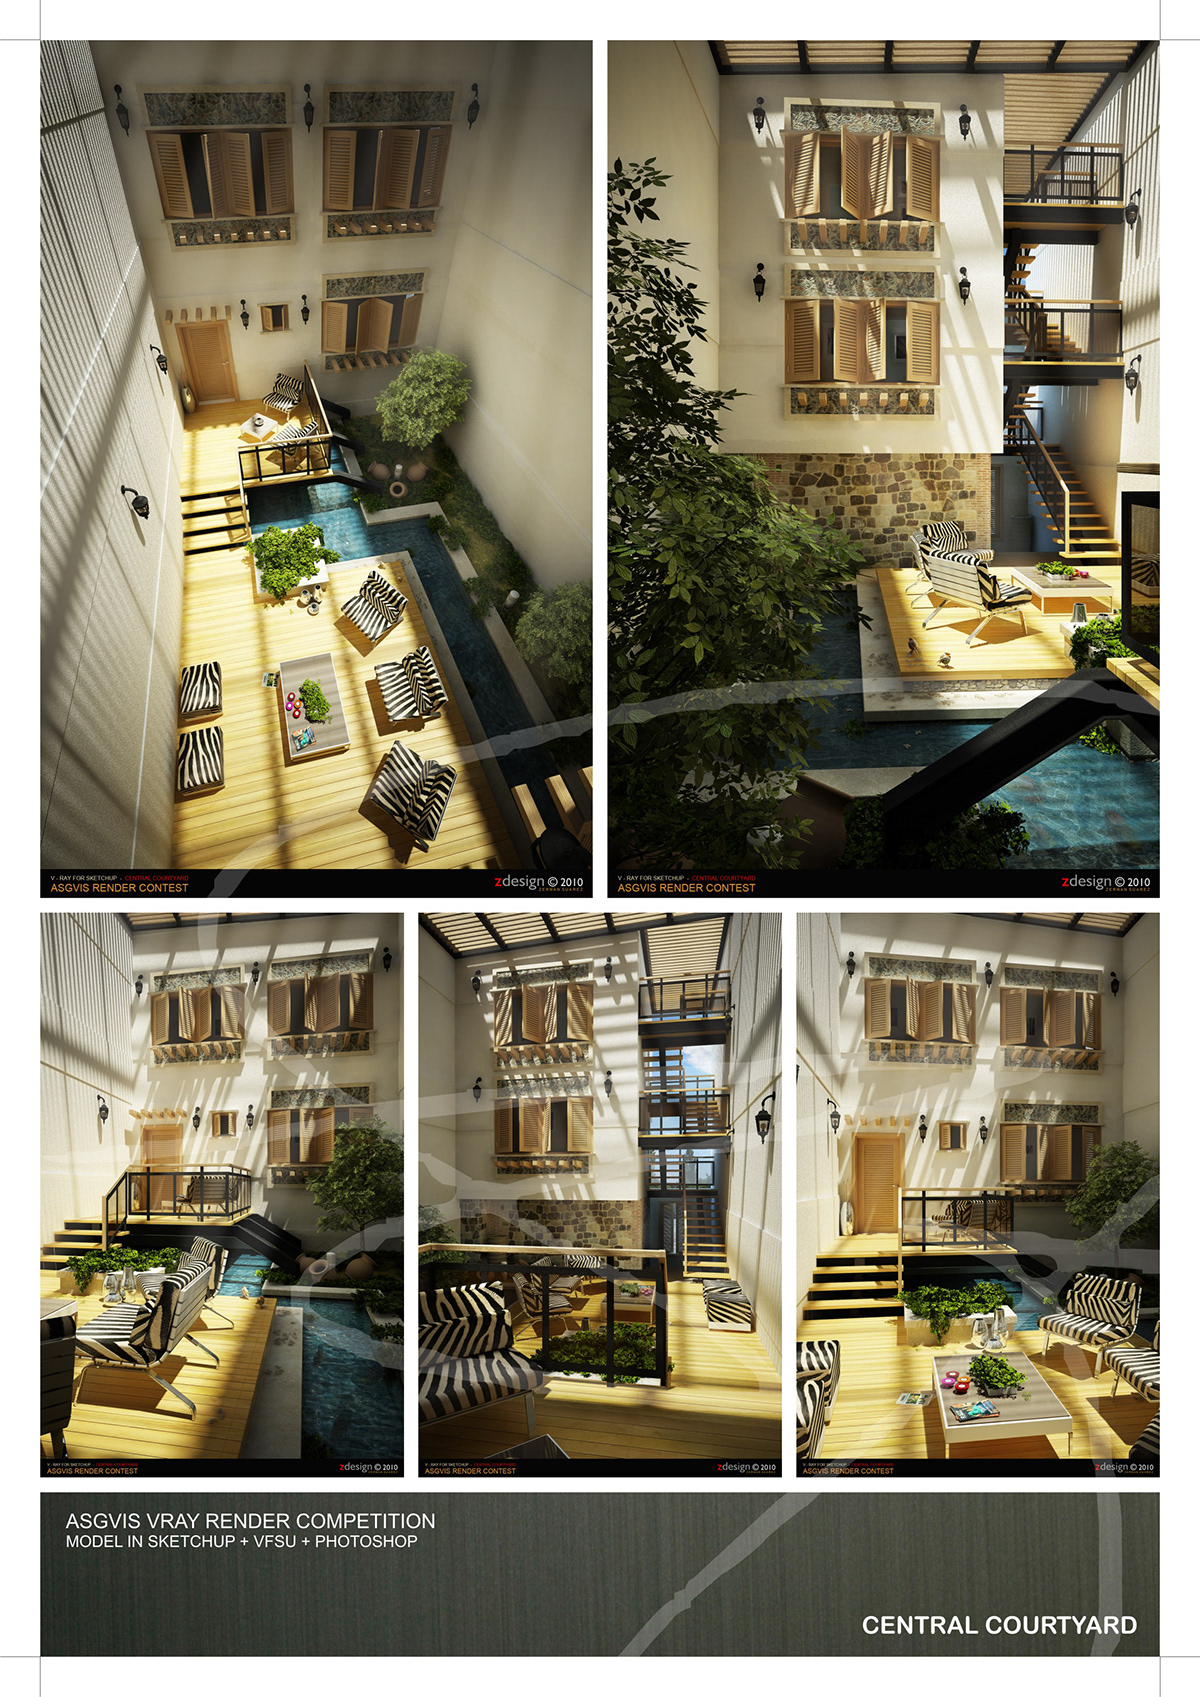
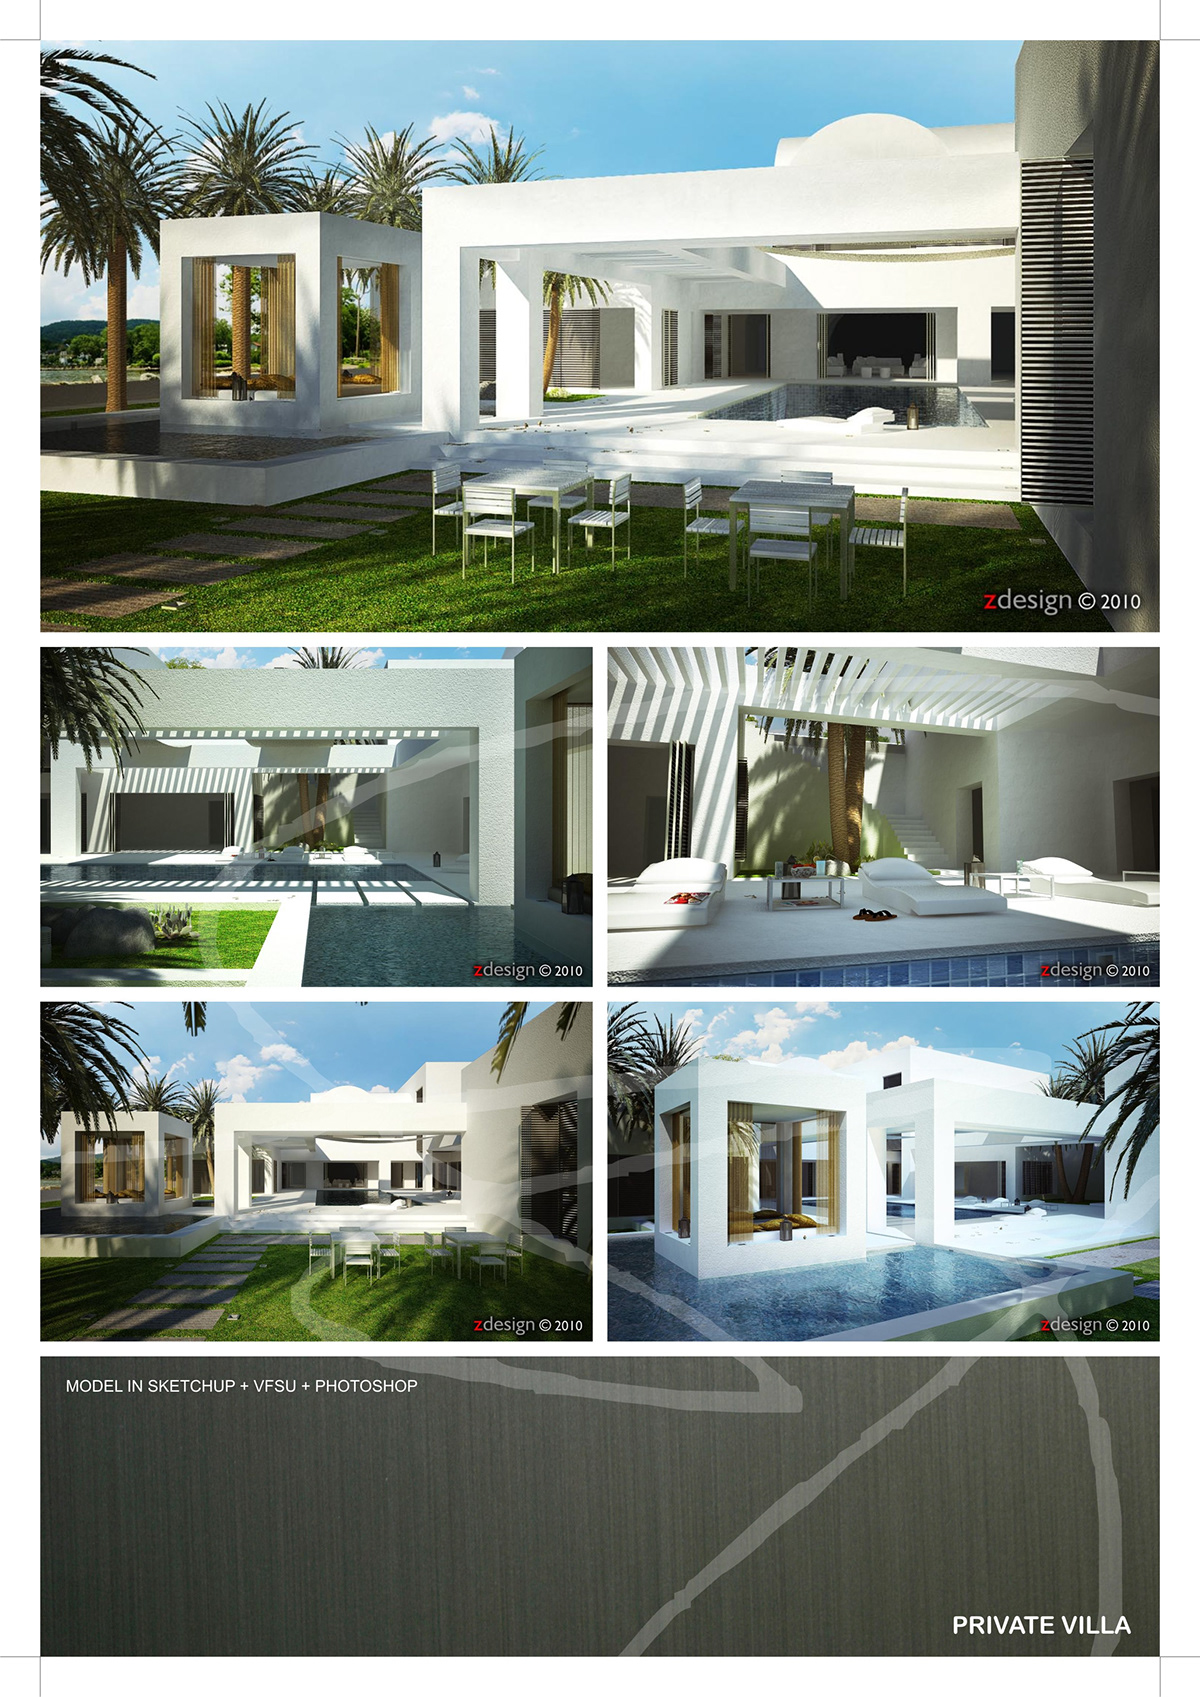
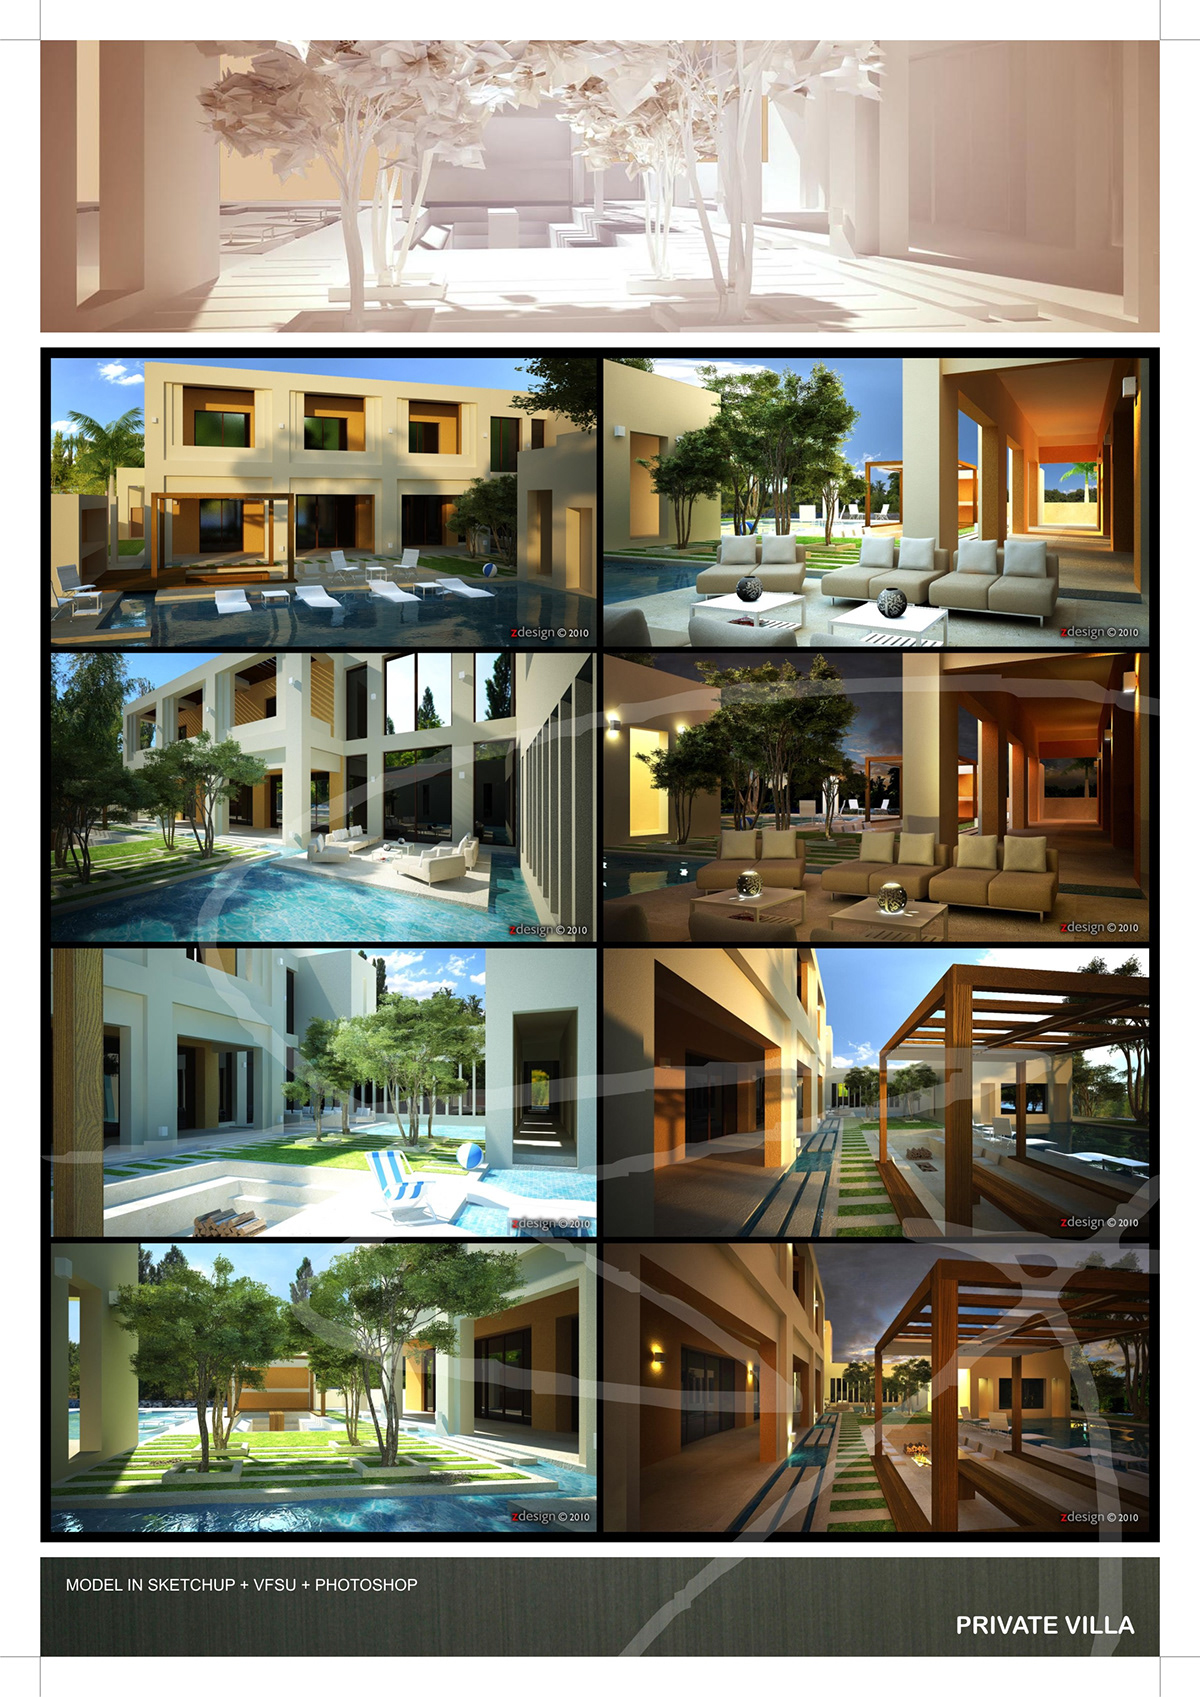
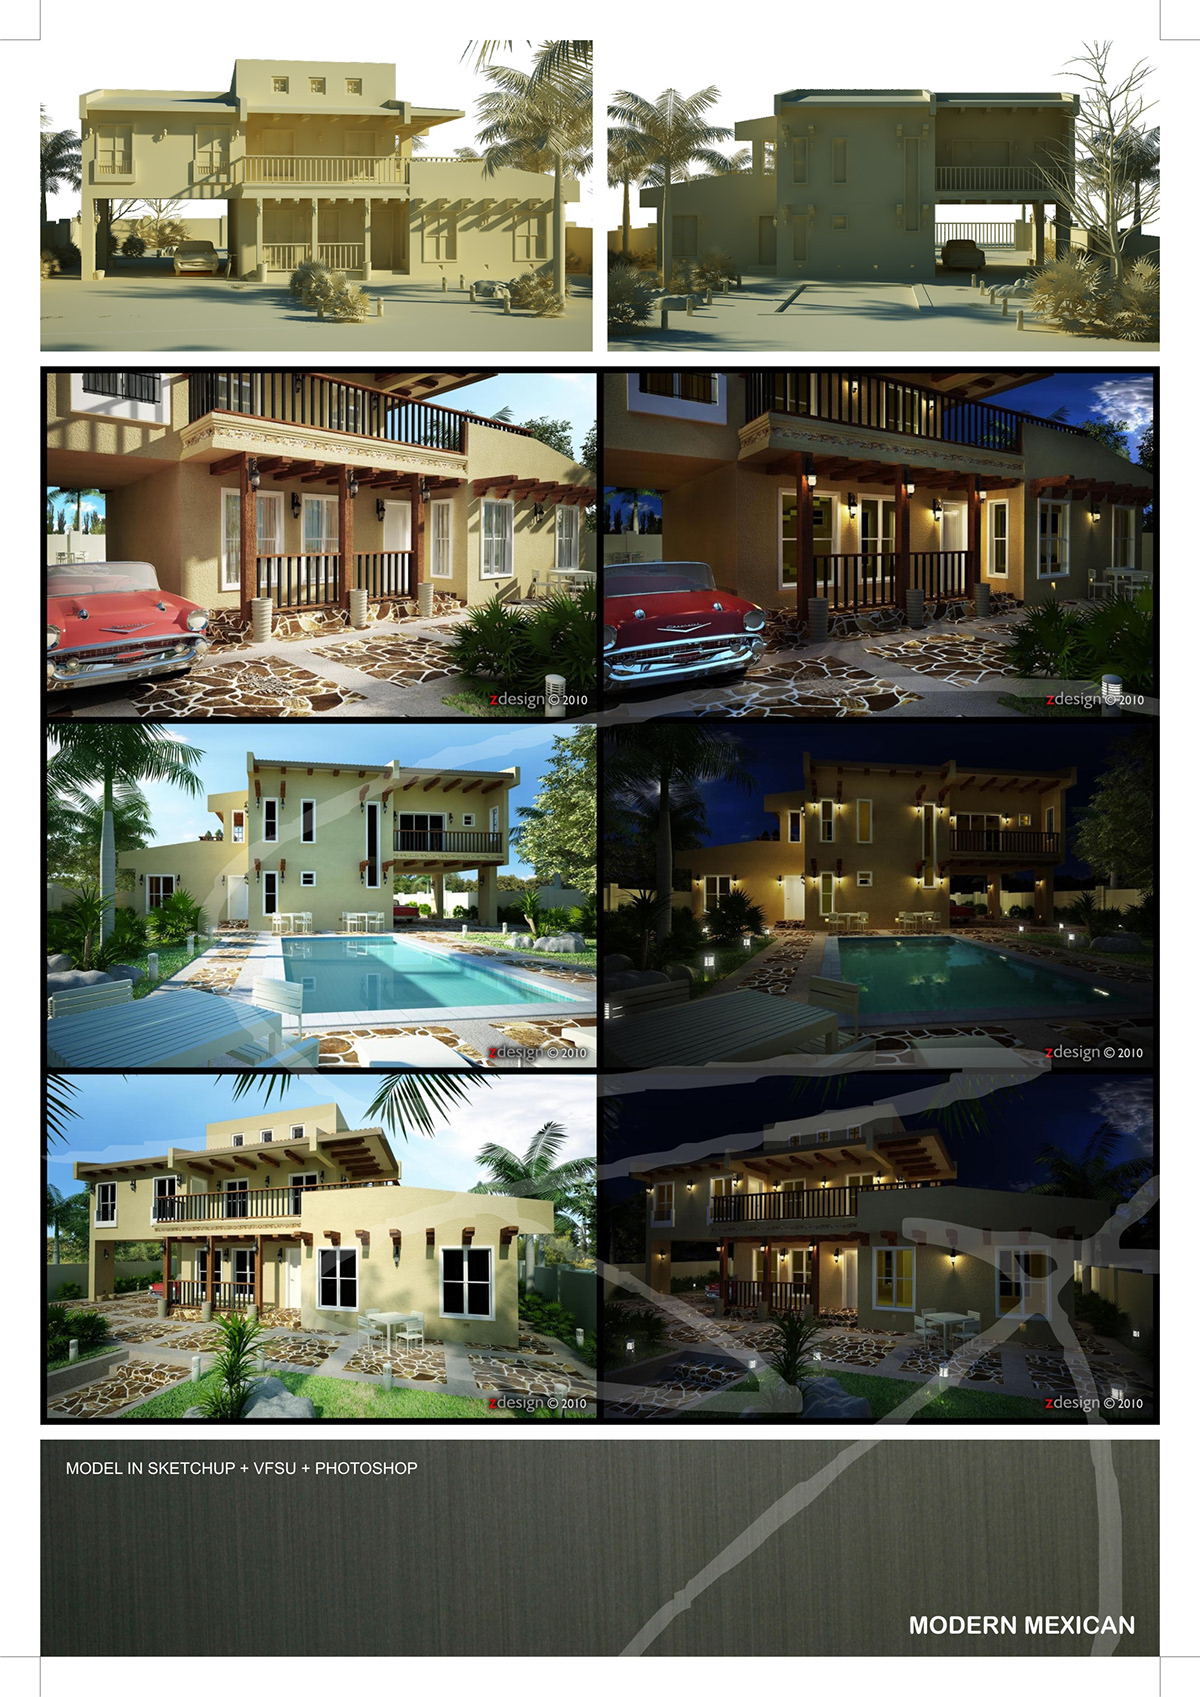
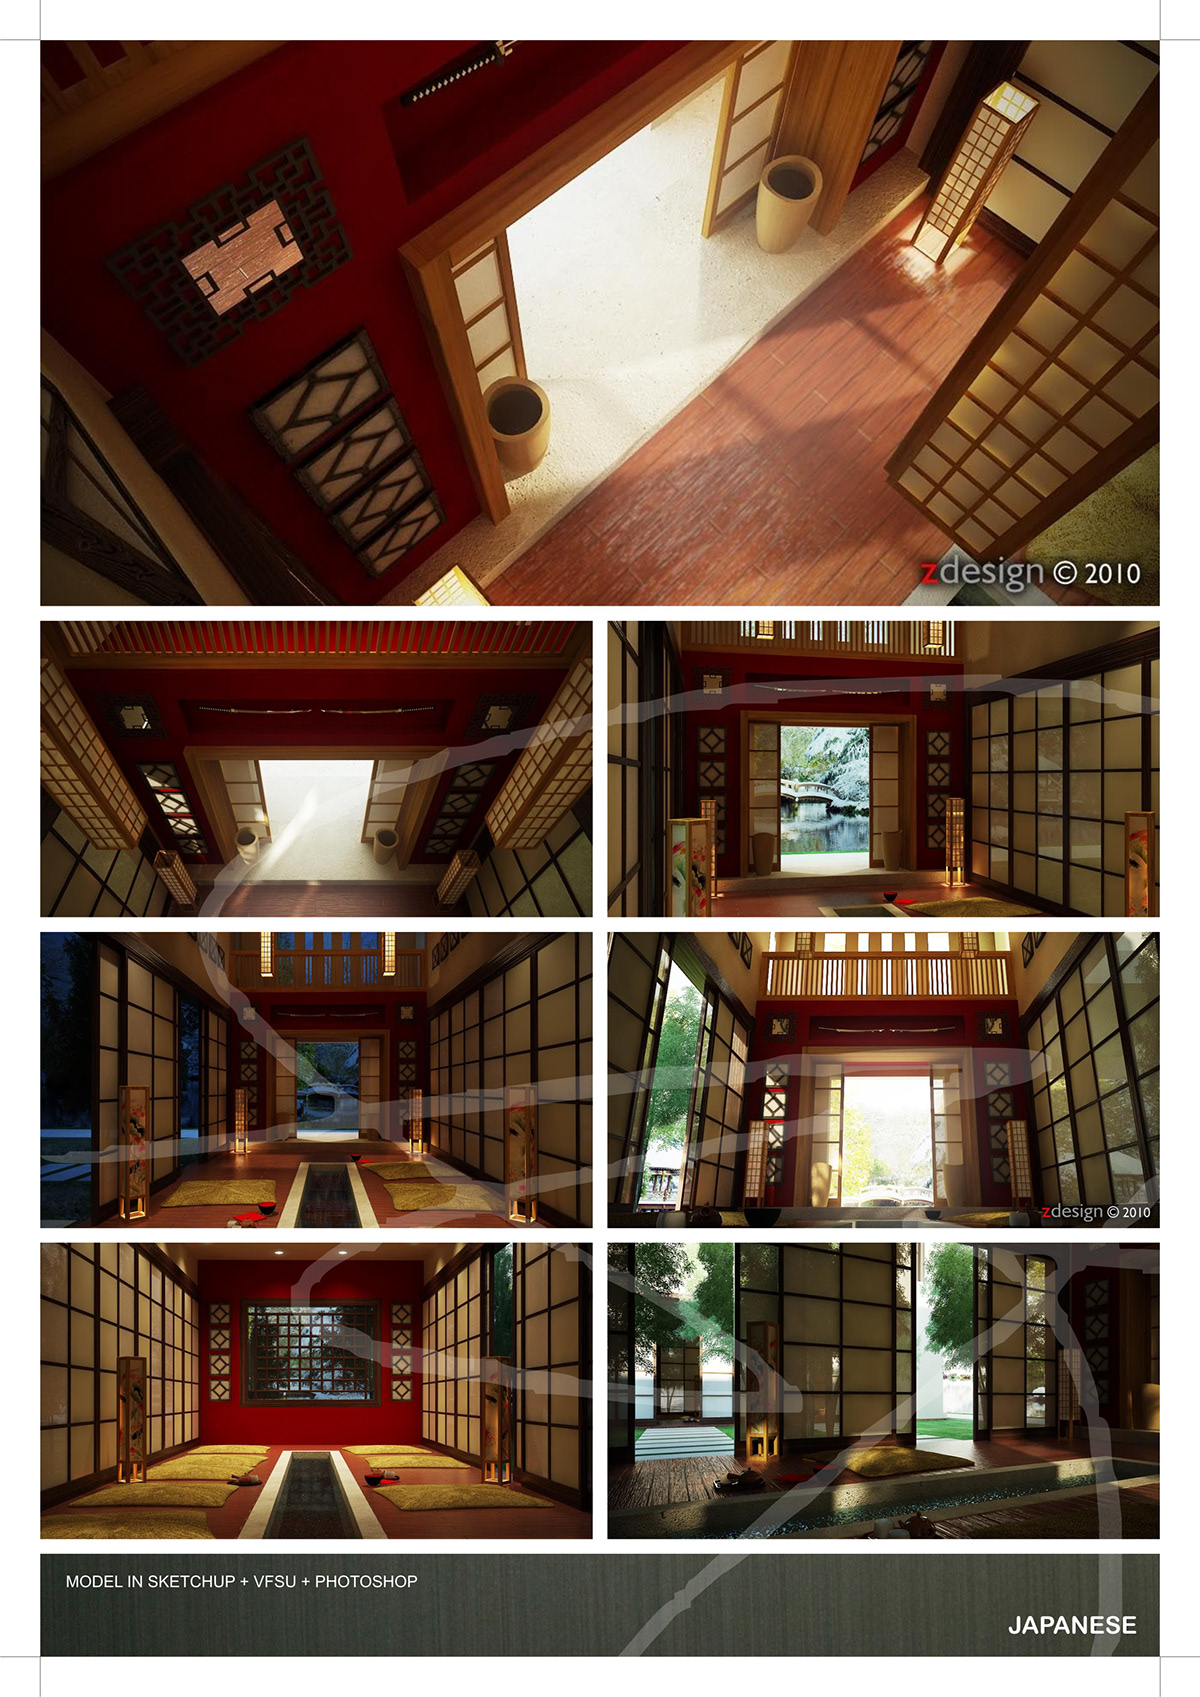
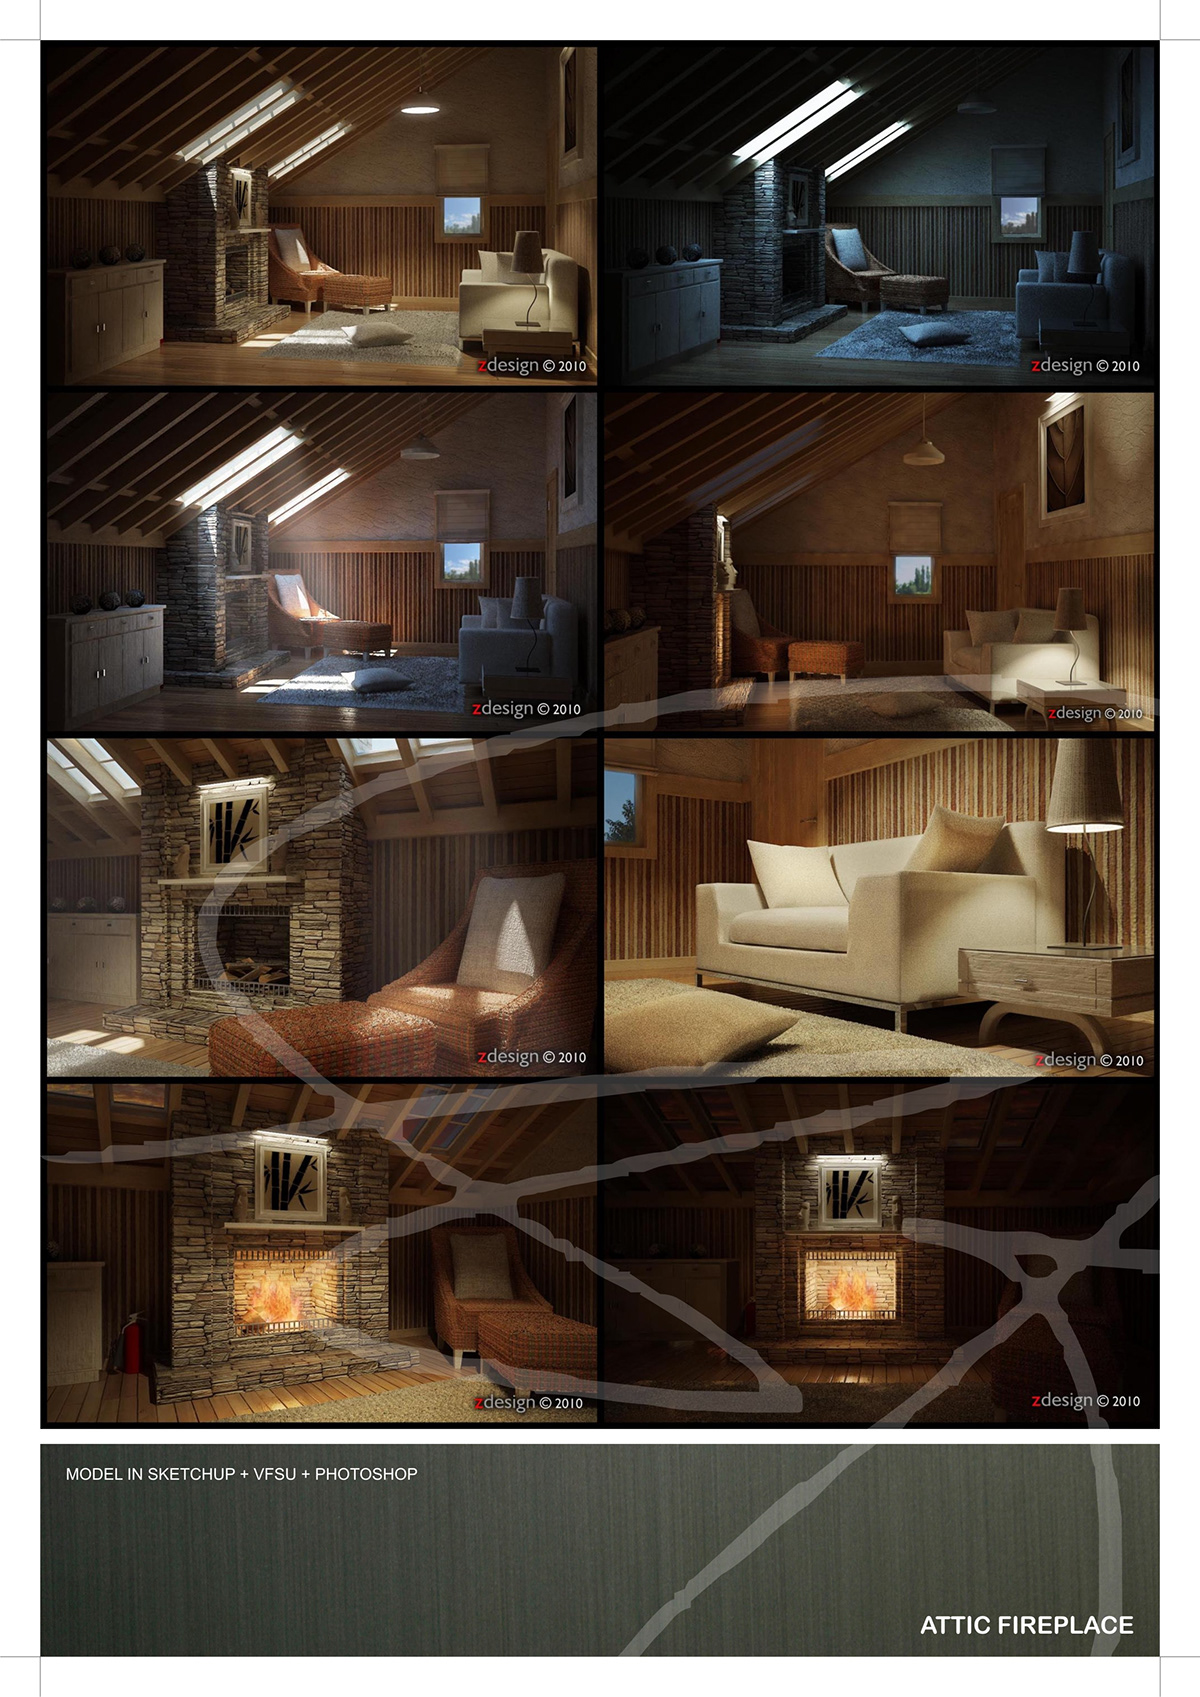
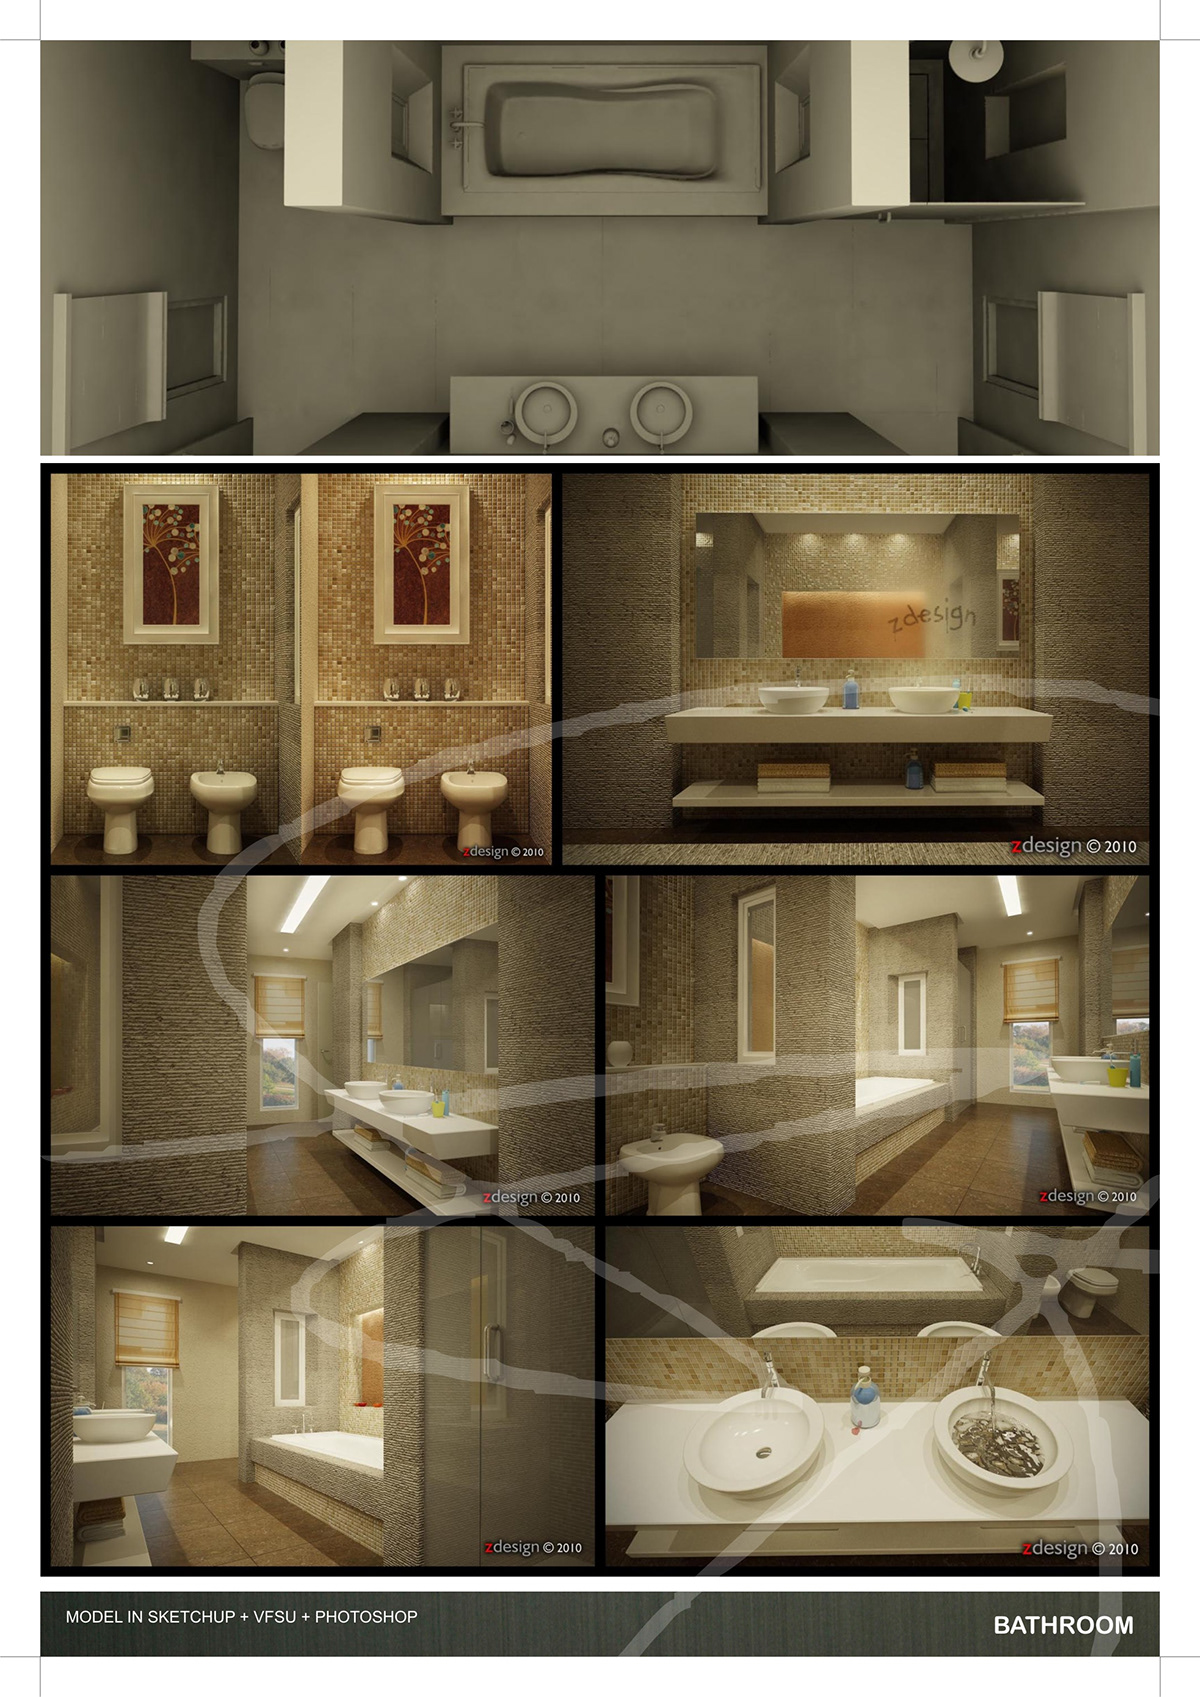
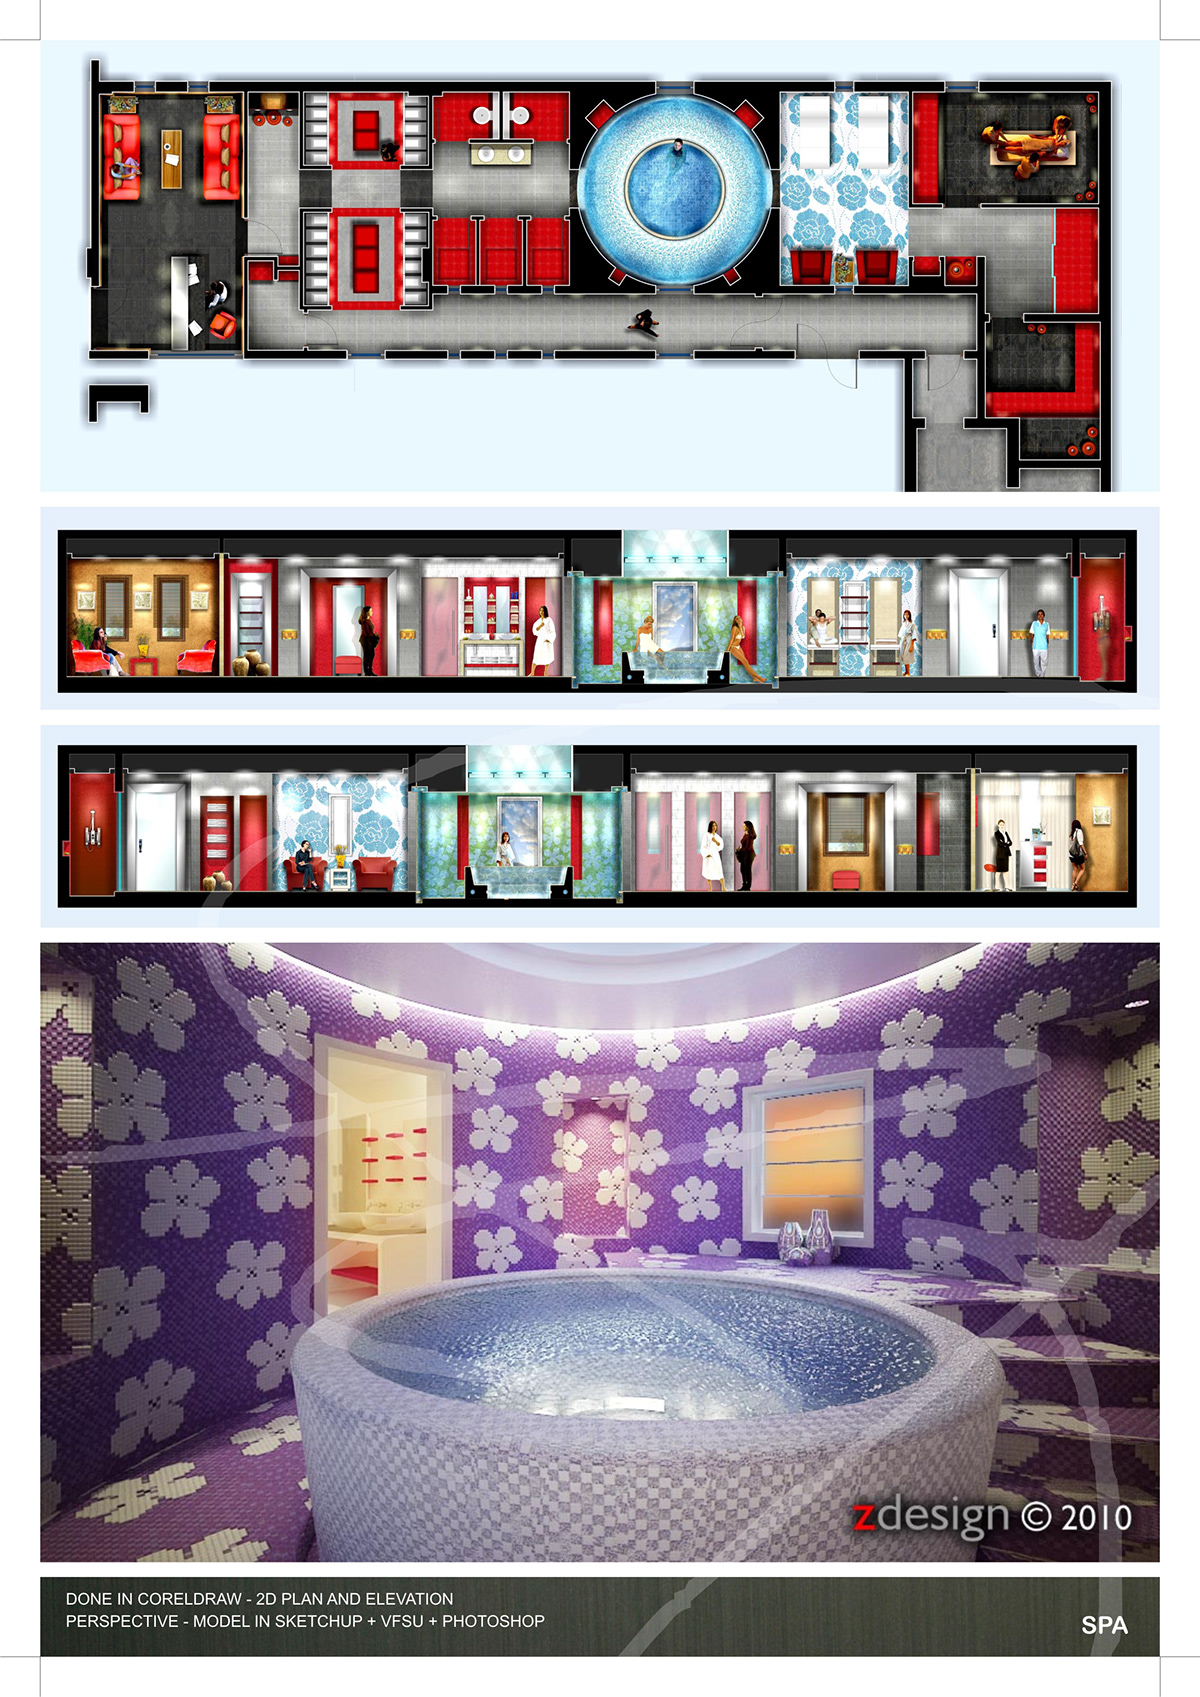
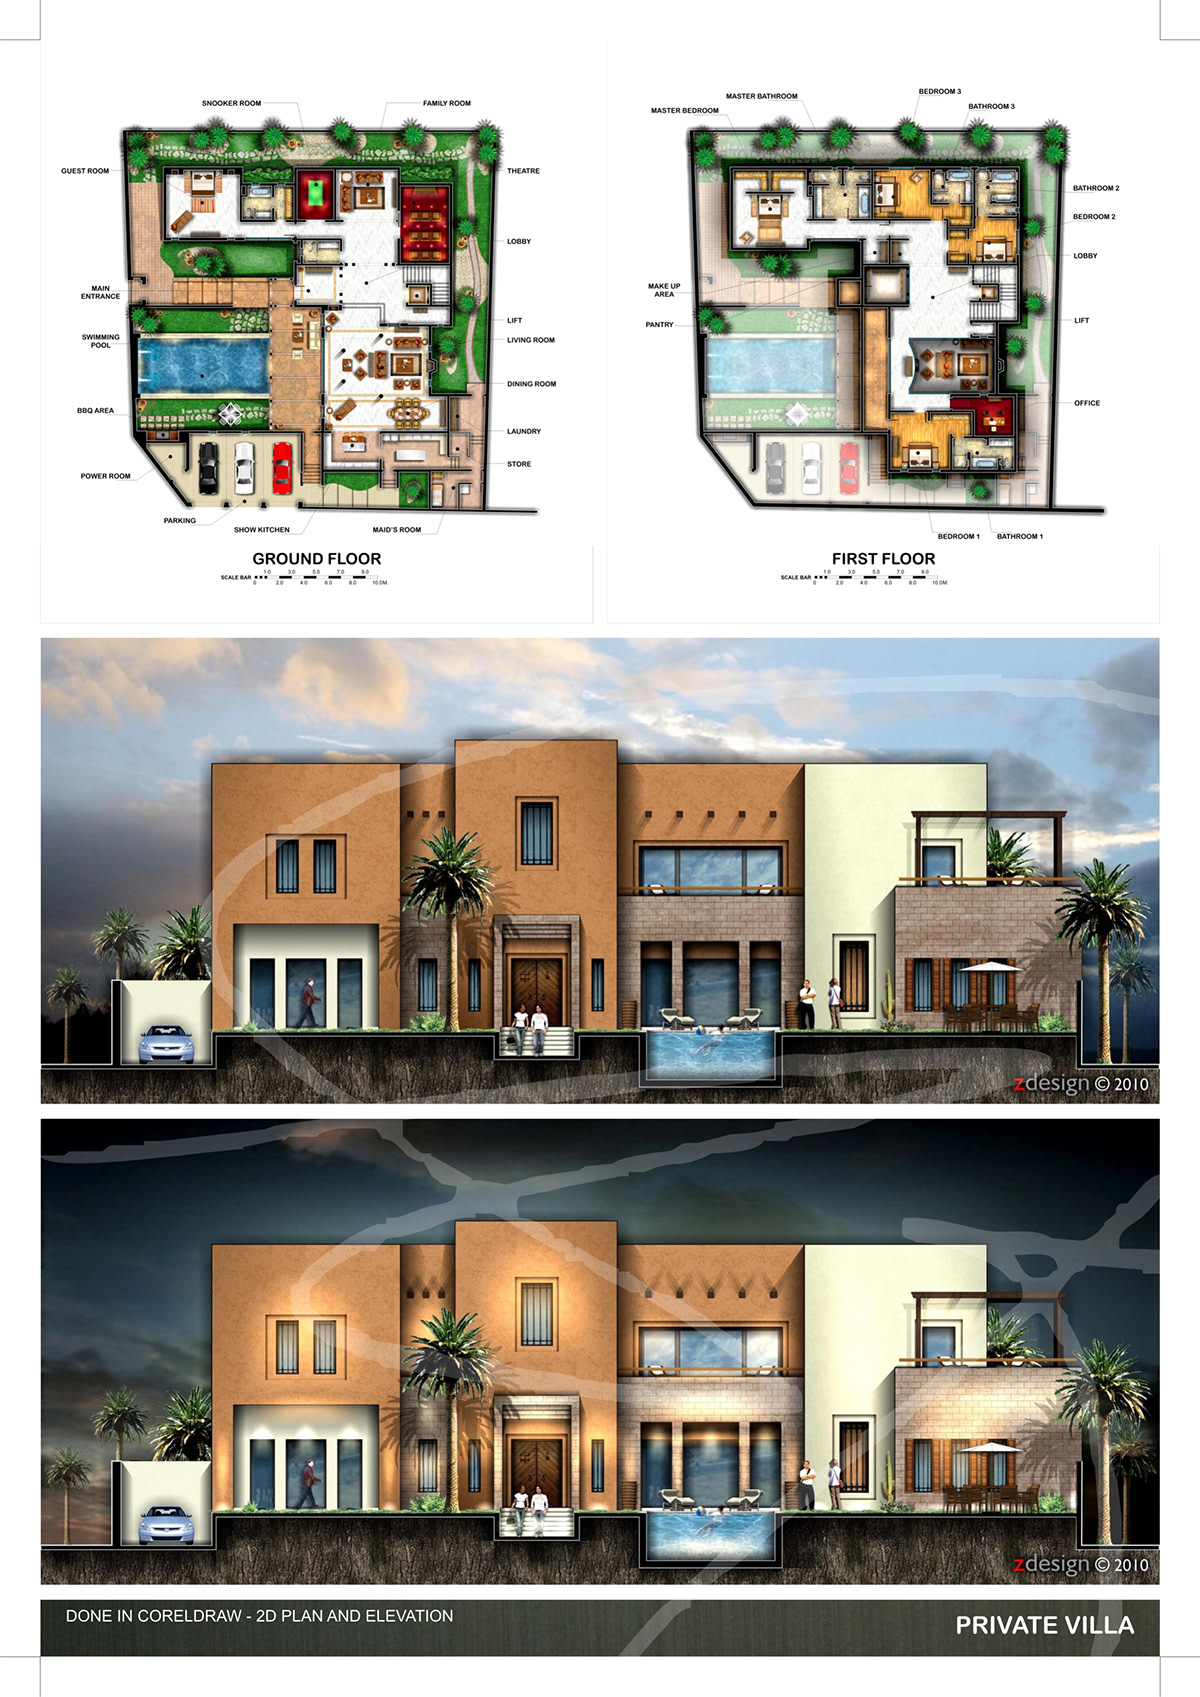
s h o r t f o l i o . . .
Thursday, February 2, 2012
"MEMORIES" abstract acrylic art on canvas...
Tuesday, January 31, 2012
Cgpinoy Competition #7: Rewind
A look into Philippine Architecture's Glorious Past
I. Objective: The intention of the contest is to recreate the beautiful buildings of the past in a beautiful photo-real rendition.
Rules:
1. Models are provided at http://3dbodega.com or the links below. Special Thanks to Mel Patrick Kasingsing for the very detailed 3d models.
Benguet Center Capitol Theater Galaxy Theater Jai Alai Building The Aduana El Hogar Filipino
2. You may use any style available.
3. Choose from any six buildings and create a beautiful image.
4. One building, One entry.
5. Entry should have at least the following: A. HERO Shot (Shot of the whole building in a scene), B: Two CLOSE UP/ SPOT Shot (Shot showing the details of the Building)
6. Create a thread under this competition for your entry. One thread per member, but one member can submit up to 6 entries. http://www.cgpinoy.org/f117-competition-7-rewind
7. Be creative.
8. The contest is limited to Filipinos only. Foreign friends may join, but only for a spot feature in the CGP Archive.
II. Deadline: The deadline of submission will be on the 1st of March, 2012.
III. Criteria for judging:
1. Creativity and Awesomeness ----------- 50%
2. Relevance to History (Preservation) ---- 20%
3. People's Choice (*Facebook Likes) ----- 30%
Total ----------- 100%
IV. Prizes to be won:
1. Grand Prize: Devant 19' LCD TV
2. 2nd Prize: Ipod Shuffle
3. 3rd Prize: Phillips Sport Earphones
People's Choice Award: TBA
So what are you waiting for? Let's make beautiful renders now! Good luck!
CHECK - HERE
Labels:
Architecture,
cgpinoy,
Challeges,
competition,
model
Sunday, January 29, 2012
Thursday, January 26, 2012
PORTFOLIO_1
Labels:
magazine,
PORTFOLIO,
PORTFOLIO_1,
SHORTFOLIO,
zdesign
Wednesday, December 28, 2011
Sunday, December 25, 2011
added new collection ...
Labels:
banner,
Collection,
concept,
graphics,
my gallery
Wednesday, December 21, 2011
Pimp my ride and scenario . . .
SVA December Challenge . . . RULES HERE
MERRY CHRISTMAS AND HAPPY NEW YEAR TO ALL OF US...
Labels:
Challeges,
exterior,
PAROL,
The Making,
tutorials
Monday, December 19, 2011
Sketchup ur space - December 2011 issue . . .
Labels:
featured,
The Making,
Tips and Tricks,
tutorials
Sunday, December 18, 2011
Understanding Color Mapping . . .
Linear multiply - this mode will simply multiply the final image colors based on their brightness area. Color components that are too bright (above 1.0 or 255) will be clipped. This can result in burnt out spots near bright light sources.
Exponential - this mode will saturate the colors based on their brightness. This can be useful to prevent burn-outs in very bright areas (for example around light sources etc). This mode will not clip bright colors, but will instead saturate them.
HSV exponential - this mode is very similar to the Exponential mode, but it will preserve the color hue and saturation, instead of washing out the color towards white.
Intensity exponential - this mode is similar to the Exponential one, but it will preserve the ratio of the RGB color components and will only affect the intensity of the colors.
Gamma correction - this mode applies a gamma curve to the colors. In this case, the Dark multiplier is a general multiplier for the colors before they are gamma-corrected. The Bright multiplier is the inverse of the gamma value (f.e. for gamma 2.2, the Bright multiplier must be 0.4545).
Intensity gamma - this mode applies a gamma curve to the intensity of the colors, instead of each channel (r/g/b) independently.
Reinhard - this mode is a blend between exponential-style color mapping and linear mapping. If the Burn value is 1.0, the result is linear color mapping and if the Burn value is 0.0, the result is exponential-style mapping.
Dark multiplier - this is the multiplier for dark colors.
Bright multiplier - this is the multiplier for bright colors.
Gamma - this parameter allows the user to control the gamma correction for the output image regardless of the color mapping mode. Note that the value here is the inverse of the one used for the Gamma correction color mapping type. For example, to correct the image for a 2.2-gamma display, you should set the Gamma parameter simply to 2.2.
Sub-pixel mapping - this option controls whether color mapping will be applied to the final image pixels, or to the individual sub-pixel samples. In older versions of V-Ray, this option was always assumed to be on, however its default value is now off as this produces more correct renderings, especially if you use the universal settings approach.
Clamp output - if this is on, colors will be clamped after color mapping. In some situations, this may be undesirable (for example, if you wish to antialias hdr parts of the image, too) - in that case, turn clamping off.
Clamp level - this option specifies the level at which color components will be clamped if the Clamp output option is on.
Affect background - if this is off, color mapping will not affect colors belonging to the background.
Don't affect colors (adaptation only) - when this parameter is on, the color mapping will not be applied to the final image, however V-Ray will proceed with all its calculations as though color mapping is applied (e.g. the noise levels will be corrected accordingly). This can be useful, for example, if you know that you will apply some color correction to the image later on, but wish to keep the rendering itself in linear space for compositing purposes. Note that the Clamp output option will have an effect regardless of the value of the Don't affect colors option.
Linear workflow - when this option is checked V-Ray will automatically apply the inverse of the Gamma correction that you have set in the Gamma field to all VRayMtl materials in your scene. Note that this option is intended to be used only for quickly converting old scenes which are not set up with proper linear workflow in mind. This option is not a replacement for proper linear workflow.
Exponential - this mode will saturate the colors based on their brightness. This can be useful to prevent burn-outs in very bright areas (for example around light sources etc). This mode will not clip bright colors, but will instead saturate them.
HSV exponential - this mode is very similar to the Exponential mode, but it will preserve the color hue and saturation, instead of washing out the color towards white.
Intensity exponential - this mode is similar to the Exponential one, but it will preserve the ratio of the RGB color components and will only affect the intensity of the colors.
Gamma correction - this mode applies a gamma curve to the colors. In this case, the Dark multiplier is a general multiplier for the colors before they are gamma-corrected. The Bright multiplier is the inverse of the gamma value (f.e. for gamma 2.2, the Bright multiplier must be 0.4545).
Intensity gamma - this mode applies a gamma curve to the intensity of the colors, instead of each channel (r/g/b) independently.
Reinhard - this mode is a blend between exponential-style color mapping and linear mapping. If the Burn value is 1.0, the result is linear color mapping and if the Burn value is 0.0, the result is exponential-style mapping.
Dark multiplier - this is the multiplier for dark colors.
Bright multiplier - this is the multiplier for bright colors.
Sub-pixel mapping - this option controls whether color mapping will be applied to the final image pixels, or to the individual sub-pixel samples. In older versions of V-Ray, this option was always assumed to be on, however its default value is now off as this produces more correct renderings, especially if you use the universal settings approach.
Clamp output - if this is on, colors will be clamped after color mapping. In some situations, this may be undesirable (for example, if you wish to antialias hdr parts of the image, too) - in that case, turn clamping off.
Clamp level - this option specifies the level at which color components will be clamped if the Clamp output option is on.
Affect background - if this is off, color mapping will not affect colors belonging to the background.
Don't affect colors (adaptation only) - when this parameter is on, the color mapping will not be applied to the final image, however V-Ray will proceed with all its calculations as though color mapping is applied (e.g. the noise levels will be corrected accordingly). This can be useful, for example, if you know that you will apply some color correction to the image later on, but wish to keep the rendering itself in linear space for compositing purposes. Note that the Clamp output option will have an effect regardless of the value of the Don't affect colors option.
Labels:
Color Mapping,
Reference,
Render,
Tips and Tricks,
tutorials
Subscribe to:
Posts (Atom)
