


s h o r t f o l i o . . .
Wednesday, October 30, 2024
Tuesday, October 29, 2024
EY AY - Artificial intelligence . . .
Rococo features exuberant decoration, with an abundance of curves,
counter-curves, undulations and elements modeled on nature.

ROCOCO STYLE SEPIA

ROCOCO STYLE
Soul soothe features to tranquilize or calm, as a person or the feelings;
relieve, comfort, or refresh.

SOUL SOOTHE STYLE
Friday, October 25, 2024
Plague Doctor Mask . . . Retro Vintage Punk & Gothic Steampunk
Plague Doctor Retro Vintage Punk & Gothic Steampunk


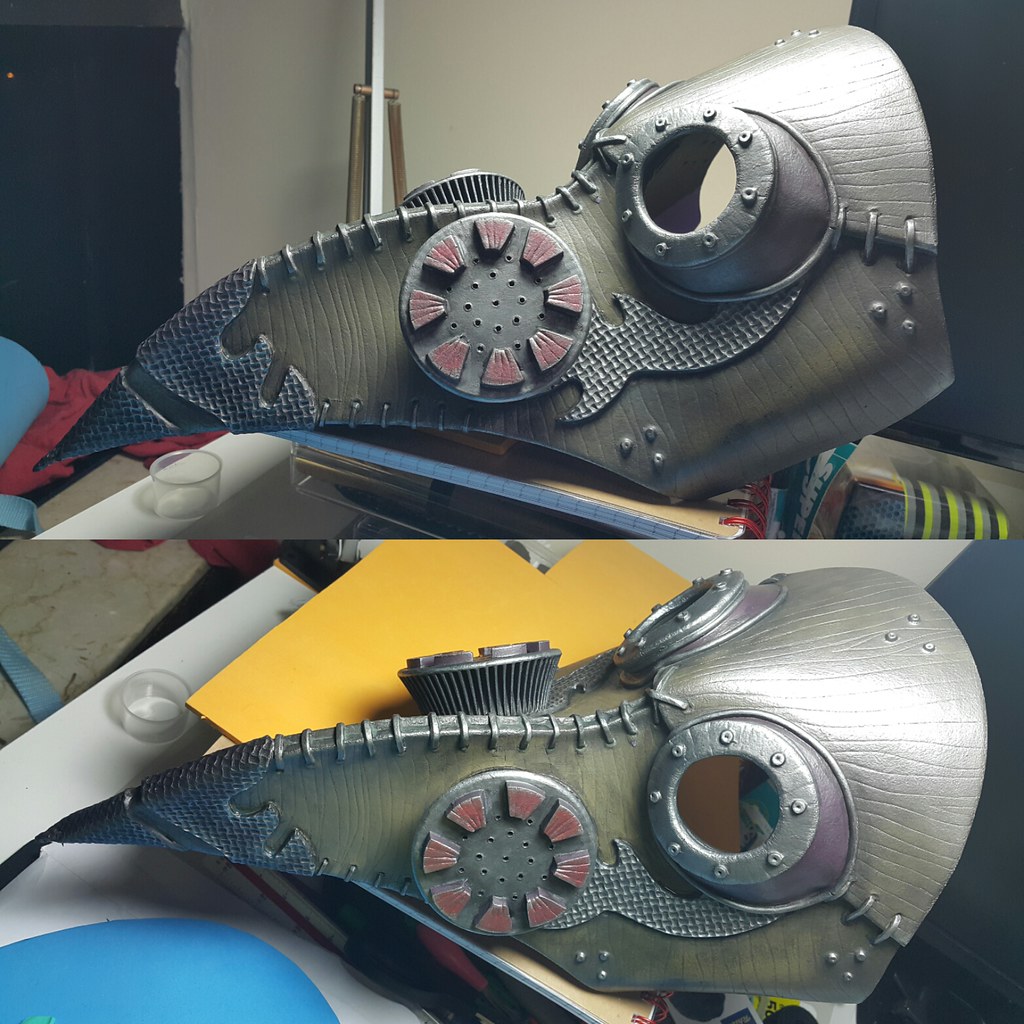

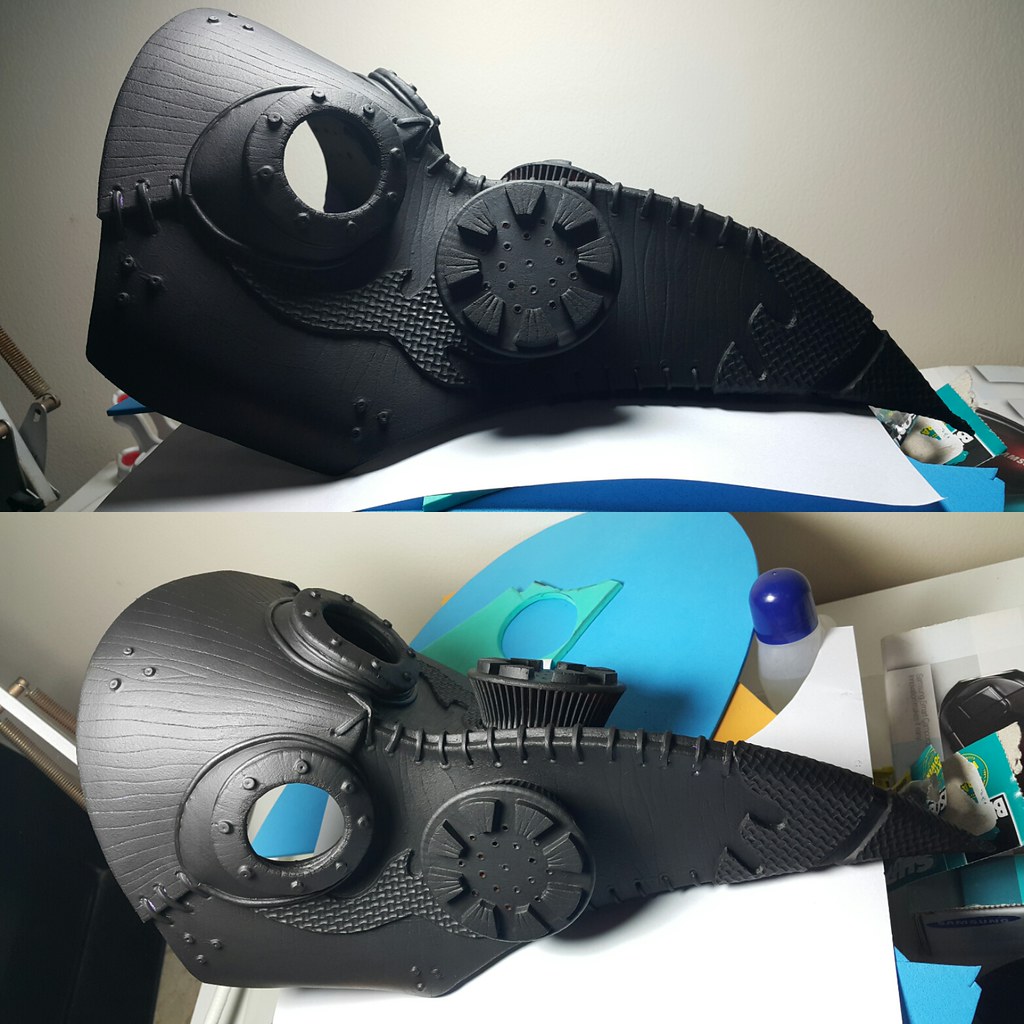


- Steampunk - a style of design and fashion that combines historical elements with anachronistic technological features inspired by science fiction.
Thursday, October 24, 2024
ArchVision RPC is more than Entourage . . . It’s how you use it.
ArchVision is dedicated to making and selling the best-in-class tools available to you all in one place. Increase your productivity, ensure your workflows improve and stays simple.
SKETCHUP VRAY RENDER


Wednesday, October 16, 2024
Digital Abstract Painting - TIPS & TRICK PROCESS | Brush Stroke 4


BRUSH STROKE 4

1. Open sample image in Photoshop, from drop down menu select FILTER / BLUR / GAUSSIAN BLUR then set Radius 100 Pixels.


with Min brush size = 154, Max brush size = 173, Number of brushstrokes = 31, Blending intensity = 14, brushstroke precision = 60, then select the icon Draw to generate the effects.


4. Tips and tricks by adding detail and highlights in photoshop.


FINAL OUTPUT

Voila . . . and hope it would be helps.
Subscribe to:
Posts (Atom)