s h o r t f o l i o . . .
Tuesday, June 26, 2018
Monday, June 25, 2018
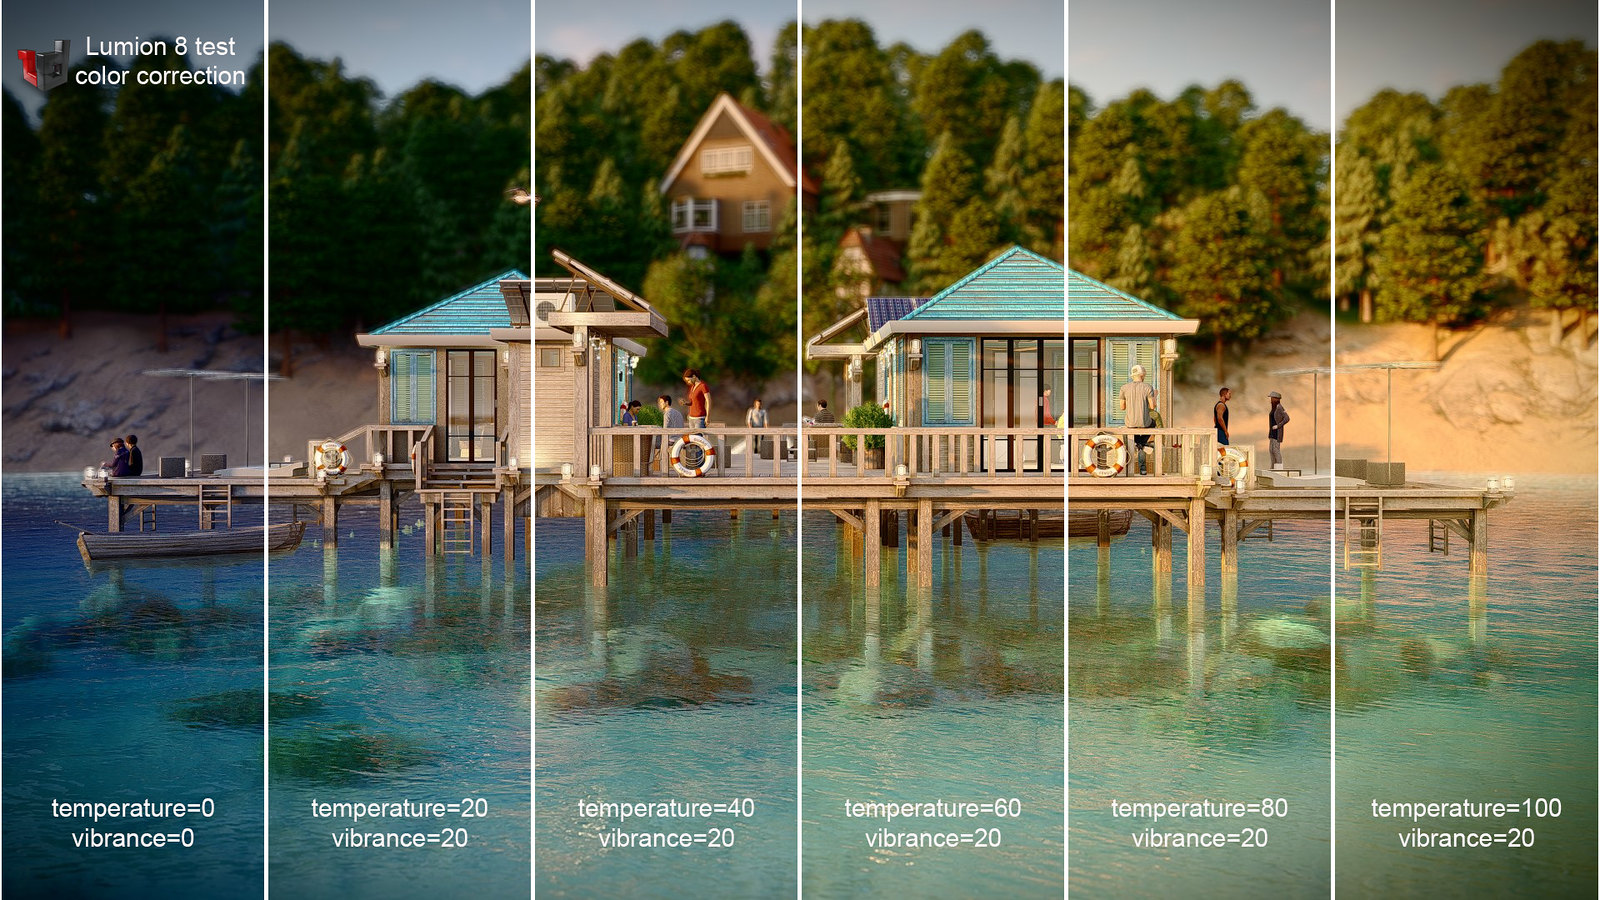
Lumion movie effects file (*lme file format) . . . comparison test from build mode to render output.
Lumion movie effects file (*lme)
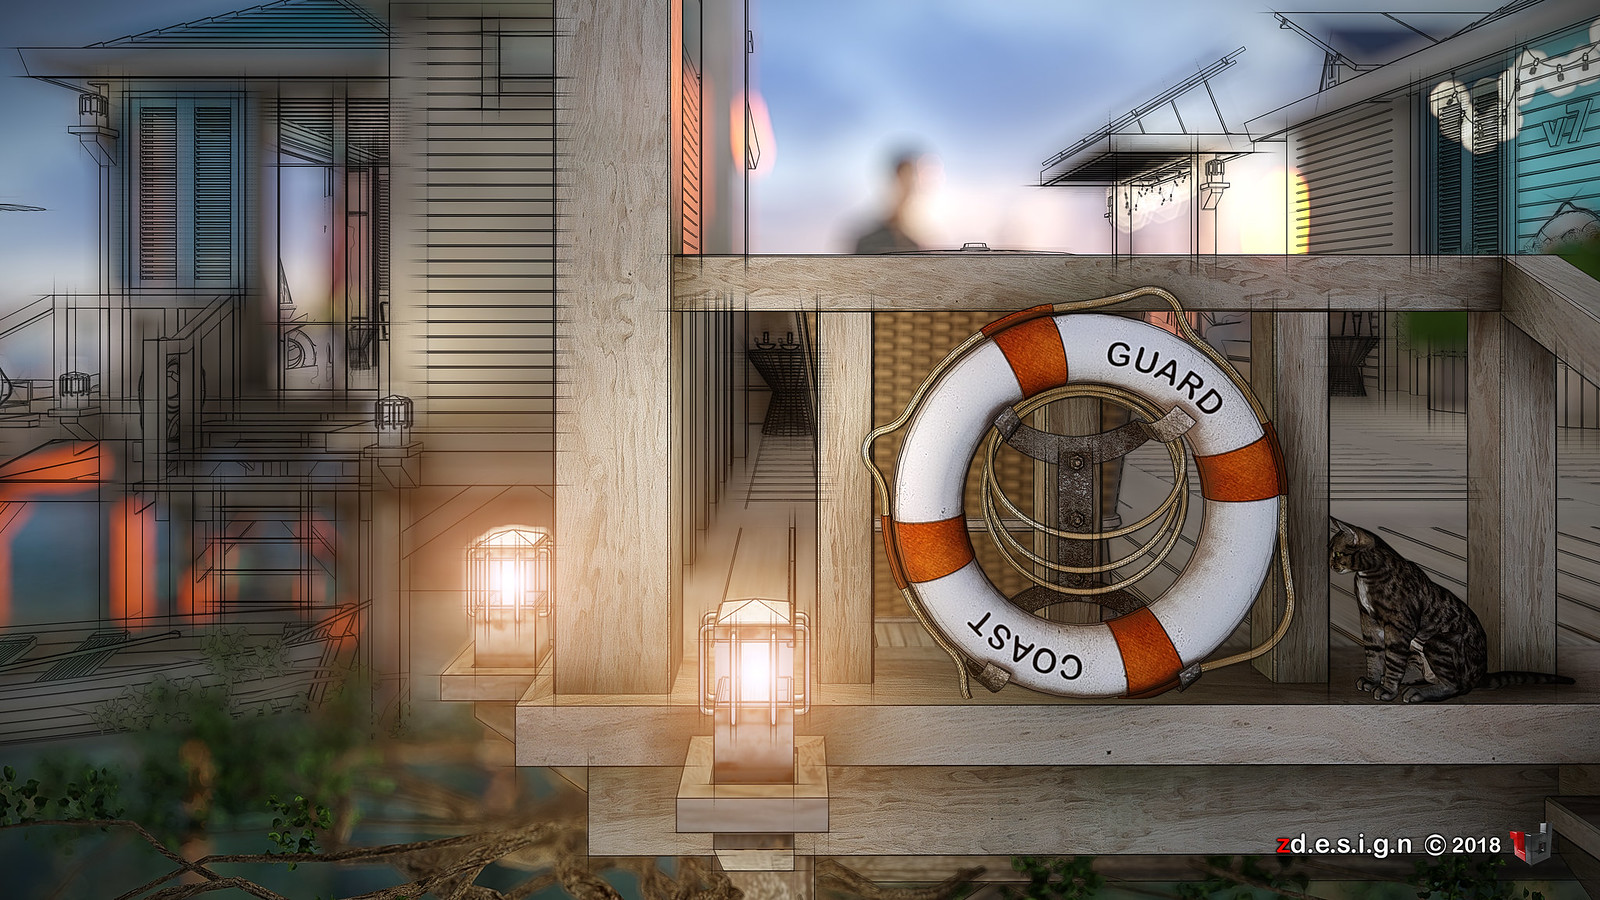
I made a comparison from build mode to render output or even in animation, and there's a lot of trial to achieve good illumination.
From custom settings I made a trial and error to achieve good illumination in build mode but when i set to render a scene its totally different, I adjust basically around using low and high temperature with high contrast, very low sun brightness, specific amount of shadow brightness, a combination of low exposure, full hyperlight, skylight bright and saturation. I think it is important also to put cloud and sky brightness to reflect in reflective materials and overall brightness under sky and clouds are important. Tweaking those parameters around in every project since every model size and orientation along with material sets is different. Even camera angle need to adjust to get what you need. Lumion 8 become quite sensitive with all those parameters that you can see only after you render.
I use this Standard Effects in every scene :
SUN | SHADOW | EXPOSURE | REFLECTION | GLOBAL ILLUMINATION
Add some Style Effects if needed :
LENS FLARE | DEPTH OF FIELD | 2 POINT PERSPECTIVE | VOLUMETRIC LIGHT | BLOOM
To elliminate post process by adding Process Effects :
COLOR CORRECTION | SHARPNESS | SELECTIVE SATURATION | ANALOG COLOR LAB | NOISE
I made a comparison from build mode to render output or even in animation, and there's a lot of trial to achieve good illumination.
From custom settings I made a trial and error to achieve good illumination in build mode but when i set to render a scene its totally different, I adjust basically around using low and high temperature with high contrast, very low sun brightness, specific amount of shadow brightness, a combination of low exposure, full hyperlight, skylight bright and saturation. I think it is important also to put cloud and sky brightness to reflect in reflective materials and overall brightness under sky and clouds are important. Tweaking those parameters around in every project since every model size and orientation along with material sets is different. Even camera angle need to adjust to get what you need. Lumion 8 become quite sensitive with all those parameters that you can see only after you render.
I use this Standard Effects in every scene :
SUN | SHADOW | EXPOSURE | REFLECTION | GLOBAL ILLUMINATION
Add some Style Effects if needed :
LENS FLARE | DEPTH OF FIELD | 2 POINT PERSPECTIVE | VOLUMETRIC LIGHT | BLOOM
ADJUSTED COLOR CORRECTION WITHOUT POST PROCESS
To elliminate post process by adding Process Effects :
COLOR CORRECTION | SHARPNESS | SELECTIVE SATURATION | ANALOG COLOR LAB | NOISE
try to compare my screengrab images and you can check my setting for still and animation...try it !!!
Labels:
ADJUSTMENT,
ANIMATION,
COLORCORRECTION,
ILLUMINATION,
LAPLAGE,
LME,
lumion3D,
LUMION8,
Render,
SERIES,
SETTING,
STACKS,
Tips and Tricks,
tutorials,
Vray Setting
Concept Resort Villa "la plage"
workflow : sketchup + LUMION 8 sample animation + SONYvegaspro check the images HERE
Music background :
Anno Domini Beats | Awaken
River Current Mediun
and Wind Medium
Labels:
ANIMATION,
Beach House,
concept,
LAPLAGE,
LUMION8,
RESORT,
Sketchup,
sony vegas,
VILLA,
zdesign
Thursday, June 14, 2018
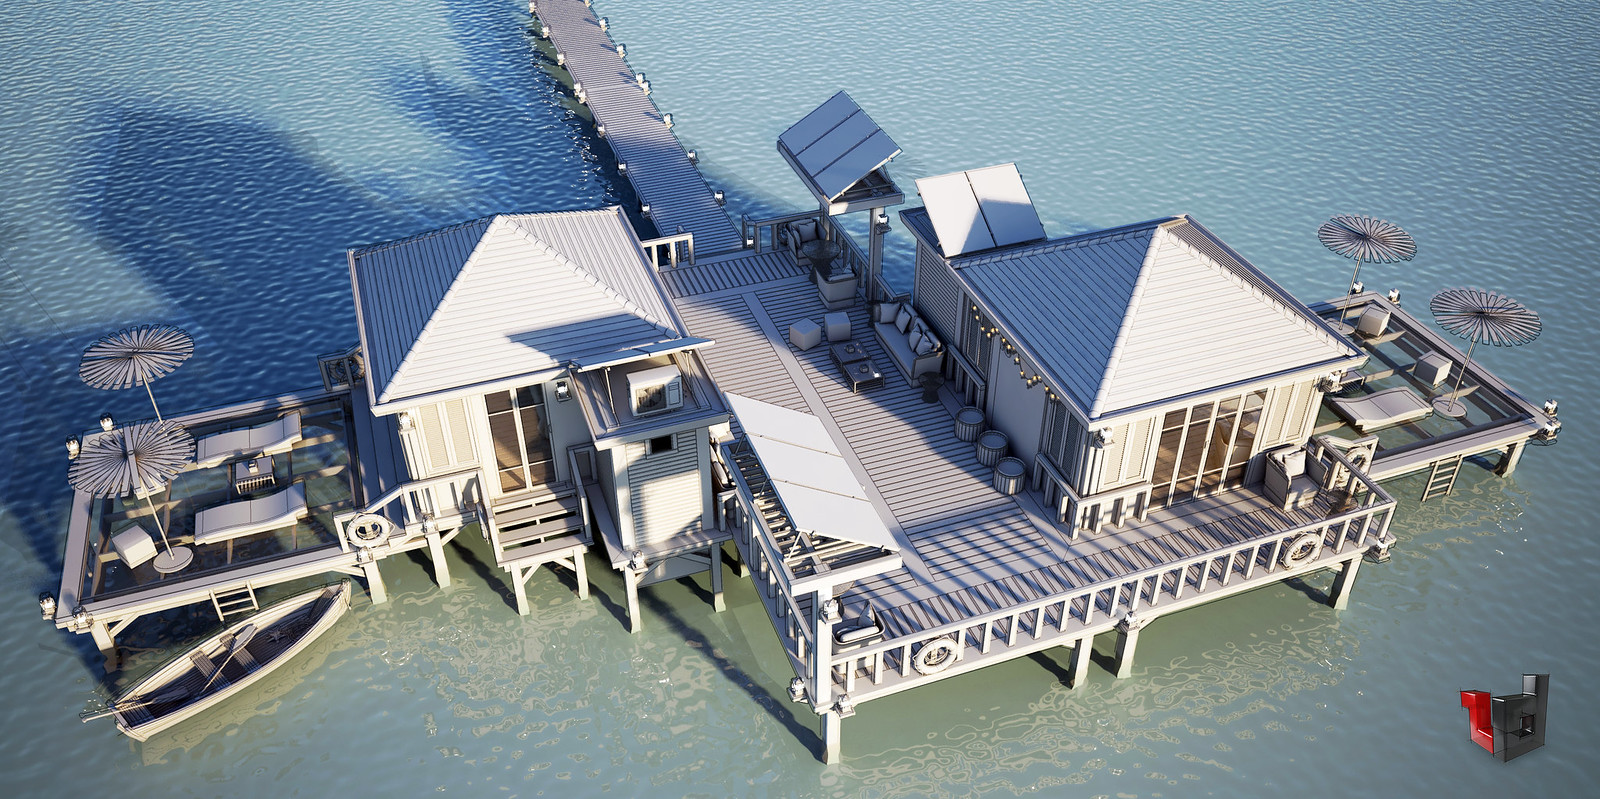
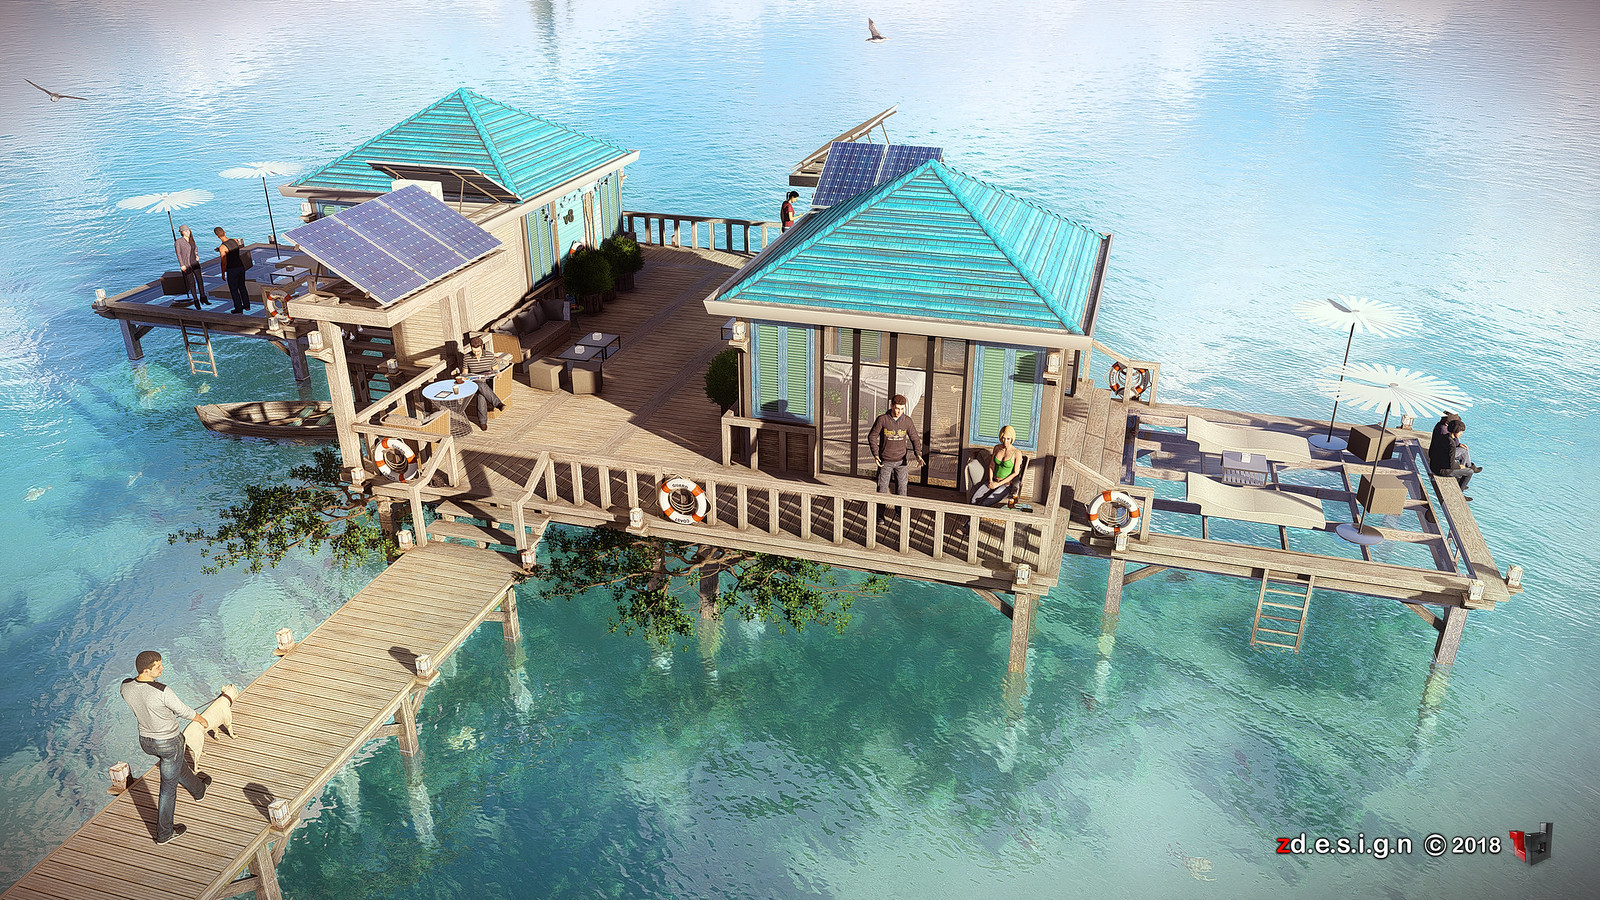
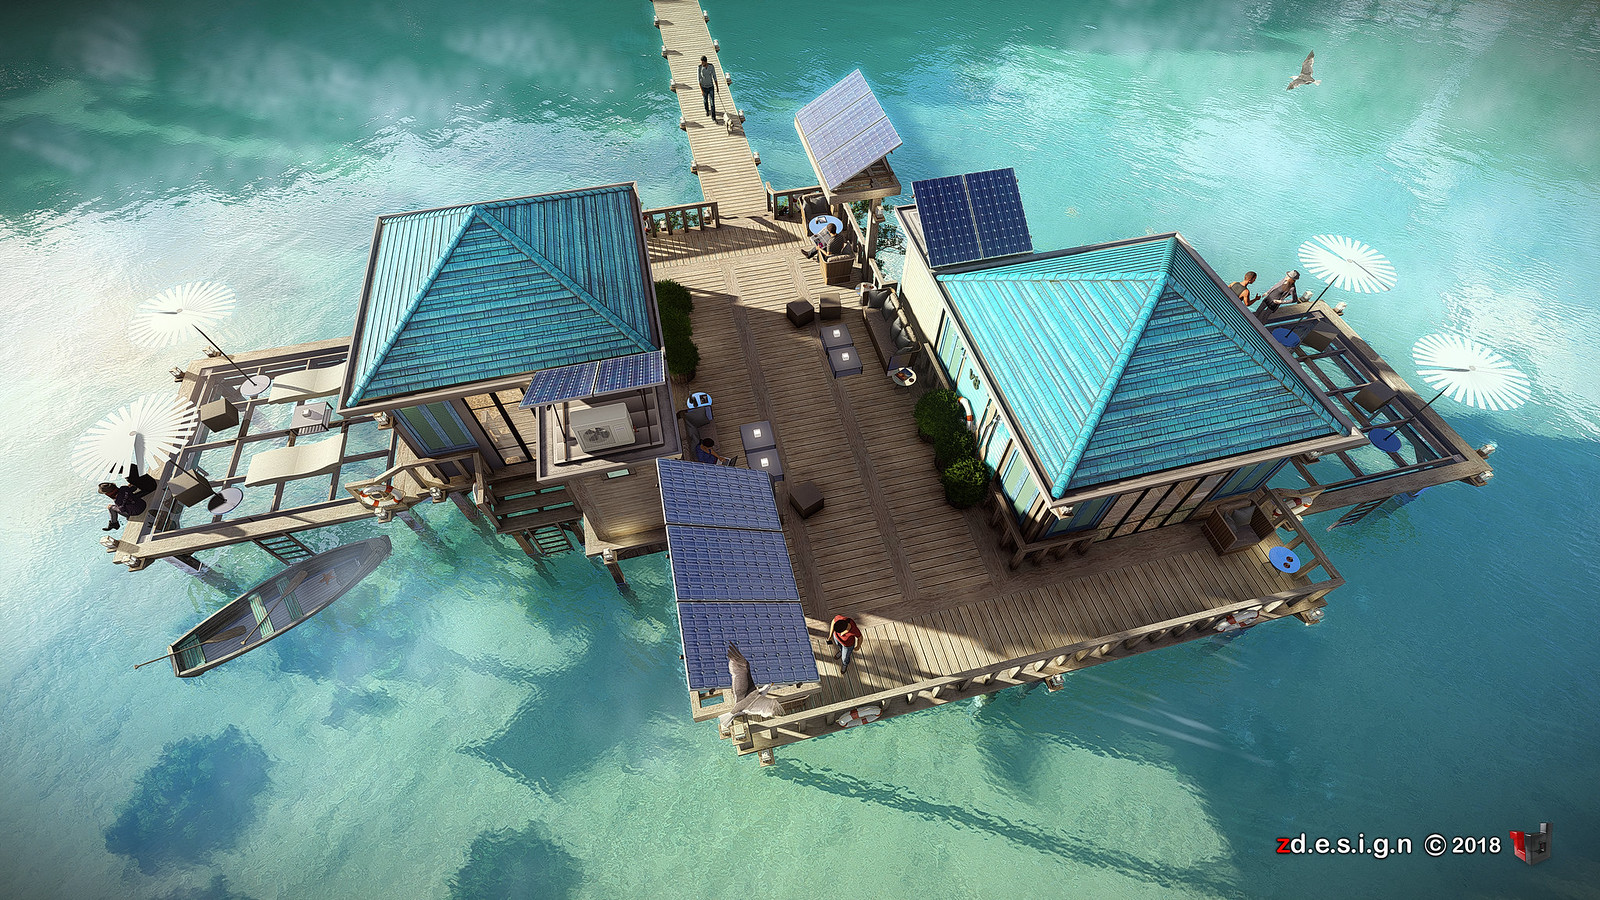
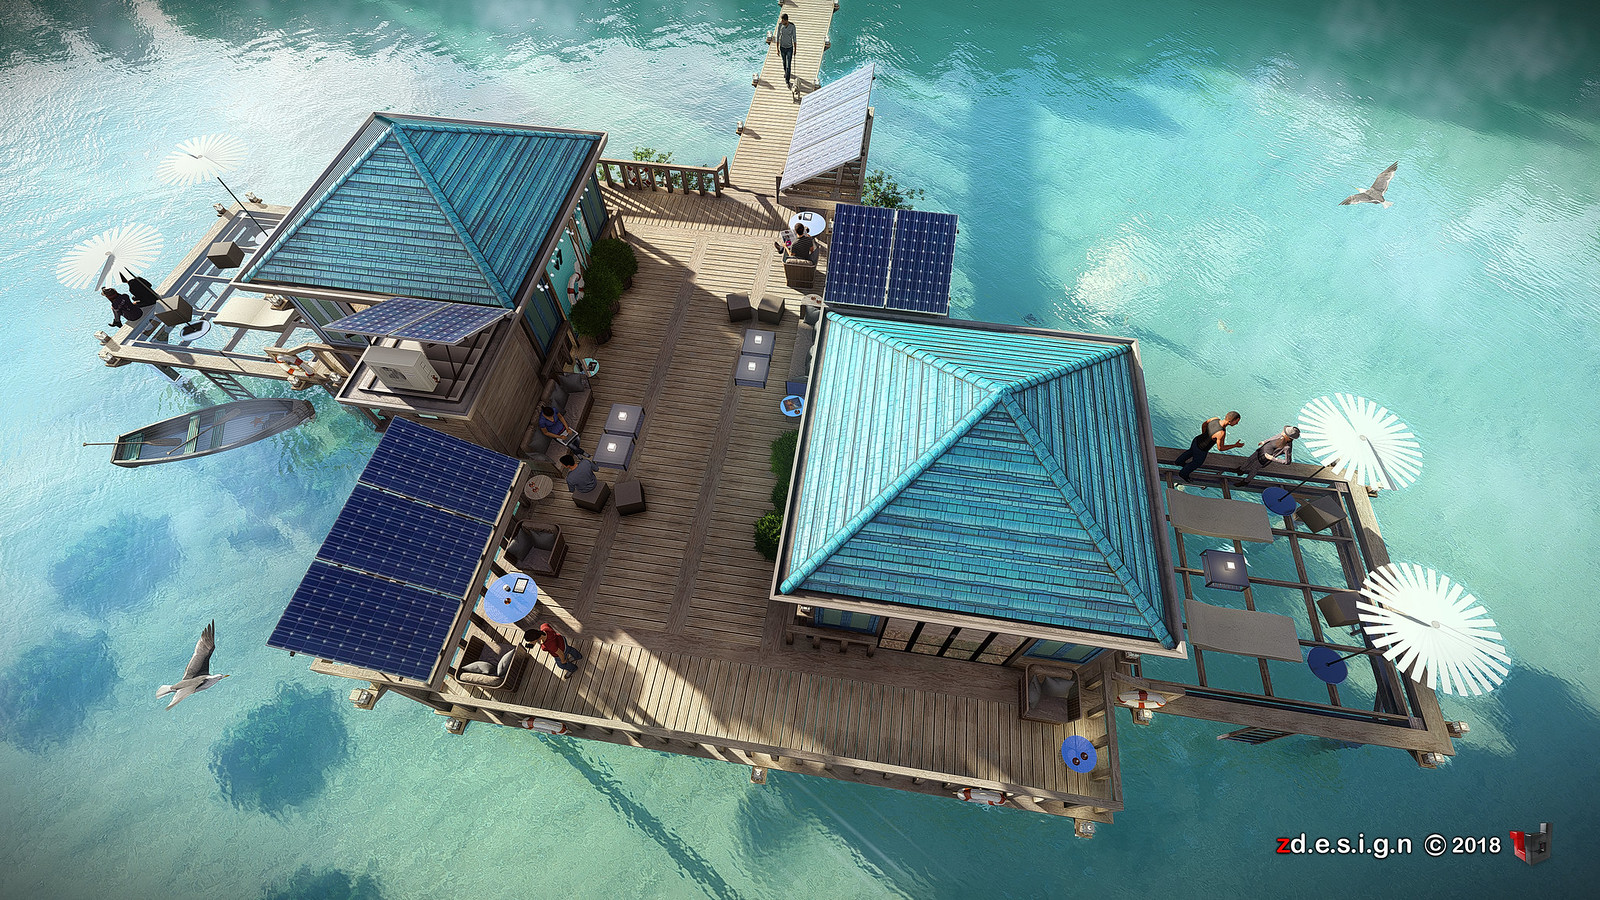
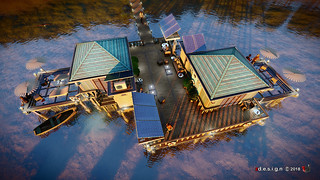
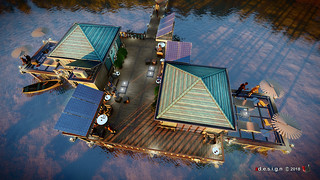
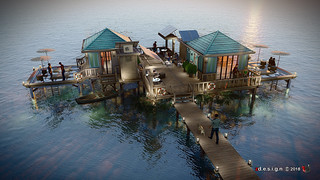
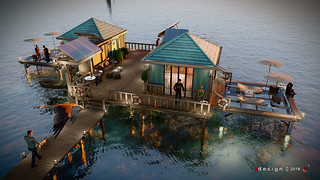
Concept Resort Villa "la plage" . . . Render
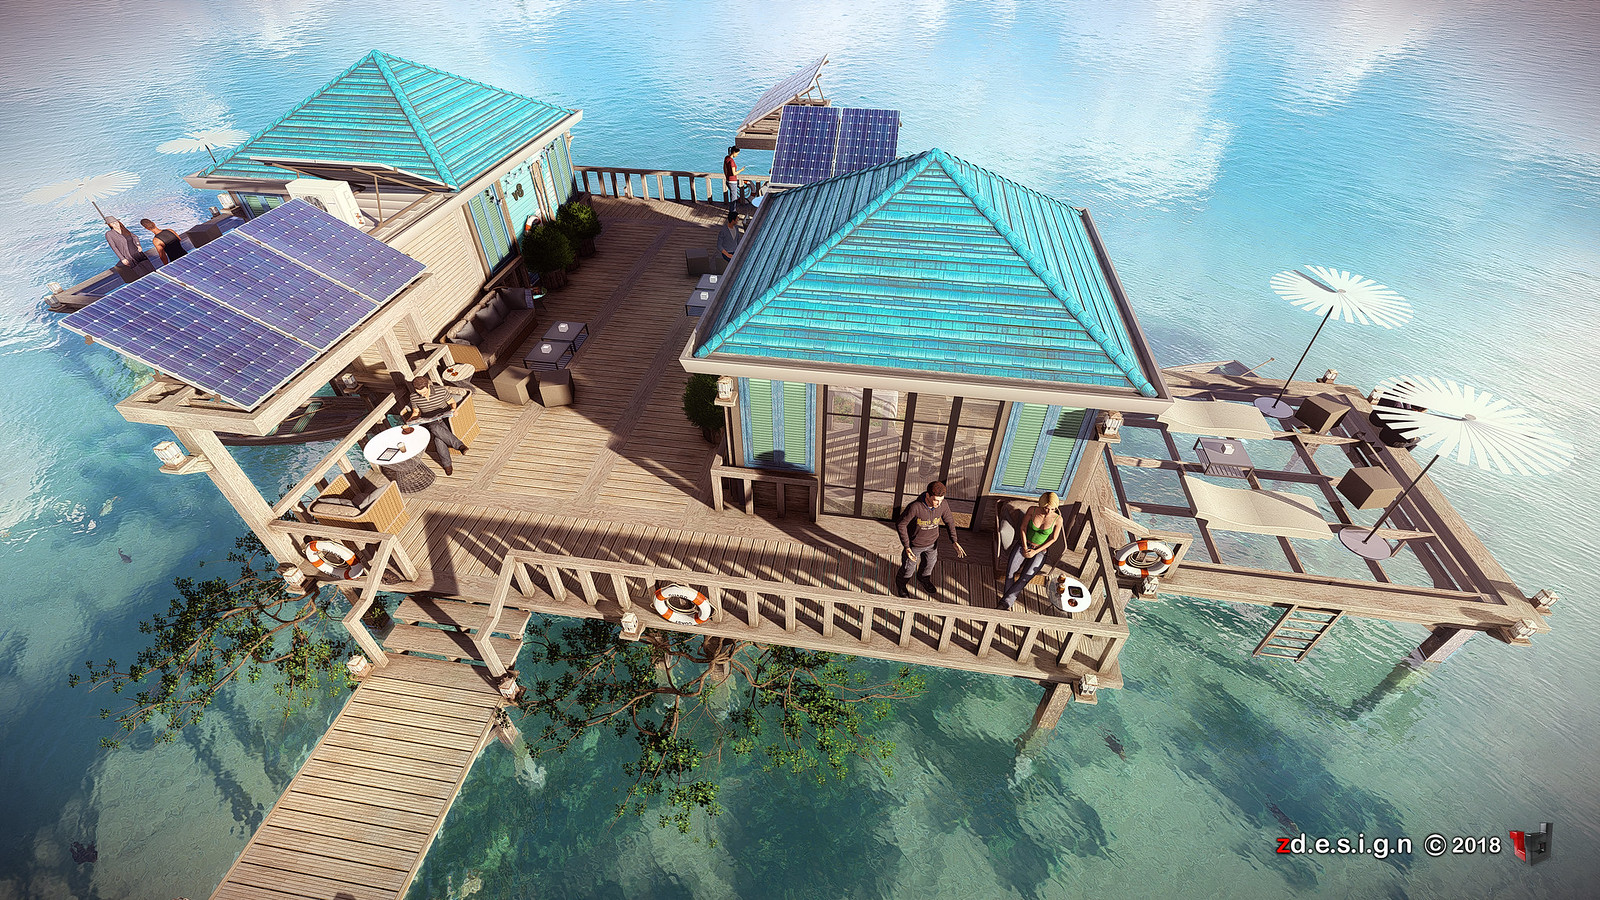
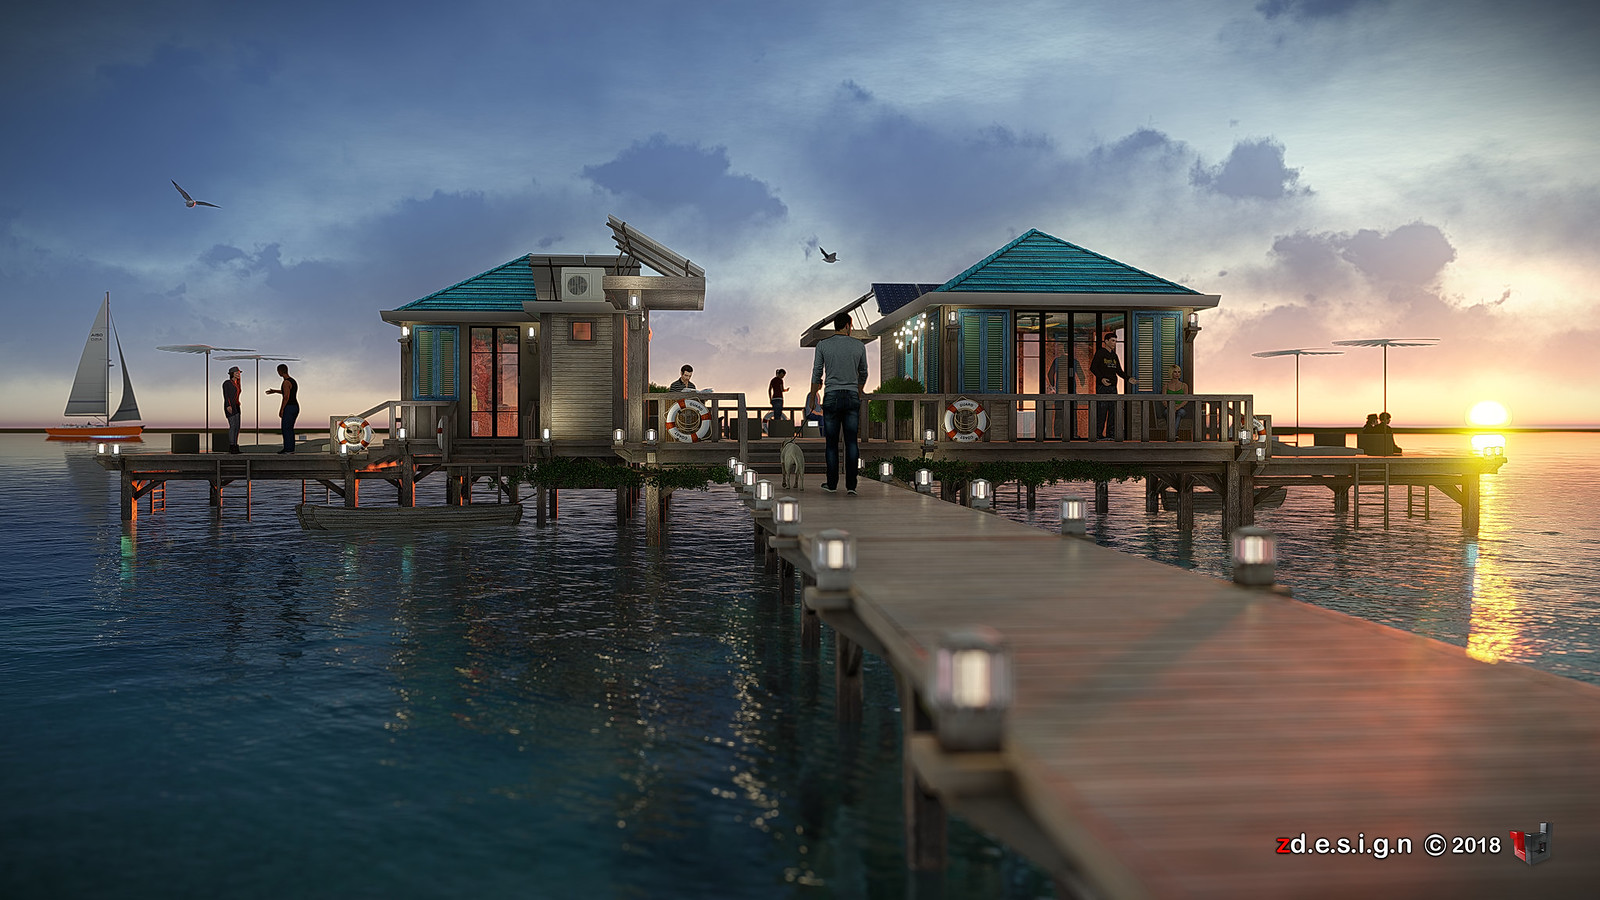
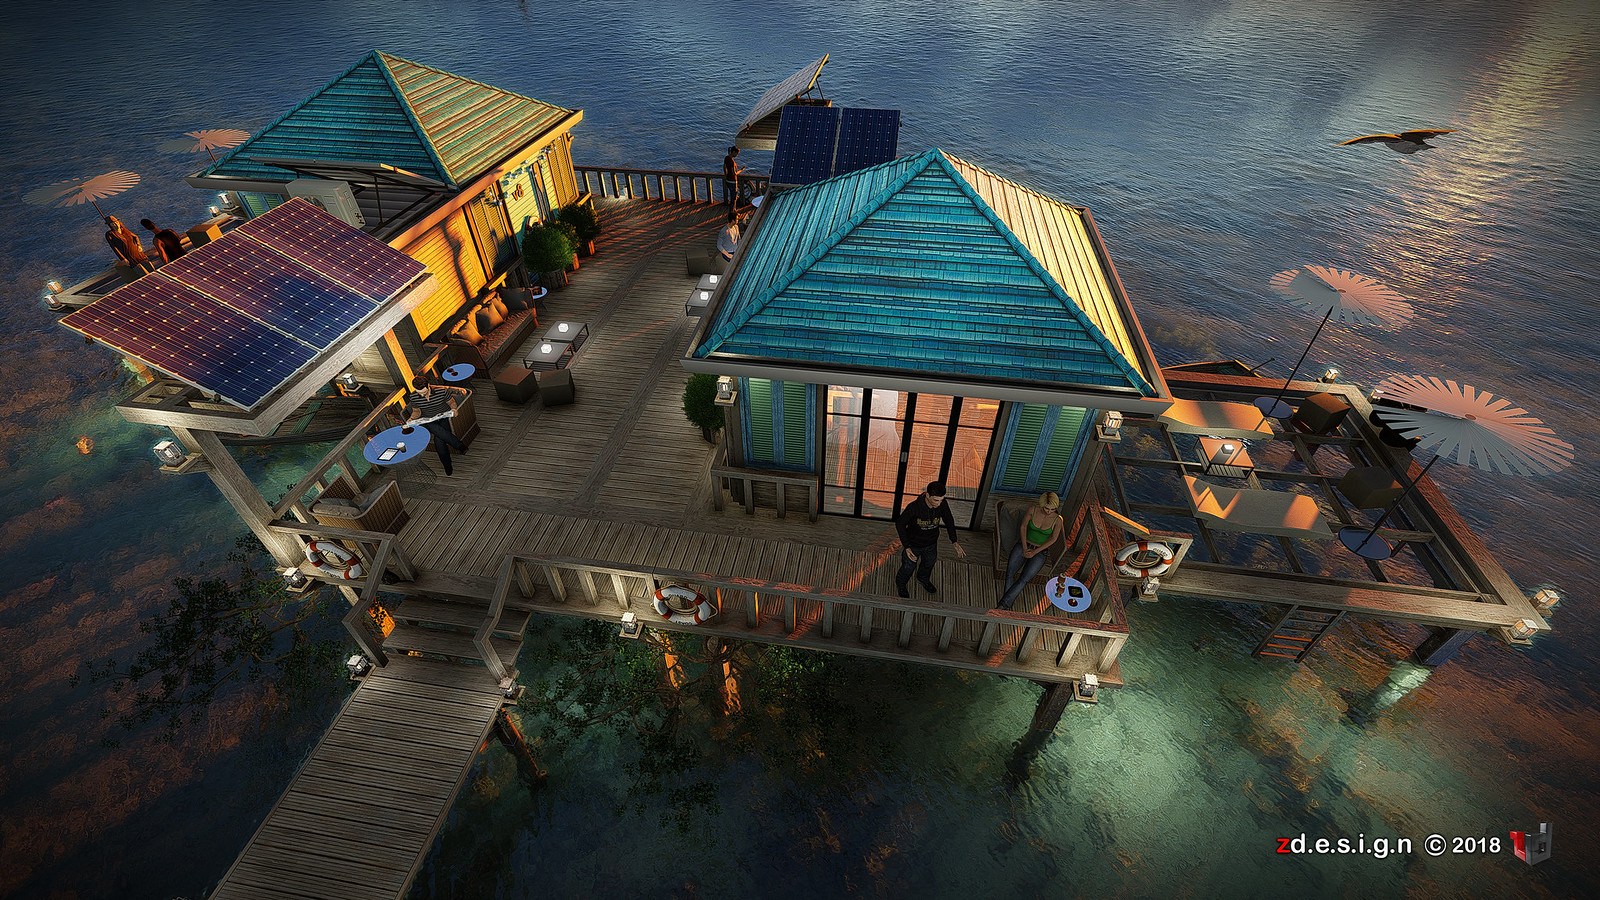
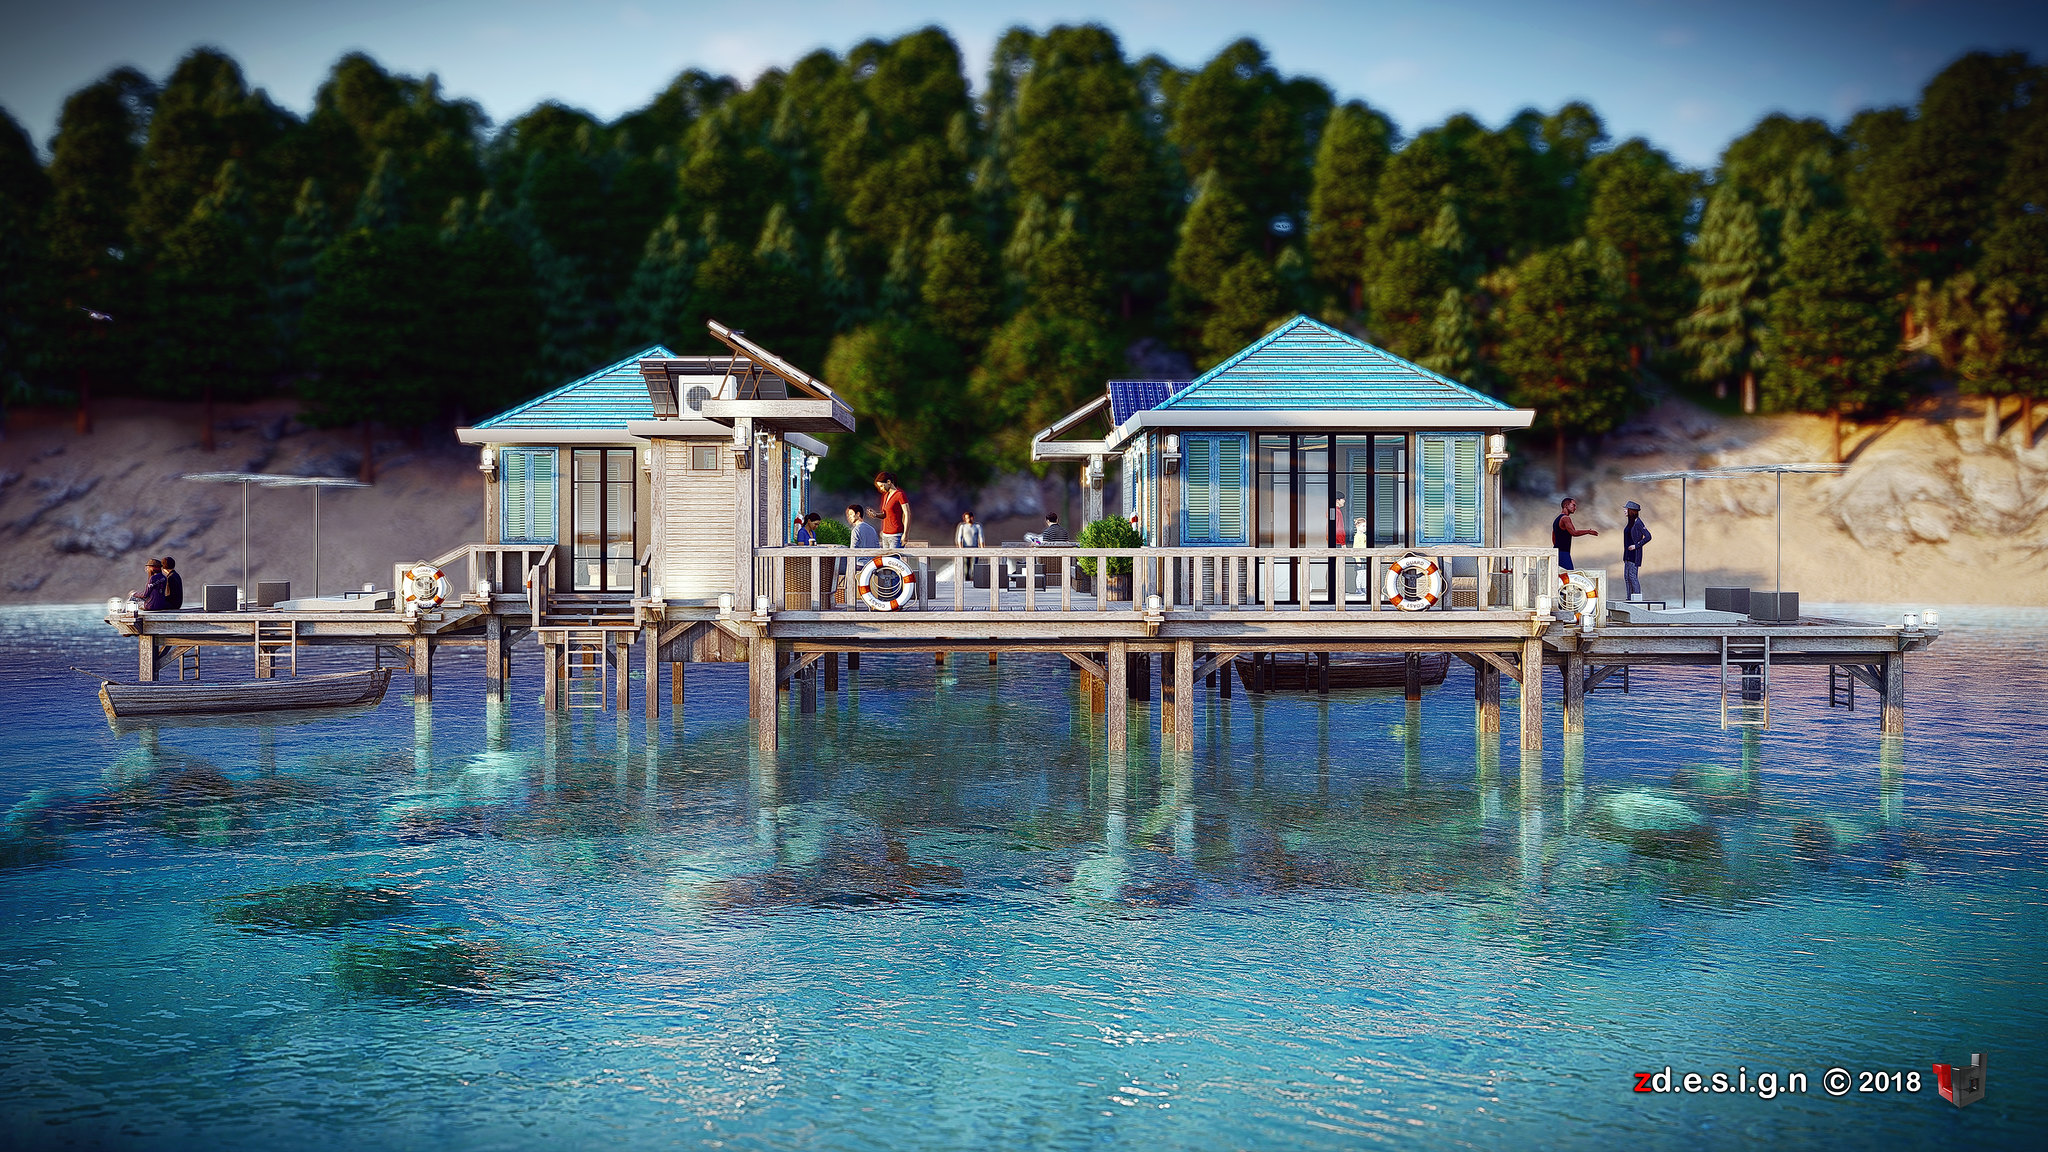
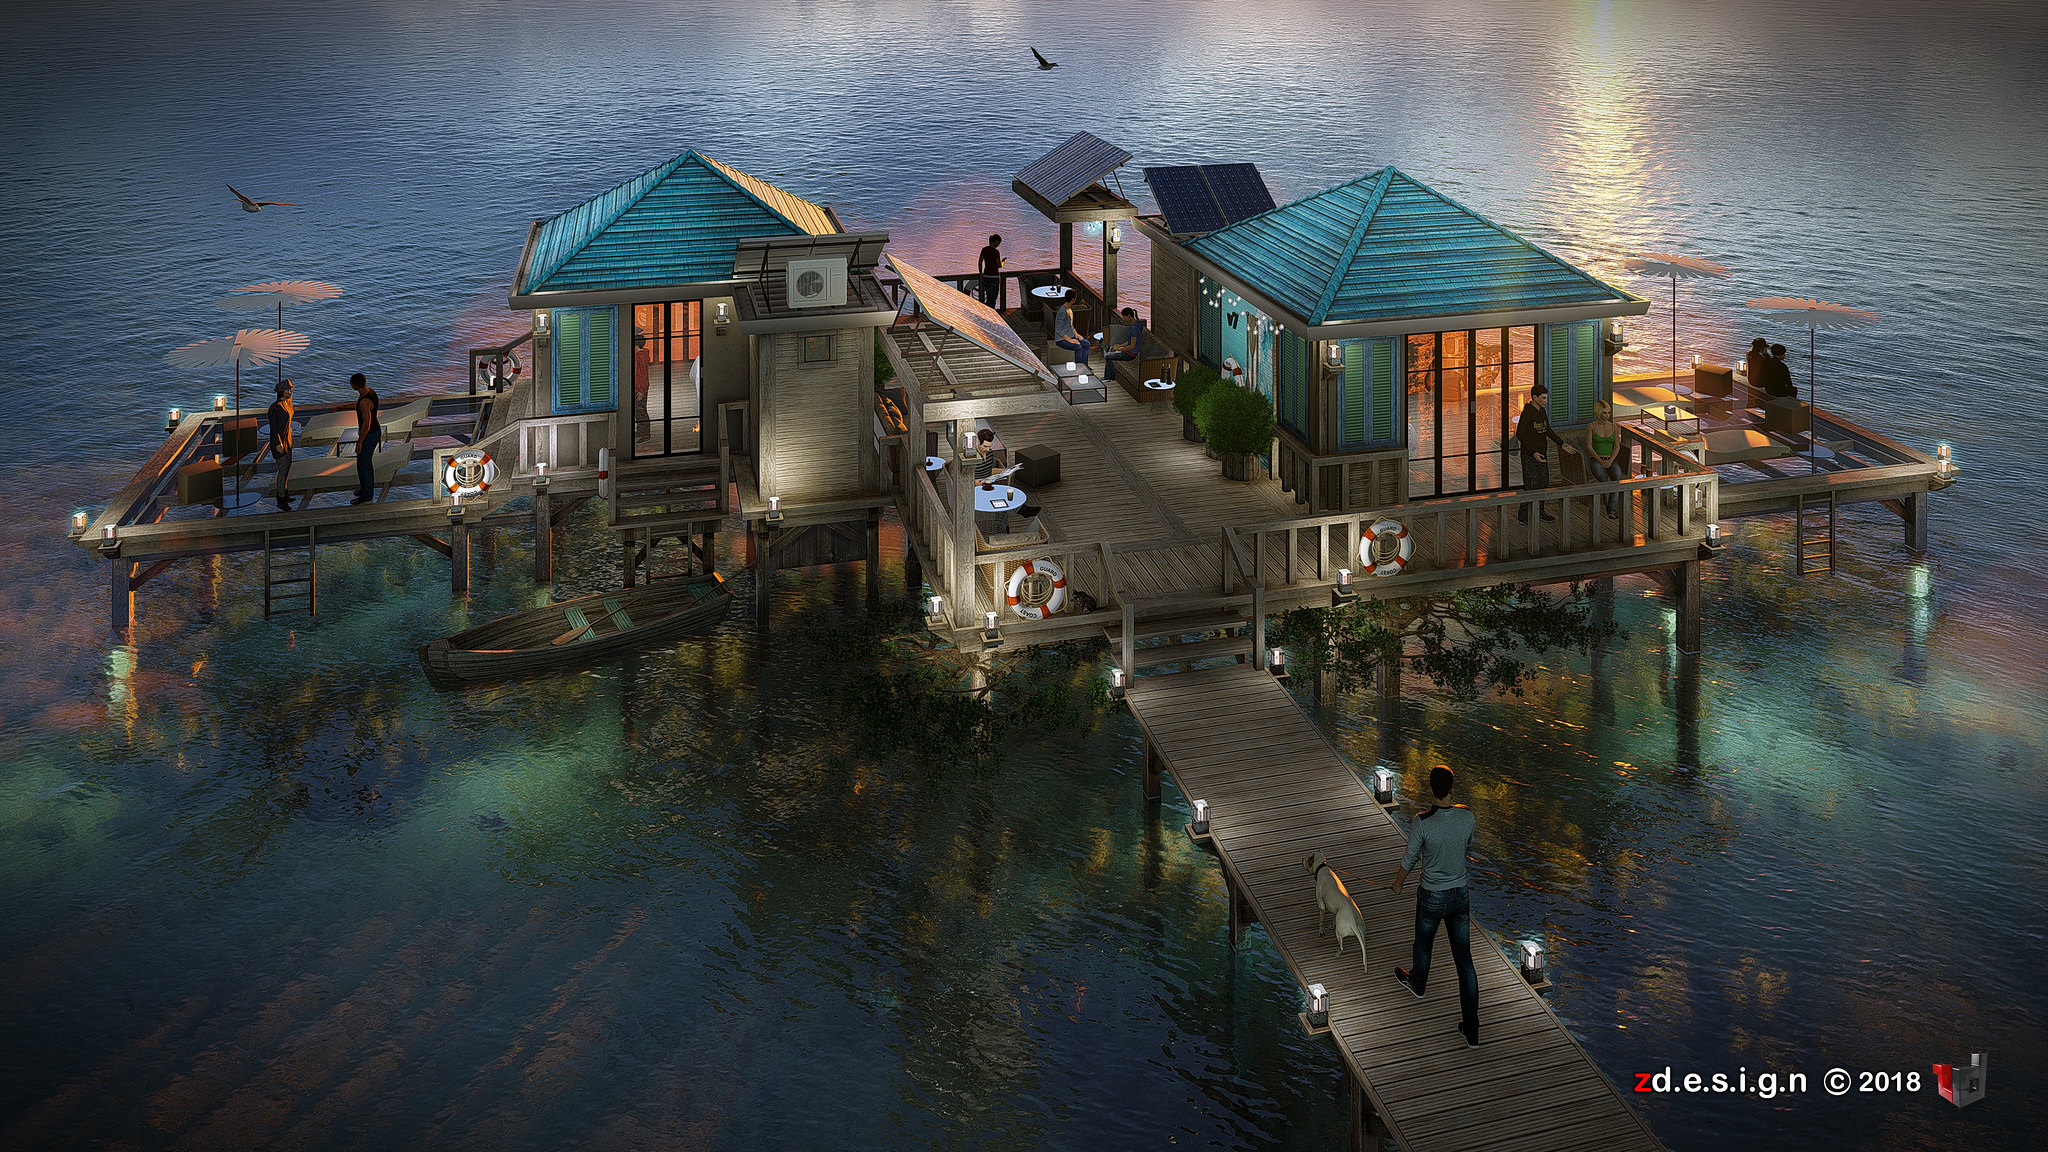
"la plage" - a seaside resort
Ideal place to relax by the water...a place that is a popular destination for vacations or recreation, or which is frequented for a particular purpose.
CLICK IMAGES FOR BETTER RESOLUTION
Labels:
ANIMATION,
Beach House,
concept,
LAPLAGE,
LUMION8,
RESORT,
Sketchup,
sony vegas,
VILLA,
vray 3.4,
zdesign
Wednesday, June 13, 2018
Tutorial...MAKING 360 ANGLE from panoramic image to 360 using photoshop XMP script...
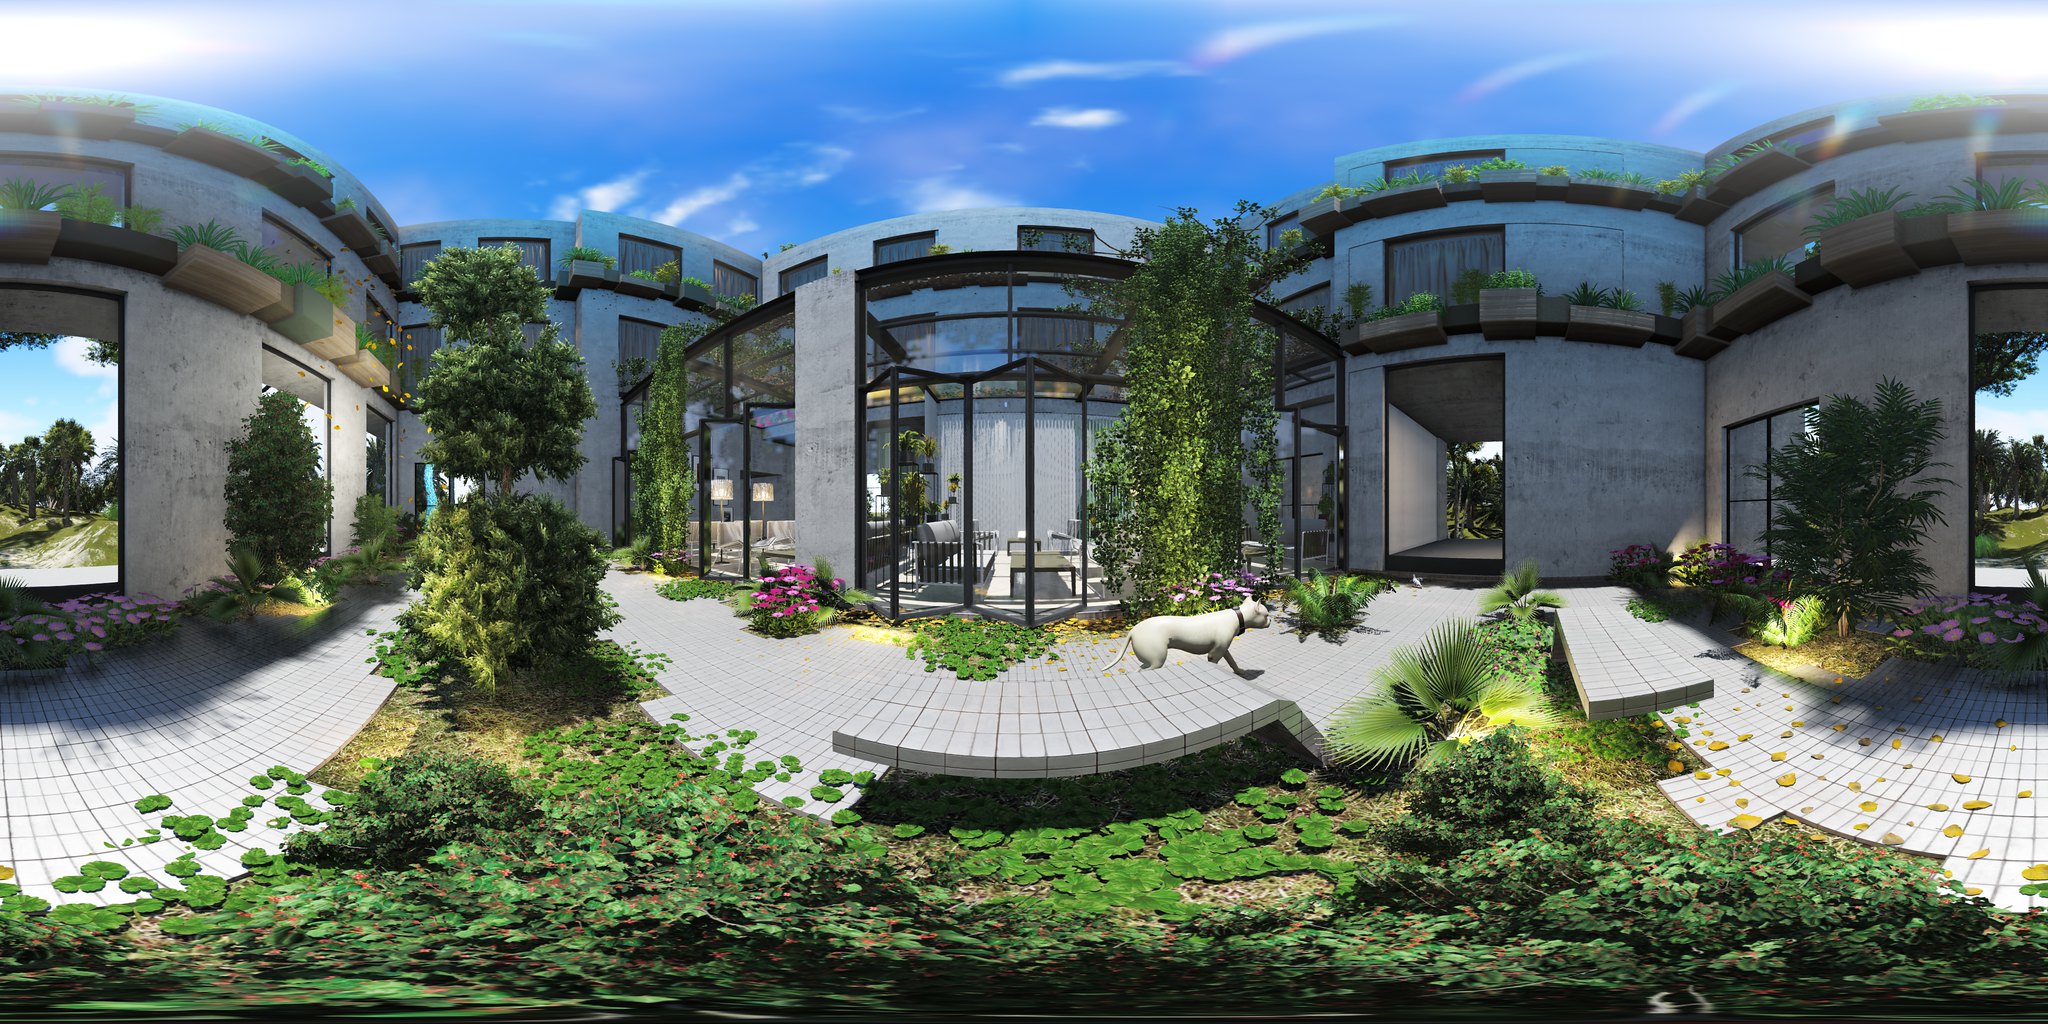
How does it works...
1 - script - XMP SCRIPT or HERE and save in a folder.
2 - Open photoshop cs6 then load the panoramic image.
3 - From drop down menu select FILE / FILE INFO / IPTC then select IMPORT
4 - From import option tick “CLEAR EXISTING PROPERTIES AND REPLACE WITH TEMPLATE PROPERTIES” then OK
5 - Then locate the XMP file that you check before which is “CREATE 360 IMAGE.XMP”
6 - Select and open which is automatically load the script.
7 - Click OK ...
8 - Then save the file using normal saving... from drop down menu FILE / SAVE AS / type in filename and select JPEG and save.
9 - Upload directly in Facebook using “UPLOAD PHOTO/VIDEO”
Voila...you can now to turn around to see different perspectives of the image.
Sample - 360 ... GOD BLESS
Labels:
360 panorama,
Facebook Page,
The Making,
Tips and Tricks,
tutorials
Subscribe to:
Comments (Atom)
